

Making fairy houses needs very little: a quiet spot outdoors, a handful of fallen natural materials and a child with time to explore. Start with twigs leaned against a tree or rock, lay bark or leaves over them as a roof, and add a stone path. That is a finished fairy house. This guide gives you four builds, the materials for each, the safety points for young children and a way to collect without harming plants or wildlife.
TL;DR
- A fairy house can be built in as little as five minutes. Outdoor versions suit children aged 2 to 10, and the time varies with the child (KidsGardening).
- Use fallen materials: sticks, bark, leaves, stones, pine cones and nuts. Never strip bark from a living tree.
- Four easy builds: a twig-and-bark shelter, a teepee, a painted jar and a craft-stick house on a bark base.
- Supervise young children who put things in their mouths, and warn them about thorny or poisonous plants.
- Let your child make the decisions. A few starter ideas are enough.
Table of Contents
- What fairy houses are made of
- What you need to bring
- Choose the spot and keep children safe
- Collecting materials without harming nature
- Build 1: the twig-and-bark shelter (5 to 20 minutes)
- Build 2: the teepee (15 to 30 minutes)
- Build 3: the painted jar house (30 to 45 minutes, plus drying)
- Build 4: the craft-stick house on a bark base (45 minutes or more)
- Decorating: small details that make it magic
- Why this activity is worth your afternoon
- Our view on fairy houses
- A camera for the fairy village
- FAQ
- Sources
What fairy houses are made of
Outdoor fairy houses are made from rocks, sticks, bark, leaves, pine cones, nuts and flowers, according to KidsGardening. Nothing needs to be bought. The best materials are the ones your child finds on a walk.
The Canadian Wildlife Federation suggests a wider list for a glued version: fallen feathers, light stones, cones, empty shells, nut shells, bark, small sticks, pine needles, seeds, dried flowers or pressed leaves. It pairs them with an untreated wooden birdhouse or a simple homemade structure.
A rough guide to what each material does:
| Material | Use in the house |
|---|---|
| Sturdy twigs | Frame, walls, fences |
| Flat bark | Roof or wall panels |
| Large leaves | Roofing, curtains, a door |
| Small stones | Foundations, paths, chairs |
| Moss | Carpet, garden, bedding |
| Acorn caps, nut shells | Lanterns, bowls, bathtubs |
| Pine cones | Tables, trees, a chimney |
What you need to bring
Most of the work is gathering, so keep the kit small:
- A bag or basket for collecting.
- Clear-drying craft glue, if you want a more permanent house.
- Toothpicks, which are optional but handy for tiny parts.
- Newspaper, a plastic sheet or mats to protect the table.
- A few small damp cloths. The Canadian Wildlife Federation suggests using them to clean small areas without disturbing pieces that are still setting.
For a freestanding house in the garden, you need no glue at all. Gravity and a good rock do the job.
Choose the spot and keep children safe
KidsGardening recommends a shady, comfortable place where your child can sit, such as a garden corner or the base of a tree. It adds that any safe, comfortable location will work, including a balcony planter or a park bench area where building is allowed.
Three safety points matter with small children:
- Supervise. Young children often put objects in their mouths. Acorns, small stones and seeds are choking risks for the youngest, so stay close. If you want to know more about why hands-on play like this helps children, this overview of sensory play and child development is a good companion.
- Warn about plants. Tell your child to avoid thorny or poisonous plants, and check the area before you start.
- Skip chemicals. The RHS advises reducing or avoiding herbicides, fungicides and insecticides when gardening with wildlife in mind. Choose a patch that has not been sprayed.
Collecting materials without harming nature
The gathering walk is half the fun, and it is a good moment for a small lesson in looking after nature.
- Take what has already fallen. The Canadian Wildlife Federation stresses using natural items that are no longer attached to living things. Removing bark from a tree can make it vulnerable to disease or kill it.
- Take little from each plant. KidsGardening suggests picking only one flower or fruit from several plants rather than stripping one plant.
- Leave some dead wood. Dead wood provides habitat for roughly 20% of Britain’s woodland insect fauna, says the RHS. Take a few twigs, not the whole log pile.
- Build gently in woods. The Fairyland Trust advises against nails, screws or cement to attach fairy doors to trees, and against trampling woodland flowers. Its guidance is about fairy doors in woodland, but the principle suits any build: lean, balance and tuck rather than fix.
If you build in a public wood or park, a good rule is to leave nothing that is not natural, and to let the house return to the ground when the fairies move on.
Build 1: the twig-and-bark shelter (5 to 20 minutes)
This is the simplest version and works well for the youngest builders. It follows the approach in the Ranger Rick fairy house guide.
- Take a gathering walk. Collect flat bark, sturdy twigs, large leaves, small stones and moss.
- Choose a base. Find a rock, a tree root or a tree trunk to lean against.
- Make the walls. Lean the twigs against the rock or tree so they form a little shelter.
- Add the roof. Lay bark or leaves over the twigs. Flat bark makes a sturdy roof, and large leaves make a soft one.
- Lay a path. Arrange small stones from the door outwards.
- Add a moss carpet. Press a little moss inside the doorway.
Where it goes wrong: the roof slides off. Fix it by leaning the twigs at a steeper angle, or by laying a few light stones along the edge of the bark.
Build 2: the teepee (15 to 30 minutes)
This build is taken from the Red Ted Art teepee guide and suits children who like making things stand up.
- Stand four long sticks in a square in soft ground.
- Tie them together near the top with a long leaf or garden string.
- Weave leaves between the poles to form the walls. If weaving material is hard to find, attach large leaves with long stems instead.
- Leave a gap for the door and add a small stone step.
Where it goes wrong: the sticks lean unevenly. Press each one firmly into the soil first and tie only when all four stand upright. Garden string is easier than a leaf for small hands, so keep some in your bag.
Build 3: the painted jar house (30 to 45 minutes, plus drying)
This is the best option for a wet day or a gift, because the house lives indoors. It follows the PBS KIDS jar project from 2020.
You need a recycled glass jar with a lid, acrylic paint, optional paint markers, small branches, leaves and rocks, and optional moss balls and twine.
- Paint a door and a window on the jar.
- Paint the jar and the lid, leaving the door and window clear as you like.
- Let everything dry fully.
- Add rocks, moss, sticks or other decorations inside.
- Replace the lid.
Where it goes wrong: smudged paint. Cover the table, keep damp cloths to hand and wait for each coat to dry before adding the next. Help with the glass: wash the jar well and check there are no chips before your child handles it.
Build 4: the craft-stick house on a bark base (45 minutes or more)
This longer build uses household and garden items and gives a sturdier result. It follows the sequence in The Spruce Crafts: a flat bark base, craft sticks, twigs or leaves, small stones or gravel, dried flowers, wood glue and spray varnish.
- Glue craft-stick wall supports to the flat bark base.
- Cover the walls with twigs or leaves.
- Add paths, stones and other miniature features.
- Let the glue set. An adult can apply spray varnish to protect the house if it will stay outside, in a well-ventilated space and away from children.
Where it goes wrong: glue that is too wet slides the walls. Hold each piece for a minute, and build one wall at a time.
Decorating: small details that make it magic
Once the walls and roof stand, the details give the house its character. Ranger Rick suggests:
- Acorn lanterns
- Nutshell bathtubs
- Pebble chairs
- Moss carpets
- Flower-petal curtains
- Pinecone tables
Do not decide these for your child. For a beginner, KidsGardening recommends starting with the basic ideas of walls, a roof and a small bed, then letting the child make discoveries of their own. Ask questions instead of giving instructions: “Where will the fairy sleep?” “What does she eat?” “Which way does the door face?”
Why this activity is worth your afternoon
KidsGardening describes fairy house building as an inexpensive way to encourage imagination, observation, collecting, movement, communication and appreciation of nature. In practice, you get an outdoor hour that needs no screens and no shopping list. It also works for a group: siblings or friends can each build a house, and together they can plan a whole fairy village.

If you want more ideas to follow on from this one, our guides to making fairy gardens, wildlife-friendly gardens for children and outdoor science activities cover the next steps. For rainy days, leaf art and DIY nature ornaments use the same gathered materials.
Our view on fairy houses
We made The Zoofamily to help children connect with nature and with each other. Our animal designs are there to spark curiosity about the natural world, and for every camera sold we plant one tree.
A fairy house does the same thing at the smallest scale. Your child looks closely at bark, moss and leaves, chooses what to take and what to leave, and builds something with a purpose. That habit of looking is where an interest in nature begins.
We think the best next step is to let a child record what they find. A child who photographs the moss carpet, the acorn lantern and the finished house starts to notice details, and a photo album of a fairy village is a lovely thing to show grandparents. Our cameras are designed for children aged 3 and up, and the animal designs invite them outdoors.
ALAIN
A camera for the fairy village
Once the house is built, your child will want to show it off. The Zoofamily makes animal-themed digital cameras for children aged 3 and up. Zoo Friends costs €69.95, and Zoo Print, our instant print camera, costs €109.95. Each camera sold means one tree planted. You can see the full range, including walkie-talkies, binoculars and night lights, on our kids camera page.
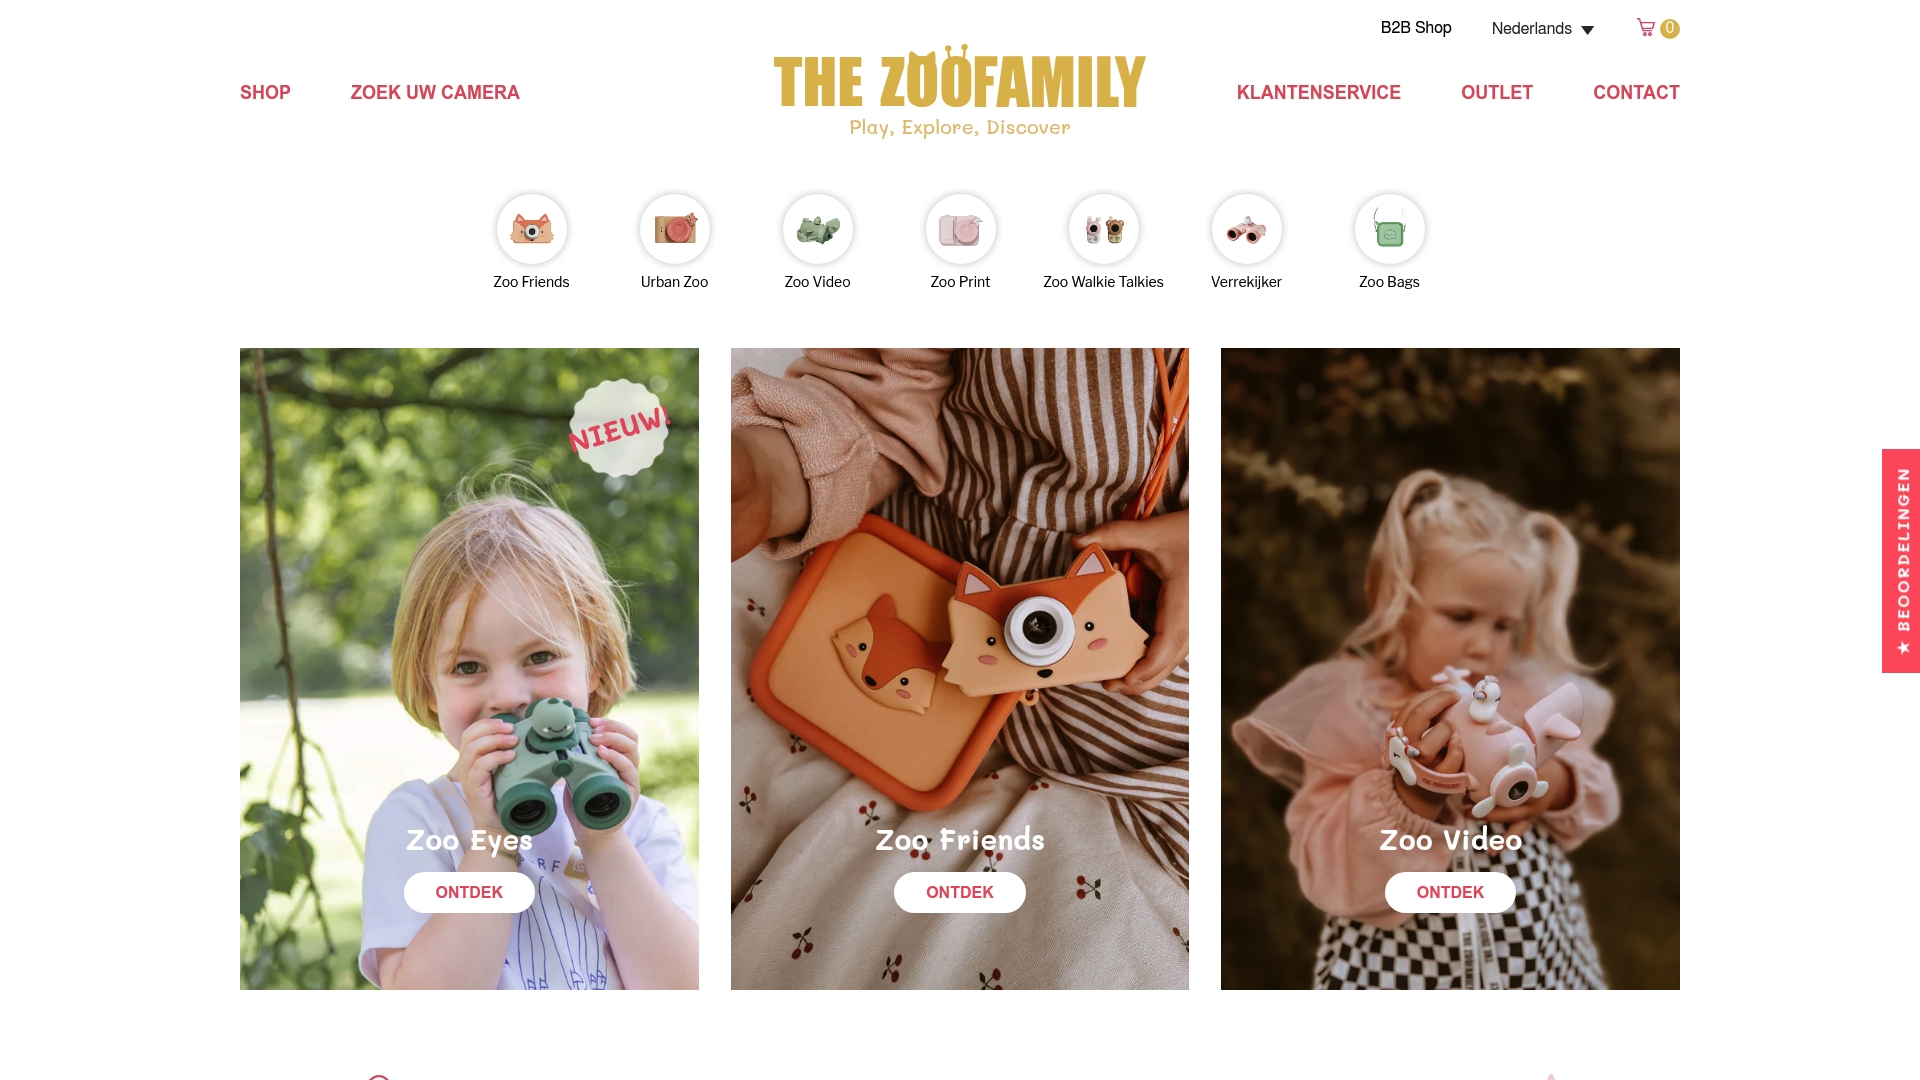
The Zoo bags (€19.95) are made for young children, which suits a walk to gather materials. Zoo eyes, our binoculars, cost €39.95 and fit the same outing. Prices are those published on our site; check the shop for the current range.
FAQ
How do you make a simple fairy house with a toddler?
Choose a safe, comfortable spot and gather fallen twigs, bark, leaves and stones together. Lean the twigs against a tree or rock, lay bark or leaves on top and add a stone path. Stay close, as young children may put small objects in their mouths.
What are fairy houses made of?
Outdoor fairy houses use natural materials such as rocks, sticks, bark, leaves, pine cones, nuts and flowers. Indoor versions often use a recycled glass jar, acrylic paint and small natural items, or an untreated wooden birdhouse with glue.
How long does it take?
KidsGardening gives about 5 to 45 minutes for its outdoor activity, depending on the child. A painted jar or a craft-stick house takes longer because of drying and gluing time.
Can I take bark and sticks from the woods?
Take only what has already fallen. Removing bark from a living tree can make it vulnerable to disease or kill it, according to the Canadian Wildlife Federation. Take a few twigs rather than whole piles, because dead wood is habitat for insects.
What are the rules for a fairy garden?
There is no official rulebook. Good habits are to choose a safe spot, collect without damaging plants, avoid fixings such as nails on trees, and avoid trampling flowers. Let your child decide the layout and the details.
Sources
- Build a Fairy House, KidsGardening
- Build a Fairy House (PDF), KidsGardening
- Fairy Houses, Canadian Wildlife Federation
- Fairy House Craft: Build a Tiny Nature Home, Ranger Rick
- Make a DIY Fairy House, PBS KIDS
- How to Make Fairy Houses With Materials From Your Yard, The Spruce Crafts
- Easy Teepee Fairy Houses Nature Craft, Red Ted Art
- Wildlife in gardens, RHS Advice
- Fairyland Planning Guidance for Fairy Doors in Trees, Fairyland Trust