

The best way to give a plastic bottle a second life is to turn it into something your child uses: a bird feeder for the garden, a self-watering planter, a pen holder for the desk or a set of skittles for the hallway. Each project below needs only a clean bottle, a few household items and an adult to do the cutting. You get the materials, the steps and the safety points, so you can start this weekend.
TL;DR
- Clean the bottle first: peel the label, wash it in warm soapy water and let it dry overnight.
- Easy first projects: a bird feeder, a self-watering planter, a pen holder and bottle skittles.
- An adult does all the cutting. Smooth or tape every cut edge before a child touches it.
- Craft only with bottles you will really use. Otherwise put them in your household recycling.
- Take a photo of the finished project to keep a record of what your child made.
Table of Contents
- Reuse first, recycle second
- Prepare the bottle
- Bird feeder: the classic first project
- Self-watering planter: a project that keeps growing
- Useful things for the desk and the playroom
- Games, experiments and outdoor fun
- Make it safe for small hands
- Which project for which age?
- Capture the project with a kids’ camera
- When a bottle cannot be reused
- FAQ
- Sources
Reuse first, recycle second
A bottle can be reused, upcycled or recycled. Reusing means using it again as it is. Upcycling means turning it into something new, which is what most crafts do. Recycling means the material is collected and reprocessed.

The US Environmental Protection Agency says the most effective way to reduce waste is not to create it, and it lists repurposing items among the first steps. A craft is a good use of a bottle when the finished object gets used for a long time. It is a poor use when it needs lots of new materials or ends up in a drawer. A bottle that cannot be reused still belongs in your household recycling, covered at the end of this guide.
With that in mind, pick projects with a job to do. A feeder feeds birds, a planter grows herbs and a pen holder holds pens.
Prepare the bottle
Every project starts the same way, and good preparation makes paint and glue stick properly.
- Peel the label. Stubborn labels come off after soaking in hot water with a little washing-up liquid, as Cleanipedia suggests. Sticky residue breaks down with a little vegetable oil.
- Wash it. Rinse the bottle with warm soapy water.
- Dry it. Leave it to air-dry overnight, as I’m The Chef Too advises.
- Choose the right size. A 500ml bottle suits small hands and painted crafts. A 2-litre bottle suits feeders and planters.
For school projects, the British Council recommends disinfecting used bottles before classroom use. It is a sensible step at home too if the bottle held anything other than water.
Bird feeder: the classic first project
A bottle feeder takes about half an hour. It also gives children something to watch from the window for weeks.
The Natural History Museum’s bird feeder guide uses a plastic bottle with its cap, two sticks about 10 cm wider than the bottle, a pin, scissors and string. The steps run like this:
- Punch small drainage holes in the base, so rain does not spoil the seed.
- Make two level holes near the base and push a stick through, leaving about 5 cm on each side as perches.
- Cut feeding holes about the size of a 5p coin above each perch.
- Add a second set of holes and a second stick, offset by 90 degrees.
- Make two holes in the neck and thread string through them for hanging.
- Fill the bottle with bird food, screw on the cap and hang it somewhere sheltered.
The museum also explains why the details matter. Jagged plastic can cut birds and catch their feathers, so cut the holes as smoothly as you can. Clean the feeder regularly with warm soapy water and replace it from time to time, so old food does not rot and harm the birds.
Children can decorate the outside with paint markers or stickers. Only the cutting and hole-making are adult jobs.
Self-watering planter: a project that keeps growing
This one suits a windowsill and a bunch of herbs. Sense gives a clear method. You need a clean, clear plastic bottle, scissors, a hammer and nail, about 30 cm of string, soil, seeds or a small plant, and optional paint.
- An adult cuts off the top third of the bottle.
- An adult hammers a hole through the lid and the string is threaded through the cap.
- Fill the bottom quarter of the base with water.
- Turn the top upside down and sit it in the base, with the string dipping into the water.
- Fill the top with soil and plant your seeds.
The string draws water up into the soil, so children learn how plants drink without having to water daily. Cutting the bottle about a third of the way down also works with a short length of cotton rope, as Garden Gate shows. Keep the string partly under water, and top up the reservoir.
Animal planters
If your child loves animals, turn the planter into one. Fevicreate describes bottle animal planters: sketch a rough animal outline on the bottle, add features from mouldable clay and paint it with acrylic colours. A hedgehog with cress for spikes or a lion with a grass mane works well. Animal-themed projects like this fit nicely alongside other family activities that link creativity with nature, such as choosing farm animal clothes for kids for a farm-themed day.

Useful things for the desk and the playroom
Storage projects teach children that reused things can be tidy and practical.
- Pen holder. Cut the bottle to height, smooth the edge and decorate it with coloured paper or paint. The British Council suggests cutting the tops off and covering one half with crepe or coloured paper.
- Pencil case. The same guide removes the neck, cuts off a third of the remainder and glues a zip between the two parts. Cover it with fabric remnants.
- Desk organiser. Cut several bottle segments to different heights and glue them together. Mummy Time describes this as a way to hold pencils and pens.
- Piggy bank. Older children can cut a coin-sized hole in the side. For younger children an adult cuts it beforehand, and the child adds a fabric head, legs and a tail.
- Phone stand. Cut a bottle between a third and half way up from the bottom and cover it with fabric.
Flat plastic for crafts
I’m The Chef Too also shows how to make flat sheets from bottles. Cut off the top and bottom, slit the side and press the plastic under a heavy book for a few days. The sheets can then be cut into shapes for mobiles, bookmarks or decorations.
Games, experiments and outdoor fun
Some of the best bottle projects are play objects.
- Backyard bowling. Playideas uses six similar-sized bottles, spray-painted and detailed with markers. Adults should do the spray painting, outdoors.
- Glowing fireflies and bottle fish. Both appear in the PBS KIDS list of upcycling crafts, along with a glitter jar to help children stay calm.
- Spiral hanging art. Crayola suggests colouring a bottle with markers, then having an adult cut the bottom off and cut upward in a spiral until about 1 inch from the neck. Tie twine around the neck and hang it outside.
- Festive bottles. The Scouts activity uses clean empty 500ml bottles. Children squirt a little paint inside, rotate the bottle to coat the interior and dry it upside down. Then they decorate the outside with pipe cleaners, pom poms and googly eyes. A battery LED tealight inside works if the neck is wide enough.
For curious children, Science Sparks has bottle experiments such as bubble snakes and a simple rain gauge. For the rain gauge you cut the top off a bottle and place it upside down inside the remainder, then record the rainfall each day.
For more ideas, our own guide to creative recycled art projects for kids covers other household materials as well.
Make it safe for small hands
The bottle is easy. The cutting is the risk. These rules keep the activity safe:
- Adults cut. Crayola notes that cutting plastic may leave sharp edges and that adult help is required. Cleanipedia says a craft knife is for adults only.
- Make cut edges safe. I’m The Chef Too suggests briefly pressing the edge against a medium-heat iron protected by parchment paper, or covering it with duct tape. Adults should do this step.
- Use child-safe paints and ventilation. DIY.org advises non-toxic paints in a ventilated area, and supervision around sharp tools, hot glue and spray paint.
- Mind small pieces. Keep caps, pom poms, googly eyes and cut-off fragments away from very young children.
- Use battery lights, not flames. For lanterns, DIY.org recommends battery tea lights or fairy lights.
- Let everything dry. Allow paint and glue to dry fully between steps.
The projects in this guide suit children from about 3 years, as long as an adult does the preparation and cutting and the child does the painting, sticking and decorating.
Which project for which age?
| Age | Good projects | Child does | Adult does |
|---|---|---|---|
| 3 to 4 | Painted festive bottle, bottle skittles | Squirting paint, sticking on decorations | Cutting, spray painting |
| 5 to 7 | Bird feeder, self-watering planter, piggy bank | Decorating, planting, filling with seed | Cutting, hammering holes |
| 8 and over | Pen holder, pencil case, rain gauge, flat plastic sheets | Measuring, marking, assembling | Craft knife work, hot glue |
This is a guide only. You know best what your own child can manage.
Our view: a bottle craft is a reason to go outside
We design our products around animals because animals are what make children look closely at nature. A bird feeder with a visitor on the perch teaches more than any explanation we could give. A planter with a herb they grew themselves does the same.
That is why we like bottle projects that end up outdoors or on a windowsill. Children make the object, then they watch it work. It is also why we plant one tree for every camera sold: we want children to care about the natural world they are looking at.
Our advice is simple. Pick one project, let your child make the creative decisions and keep the finished piece in use. Then let them photograph it, so they can see what they made.
ALAIN
Capture the project with a kids’ camera
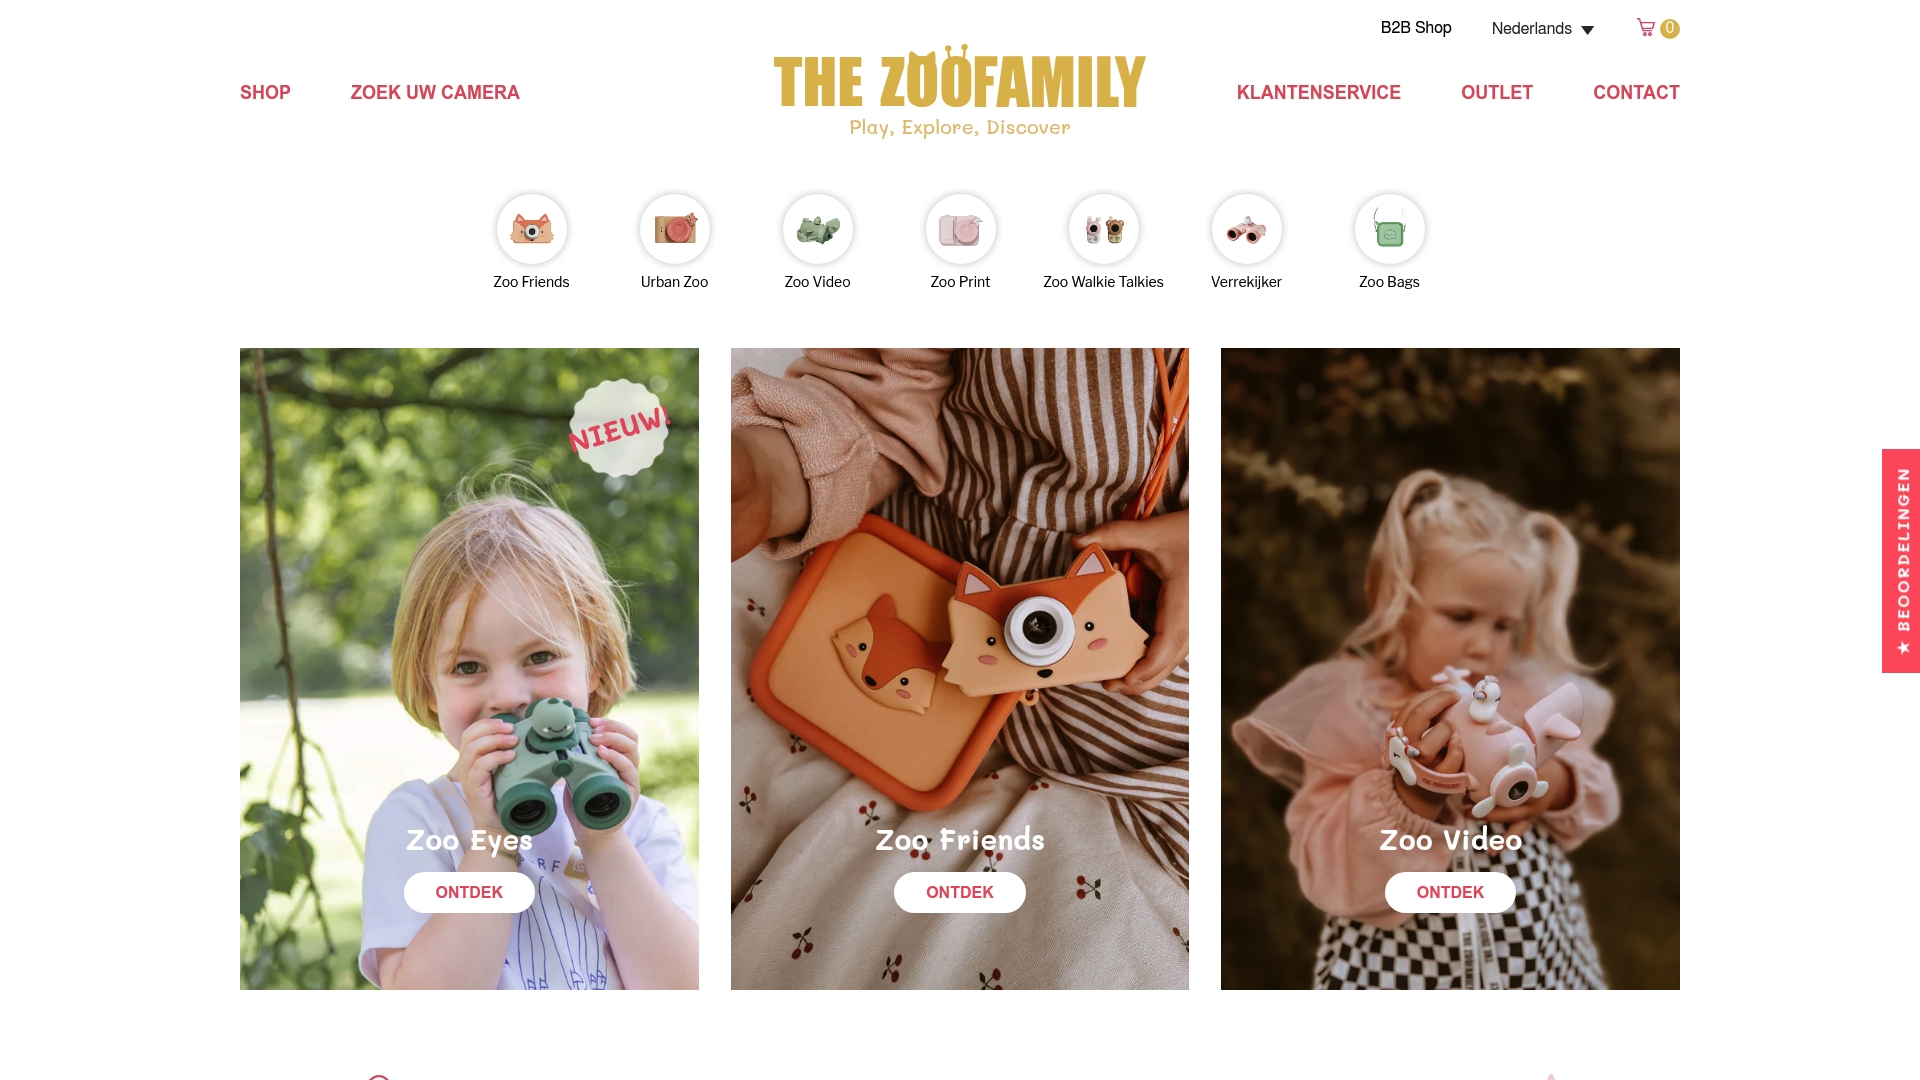
A finished bottle project is something a child is proud of. A camera of their own lets them record it, from the first paint stroke to the first bird on the feeder. Our cameras are made for children aged 3 and up and carry animal designs.
- Zoo Friends, our digital camera, costs €69.95.
- Zoo Print, our instant print camera, costs €109.95. It is the one to choose if your child wants to stick the photo of the bird feeder straight into a scrapbook.
- Zoo eyes, our binoculars, cost €39.95, for watching the birds that visit the feeder.
For each camera sold we plant one tree. See the full range in our kids’ cameras collection, or look at the Zoo Print instant camera.
When a bottle cannot be reused
Not every bottle needs a second life. If you already have more crafts than you can use, or the bottle is cracked, stained or dirty, recycle it.
A resin code (the number in the triangle on the bottle) tells you the type of plastic. It does not guarantee your area collects it, as the US EPA points out. In the UK, collection rules are set locally, so check your own council’s website for what goes in your household recycling bin and whether caps should stay on.
The food-for-thought rule: a craft that needs many new materials, or produces a fragile object that is soon thrown away, may be the less resource-conscious choice, as Print & Pan argues. So let the bottle’s condition and your local collection rules decide.
FAQ
How can you reuse plastic bottles for school projects?
The British Council suggests pen stands, zipped pencil cases, candle holders made from two bottlenecks, phone stands and piggy bank money boxes. Disinfect the bottles first, and have an adult do the cutting. Teachwire also offers a downloadable leaflet of ten bottle crafts for KS1 and KS2 pupils.
What can children make with a plastic bottle in under an hour?
A bird feeder, a painted festive bottle, a set of skittles or a hanging spiral all fit within an hour. The bird feeder is the most rewarding, because the result is used straight away. Allow extra time for paint and glue to dry.
Which paint works on plastic bottles?
Cleanipedia recommends good-quality poster paint for painting plastic, PVA glue rather than glue sticks, and permanent markers for details. A clear sealant over the paint helps it last, particularly on pieces that stay outdoors.
Is it safe for a 3-year-old to make bottle crafts?
Yes, with the right split of jobs. The adult cuts, smooths the edges and handles paint sprays and hot glue. The child paints, sticks and decorates, and small pieces stay out of reach of very young children.
Sources
- What You Can Do to Reduce Plastic Waste, US EPA
- Plastic bottle crafts, Cleanipedia
- Recycled plastic bottle crafts for kids, I’m The Chef Too
- Five ways to re-use plastic bottles in a primary class, British Council
- How to make a bird feeder, Natural History Museum
- How to make a self-watering planter, Sense
- 7 Ways to Upcycle Plastic Bottles in the Garden, Garden Gate
- 10 Easy Bottle Craft Ideas for Kids, Fevicreate
- 16 Creative Kids Crafts Using Plastic Bottles, Mummy Time
- 25 Plastic Bottle Crafts for Kids, Playideas
- DIY Upcycling Activities, PBS KIDS for Parents
- Upcycled Plastic Bottle Art, Crayola
- Create festive bottles, Scouts
- 10 Science experiments you can do with a plastic bottle, Science Sparks
- Beautify Bottles, DIY.org
- Bottle Upcycling, Print & Pan
- Crafts using plastic bottles, Teachwire