

The best experiments for 1st graders use items you already own, take 10 to 20 minutes and give a result your child can see, hear or touch. Sink or float, walking water, a seed in a jar and a rubber band guitar all fit. Below you will find 12 experiments with materials and steps, a simple method for asking questions, and safety rules. First grade is the US name for children aged about 6 to 7, which is Year 2 in England.
TL;DR
- Choose experiments rated easy, with basic materials from your kitchen. We Are Teachers recommends this approach for first graders.
- Use one routine every time: predict, watch, explain. Let your child draw the result.
- Stay with your child for every experiment. Do only experiments you have read through first.
- Take some experiments outside. Birds, shadows, leaves and seeds need no special kit.
- Keep a notebook. A drawing and one sentence per experiment is enough.
Table of Contents
- What makes a good experiment for a 6 or 7 year old
- The routine: predict, observe, explain
- Safety rules before you start
- 12 easy experiments for 1st graders
- Quick comparison
- Take it outdoors
- How to record results
- A simple plan for a week
- Our perspective
- Tools that help children explore
- What your child learns
- Tips for a smooth session
- FAQ
- Sources
What makes a good experiment for a 6 or 7 year old
At this age, children can follow a few steps and wait a short time. They still need a clear result. A good first-grade experiment has four features:
- It uses everyday materials.
- It takes 10 to 20 minutes, or it is a simple check once a day.
- It answers one question, such as “Will it sink?”
- Your child does most of the work.
Discovery Education notes that first graders respond better to structured activities than younger children do. It suggests asking them to notice patterns and make predictions rather than leaving them to explore freely. So give each experiment a question and a small plan.
The topics also match what schools cover. US first-grade standards ask children to look at what happens when materials vibrate, what happens when there is no light, and how plants and animals meet their needs, according to the National Wildlife Federation’s summary of the standards. The experiments below touch on all three.
The routine: predict, observe, explain
Use the same three steps each time. It turns a messy activity into science.
- Predict. Ask, “What do you think will happen?” Accept any answer.
- Observe. Do the experiment. Ask, “What can you see, hear or feel?”
- Explain. Ask, “Was your guess right? Why do you think that happened?”
This is the predict, observe, explain method described by the Canadian Child Care Federation. LearningMole suggests a similar five-step version for Key Stage 1: ask a question, make a guess, test it, observe, and discuss why it happened. It also suggests a simple notebook with drawings or photos.
How to answer “why?”
You do not need to know every answer. NAEYC advises replying with “What do you think?” or “I don’t know but we can find out together.” It also says to give children time to explore before you give the correct answer. If an experiment goes wrong, look at what went wrong together. That counts as science too.
Safety rules before you start
The Lab Safety Institute gives parents two golden rules to teach: do not experiment without an adult, and do only approved experiments. In practice:
- Stay with your child for the whole experiment.
- Read the steps yourself first.
- Use food colouring, baking soda, vinegar and similar kitchen items. Keep them in their original containers, as LearningMole advises.
- Work on a flat, washable surface. A plastic tablecloth or newspaper helps.
- Have kitchen roll ready.
- Do not let your child taste anything used in an experiment.
- Do any cutting yourself.
- Wash hands with soap and water afterwards.
- Skip heat sources such as candles, matches and the hob. Leave anything that needs fire for a later age.
If your child splashes vinegar or another liquid in their eyes, rinse with clean water and seek medical advice if irritation continues.
12 easy experiments for 1st graders
Each one lists what you need, what to do and what your child learns.
1. Sink or float
You need: a large bowl of water, a coin, a plastic spoon, a leaf, a stone, a cork or a toy.
Do this: Line up the objects. Your child guesses which will sink and which will float, then tests each one. Sort them into two piles.
What it teaches: prediction and density. Heavy things can float and light things can sink. Shape and material matter. This test appears in several lists of first-grade projects.
2. Walking water
You need: six small plastic cups or jars, water, red, yellow and blue food colouring, paper towels.
Do this: Fill three cups with coloured water. Leave the cups in between empty. Fold paper towel strips and put one end in each cup, so each strip links a full cup to an empty one. Check after 10 minutes, then again after an hour.

What it teaches: the water climbs the paper, and the colours mix to make new ones. This is capillary action. Your child only needs to see that paper can pull water upwards.
3. Seeds in a jar
You need: a clear jar, damp paper towel, a bean or pea seed.
Do this: Slide the seed between the glass and the towel. Keep the towel damp. Draw the seed each day.
What it teaches: plants need water and time. For an extra step, plant seeds in two places, one in light and one in shade, and compare. Discovery Education suggests this plant project with different light conditions.
4. Trace your shadow
You need: chalk or paper, a sunny day, a few toys.
Do this: Trace a toy’s shadow in the morning. Trace it again at lunchtime. Compare the two outlines.
What it teaches: shadows change as the sun moves across the sky. We Are Teachers lists tracing shadows outside as an outdoor option. A torch and a wall work on grey days.
5. Rubber band guitar
You need: an empty tissue box or plastic tub, three or four rubber bands of different thickness.
Do this: Stretch the bands around the box. Pluck each one. Ask which sounds highest. Put a finger on a band and listen again.
What it teaches: sound comes from vibrations. A thin, tight band vibrates faster. Stopping the band stops the sound.
6. Balloon drum
You need: a bowl or tub, a balloon, a handful of rice or sugar.
Do this: Cut the neck off the balloon yourself and stretch it over the bowl. Sprinkle rice on top. Hold a tray near it and tap the tray, or hum close to the surface. Watch the rice jump.
What it teaches: sound moves through air and makes things shake. The TPT Blog describes a balloon drum that takes only 5 to 10 minutes.
7. Transparent, translucent or opaque
You need: a torch, cling film, wax paper, cardboard, a clear cup, a sheet of paper.
Do this: Shine the torch through each item. Sort them into three groups: light goes through fully, partly or not at all.

What it teaches: what happens to light when something is in its way, and why shadows form. It links well with experiment 4.
8. Ice melting race
You need: four ice cubes, four cups, salt, sugar, sand, or warm water.
Do this: Put one ice cube in each cup. Add a different topping to three cups and leave the fourth plain. Guess the winner, then check every few minutes.
What it teaches: melting, temperature and fair testing. All the cubes should be the same size and each cup gets the same amount.
9. Magic milk
You need: a shallow dish of milk, food colouring, washing-up liquid, a cotton bud.
Do this: Drop a few spots of colouring in the milk. Touch the centre with a cotton bud dipped in washing-up liquid. Watch the colours swirl.
What it teaches: soap moves things around on the surface. Do not drink the milk afterwards.
10. Baking soda and vinegar volcano
You need: a tray, a small cup, two tablespoons of baking soda, vinegar, a drop of food colouring.
Do this: Put the cup on the tray and add the baking soda and colouring. Pour in the vinegar slowly and stand back.
What it teaches: two substances can react and make gas, which makes the foam. Do it outdoors or on a tray, and keep vinegar away from eyes.
11. Make a bird feeder and watch
You need: lolly sticks, glue, string, bird seed.
Do this: Glue the sticks into a small platform or frame, tie string on, and fill with seed. Hang it near a window. Count and draw visitors for a week.

What it teaches: observation and how animals meet their needs. We Are Teachers lists both building a feeder and watching birds among its first-grade projects.
12. Sort animals by features
You need: toy animals or picture cards.
Do this: Ask your child to sort the animals by one feature, such as legs, wings, fur or feathers. Then sort again by a different feature.
What it teaches: animals can be grouped in different ways, and each group has a reason. Science4Us lists a similar animal sorting activity for first grade.
Quick comparison
| Experiment | Time | Mess level | Main idea |
|---|---|---|---|
| Sink or float | 10 minutes | Low | Density |
| Walking water | 10 minutes, then check later | Medium | Water moves through paper |
| Seeds in a jar | A few minutes a day | Low | Plant growth |
| Trace your shadow | 5 minutes, twice a day | None | Light and the sun |
| Rubber band guitar | 15 minutes | Low | Sound and vibration |
| Balloon drum | 10 minutes | Low | Sound makes things move |
| Light and materials | 10 minutes | None | Light and shadows |
| Ice melting race | 15 minutes | Medium | Melting and fair tests |
| Magic milk | 10 minutes | Medium | Surface and soap |
| Volcano | 10 minutes | High | Chemical reaction |
| Bird feeder | 30 minutes, then a week | Low | Animals’ needs |
| Sort animals | 15 minutes | None | Grouping by features |
Take it outdoors
Several of these work better outside. Shadows, bird watching, seeds and leaves need open space and daylight. PBS KIDS for Parents lists over 60 easy science activities around animals, nature and weather. They include making a bug jar, a bagel bird feeder and clay animal tracks.
We also have more ideas on our blog: engaging science experiments outdoors and 7 outdoor science activities. After a walk, nature drawing tips for beginners help your child record what they found.
How to record results
Children of this age can write a little, but drawing comes more easily. A simple record page has three boxes:
- I think: a drawing or a word.
- I saw: a drawing of the result.
- Because: one short sentence, written by your child or by you.
Discovery Education suggests labelled drawings, charts and short written explanations, and says displaying them helps children feel confident and important. Stick the pages on the fridge. A child who sees their work on display often asks to do the next one.
Ask questions that guide looking, such as “What changed?”, “Is there a pattern?” and “Were you surprised?” These questions come from the same Discovery Education guide.
A simple plan for a week
You do not need a big programme. Here is a plan that fits around school.
- Monday: sink or float, after school, 15 minutes.
- Tuesday: start the seed jar. Draw it each day.
- Wednesday: rubber band guitar.
- Thursday: trace a shadow in the morning and again after school.
- Saturday: magic milk or the ice melting race.
- Sunday: go outside, hang a bird feeder or sort leaves.
Change the order to suit your week. Keep each session short. Stop when your child loses interest, and return to the same experiment later.
Our perspective
We design our products to make children curious about nature. The animal designs are there for a reason: a child who likes a deer or a dinosaur is more likely to ask what it eats and where it lives.
We think the best science at this age starts with looking. A camera gives a child a reason to look closely. They can photograph the seedling each day, the shadow at different times or a bird at the feeder. Then they can compare the pictures and see the change themselves.
Our cameras, walkie-talkies and binoculars are made for children aged 3 and up. We also plant one tree for every camera sold, because we want children to see nature as something to look after.
ALAIN
Tools that help children explore
Some experiments are easier with a few extra tools. Our kids’ cameras let your child photograph each step and keep a record. The Zoo Video camera costs €79.95 and records short clips, such as ice melting or water climbing paper. The Zoo Print instant print camera costs €109.95, and your child can stick the printed photos straight into a science notebook.
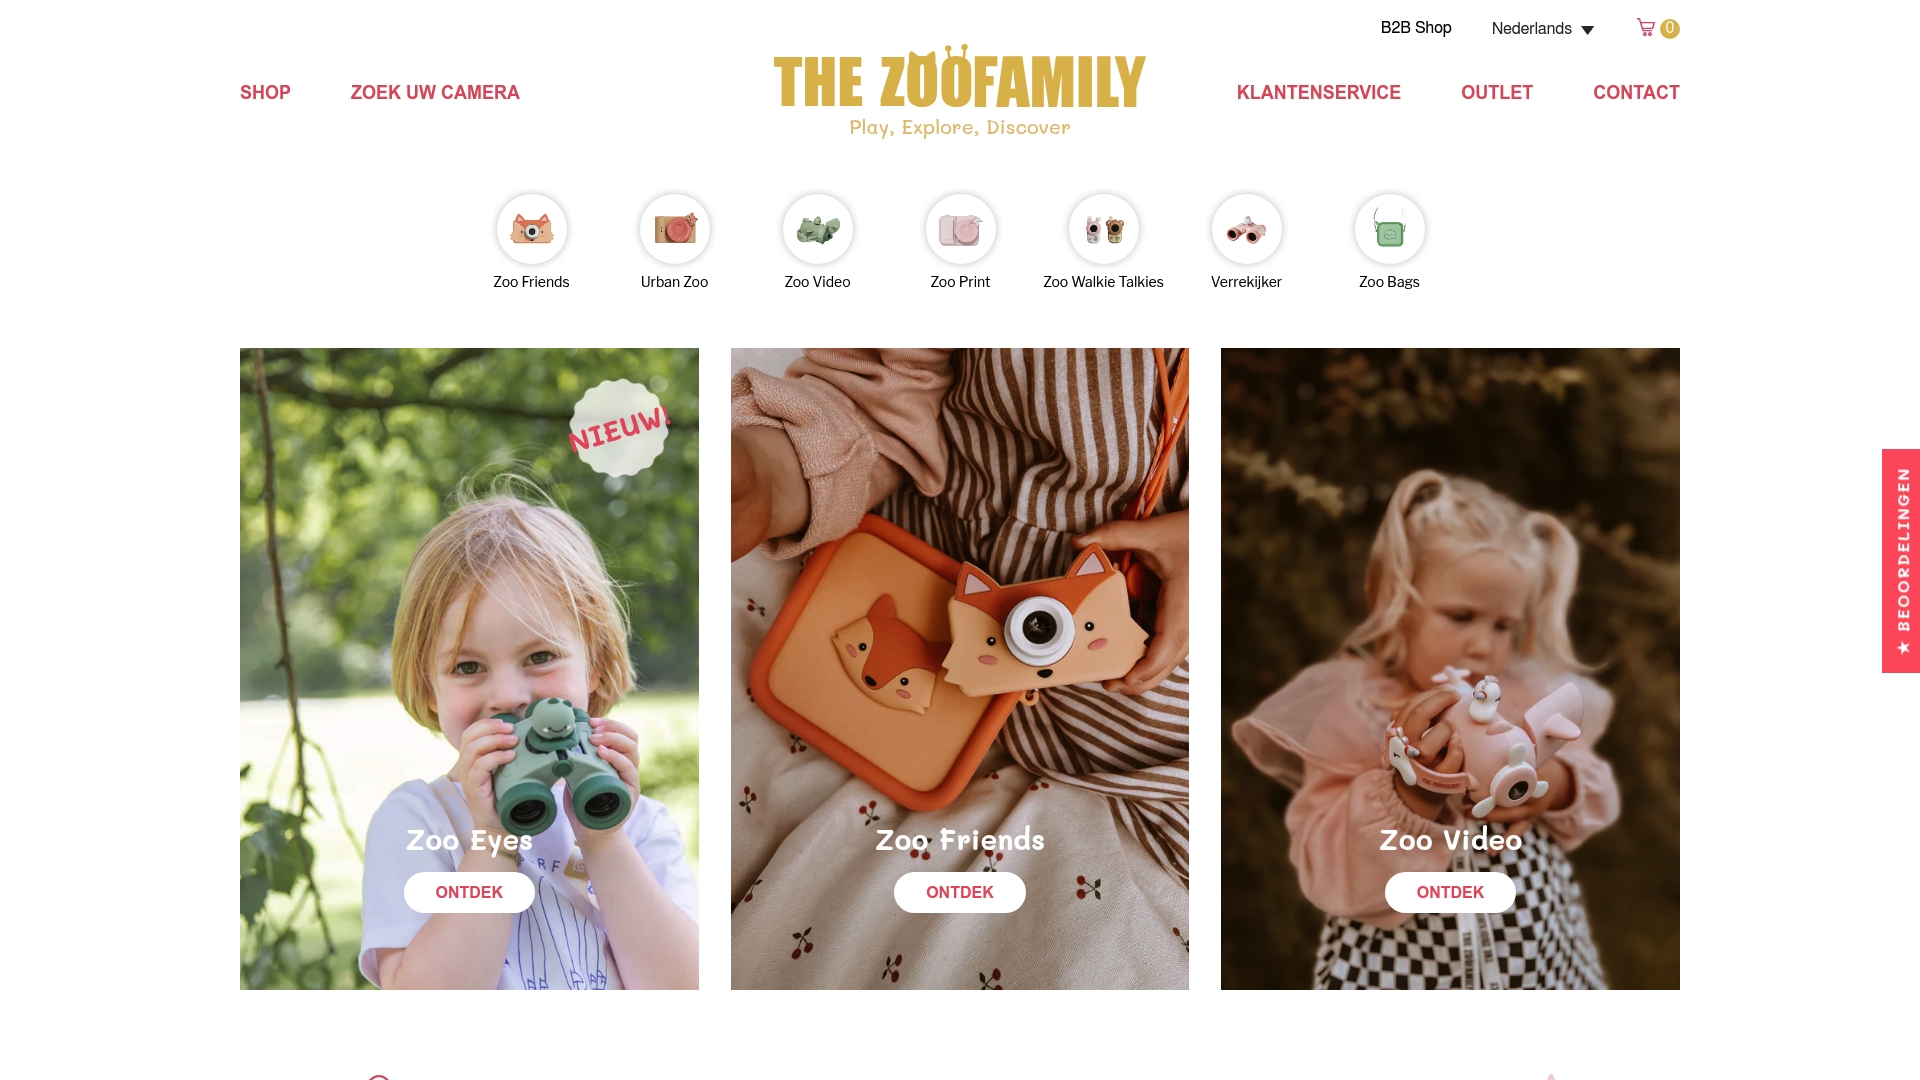
For outdoor looking, Zoo Eyes binoculars cost €39.95 and Zoo Light night lights cost €39.95. The Zoo Walkie-Talkie costs €54.95 and suits a game where two children report findings from different parts of the garden. See the full range on our shop, or browse the kids camera collection and the walkie-talkies.
What your child learns
These experiments teach more than facts. Children practise:
- Prediction: making a guess before they test.
- Observation: using eyes, ears and hands.
- Cause and effect: if I do this, that happens.
- Comparison: which is faster, higher, heavier.
- Patience: waiting for a seed or an ice cube.
- Communication: drawing or saying what they saw.
Projects like these also cover density, capillary action, light and shadow, sound vibrations and plant growth. Children do not need these words yet. They need the experience first.
For more ideas by age and interest, Science Buddies has a collection of first-grade experiments written and tested by scientists. It also has a topic selection tool that suggests projects based on your child’s interests.
Tips for a smooth session
- Prepare first. Put all materials on a tray before your child sits down.
- Keep it short. Ten to twenty minutes is enough.
- Let them do the work. Pouring, stirring and drawing belong to them.
- Repeat it. Children enjoy doing the same experiment with a change, such as a different object or a different amount.
- Use recycled items. Cups, boxes and tubs work well. Our post on recycled art projects has more ideas for reusing them.
- Praise the process. “You looked carefully” is better than “You got it right.”
FAQ
What is the easiest science experiment for a 1st grader?
Sink or float is the easiest. You need a bowl of water and a few household objects. Your child guesses, tests and sorts. It takes about 10 minutes and needs no preparation.
How old is a 1st grader in UK terms?
First grade in the US is for children aged about 6 to 7. In England, this is roughly Year 2, the end of Key Stage 1. The experiments here also suit children in Year 1 and Year 3 with small changes.
Are baking soda and vinegar experiments safe for young children?
They use common kitchen items, and adult supervision is still needed. Keep vinegar away from eyes, work on a tray and do not let your child taste the mixture. Rinse eyes with clean water if there is a splash, and see a doctor if irritation continues.
How do I get my child to explain what happened?
Ask for a prediction first, then ask what they saw, then ask why they think it happened. A wrong guess is fine. Ask them to draw the result and add one sentence.
Sources
- 50 Fabulous 1st Grade Science Experiments and Projects (We Are Teachers)
- First Grade Science Experiments (Science Buddies)
- Kids, Don’t Try This: Practicing Safe Science at Home (Lab Safety Institute)
- 10 Tips to Support Children’s Science Learning (NAEYC)
- Supporting Science Learning at Home (CCCF/FCSGE)
- KS1 Science Experiments at Home (LearningMole)
- 1st Grade Science: Activities, Standards and Teaching Tips (Discovery Education)
- NGSS First Grade (National Wildlife Federation)
- Simple Science Activities (PBS KIDS for Parents)
- 10 Easy Science Projects for Class 1 and 2 (Chitti STEM)
- Experiments for Kids in Elementary School (TPT Blog)
- Hands-On Science Experiments for Kids (Science4Us)