
Night photography promises scenes filled with stars, planets, and a vast universe overhead. Yet nearly 83 percent of people live under skies where artificial light obscures the Milky Way. Most would think this makes capturing magical night sky images impossible. But with the right equipment and clever planning, you can still bring those cosmic wonders into crisp, vivid focus and create photographs others can only dream of.
Table of Contents
- Step 1: Gather Essential Equipment For Night Photography
- Step 2: Choose An Ideal Location For Stargazing
- Step 3: Set Up Your Camera For Night Sky Photography
- Step 4: Capture Stunning Night Sky Images
- Step 5: Review And Edit Your Photographs
- Step 6: Share Your Night Sky Masterpieces
Quick Summary
| Key Point | Explanation |
|---|---|
| 1. Choose the right camera | Opt for a digital SLR or mirrorless camera that excels in low light and has manual controls. |
| 2. Use essential equipment | Include a tripod, wide angle lens, and remote shutter to enhance stability and image quality. |
| 3. Select a dark sky location | Find areas with minimal light pollution, like rural landscapes or national parks, for best results. |
| 4. Employ manual camera settings | Use manual mode, adjust ISO and aperture settings, and focus manually for sharp images in darkness. |
| 5. Edit thoughtfully | Use professional software to fine-tune images, focusing on white balance, noise reduction, and preserving natural colours. |
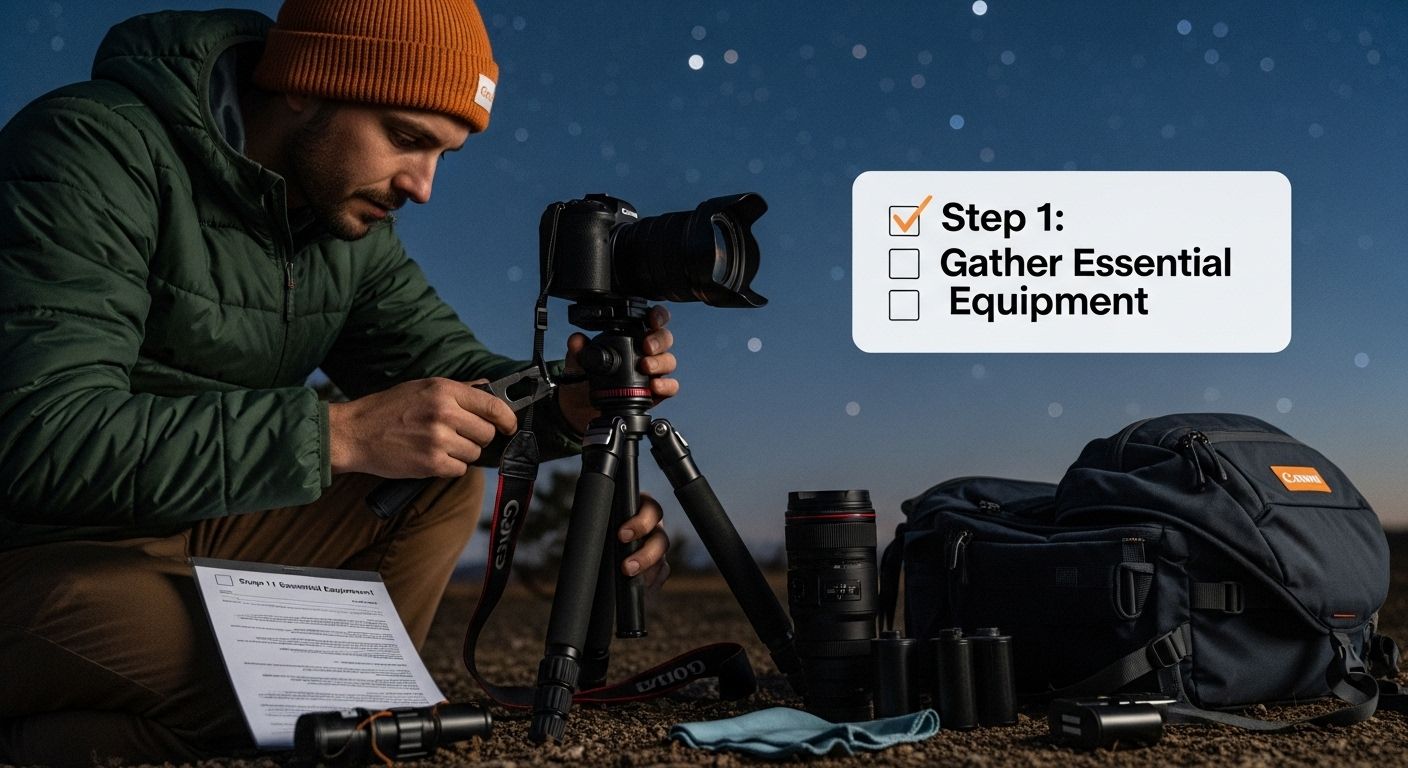
Step 1: Gather Essential Equipment for Night Photography
Successful photographing the night sky depends on having the right equipment. Your gear will make the difference between capturing breathtaking celestial images and ending up with frustrating blurry shots. Before venturing out into the darkness, you need to carefully select and prepare your photography toolkit.
Camera Selection Matters
Choose a camera with strong manual settings capabilities. Digital SLR or mirrorless cameras work best for night sky photography because they allow precise control over exposure, focus, and light sensitivity. Look for cameras that perform well in low light conditions and can shoot in RAW format, which provides maximum flexibility during post processing. Check out our guide on creative photography techniques to understand how different camera settings impact your images.
Essential Night Photography Equipment
Your complete night sky photography kit should include several critical components. According to the Texas Parks & Wildlife Department, these are the most important items:
- A sturdy tripod to eliminate camera shake
- Wide angle lens with maximum aperture of f/2.8 or wider
- Remote shutter release or intervalometer
- Extra camera batteries
- Headlamp with red light preservation mode
- Extra memory cards
Preparing your equipment requires thoughtful planning. Charge all batteries fully before your expedition, and consider bringing portable power banks. Pack your gear in a weather resistant bag that protects against moisture and dust. Test all equipment before your night photography session to ensure everything functions correctly in low light conditions. Practice adjusting settings in darkness to build muscle memory and confidence.
Make sure your lens is clean and free from dust or smudges, as these imperfections become dramatically visible against the dark sky background.
Below is a summary table organising the essential night sky photography equipment, along with each item’s purpose and related recommendations from the guide.
| Equipment | Purpose | Recommendations/Notes |
|---|---|---|
| Sturdy tripod | Prevents camera shake | Essential for stable long exposures |
| Wide angle lens (f/2.8 or wider) | Allows maximum light and wide perspective | Choose lens with maximum aperture for best low light |
| Remote shutter release | Eliminates blur from touching camera | Intervalometer also suitable |
| Extra camera batteries | Maintains power throughout session | Fully charge before expedition and consider backups |
| Headlamp with red light mode | Preserves night vision | Prefer models with red filter for astronomy work |
| Extra memory cards | Provides ample storage | Use large capacity cards for multiple RAW images |
| Lens cleaning supplies | Maintains optimal image quality | Microfibre cloth and cleaning kit essential for dust/smudges |
| Bring lens cleaning supplies and a microfiber cloth to maintain optimal image quality throughout your photography adventure. |
Step 2: Choose an Ideal Location for Stargazing
Selecting the perfect location is crucial when photographing the night sky. Your chosen spot can dramatically impact the quality and clarity of your celestial images. The goal is to find a dark sky location with minimal light pollution and unobstructed views of the horizon.
Understanding Dark Sky Conditions
Light pollution is the nemesis of night sky photography. Urban areas with abundant streetlights, billboards, and building illumination will wash out the subtle details of stars, planets, and astronomical phenomena. You need to venture far from city centres into regions with minimal artificial light. Rural landscapes, national parks, and remote wilderness areas offer the best environments for capturing stunning night sky imagery.
To identify optimal locations, use specialised dark sky mapping tools and apps. These resources help you pinpoint areas with low light pollution ratings. Some apps provide real-time light pollution maps, allowing you to scout potential photography sites before your expedition. According to the U.S. National Park Service, national parks are exceptional locations for stargazing due to their protected status and restricted artificial lighting.
Strategic Location Scouting
When selecting your night sky photography location, consider these critical factors:
- Elevation matters: Higher ground provides clearer atmospheric conditions
- Avoid areas with tall trees or mountains blocking horizon views
- Check weather forecasts for cloud cover and atmospheric clarity
- Research local astronomy clubs for recommended stargazing spots
- Consider accessibility and safety of your chosen location
Before your photography session, visit the location during daylight to familiarise yourself with the terrain. Identify potential compositions, check for stable ground to set up your tripod, and assess potential foreground elements that could enhance your night sky images. Some photographers scout locations days or weeks in advance to understand the precise celestial movements and landscape interactions.
Remember that patience and preparation are key. The perfect location combines minimal light pollution, clear skies, interesting landscape features, and safe, comfortable access. Take time to research and plan your night sky photography adventure carefully.
The table below summarises the main steps to mastering night sky photography, including the focus of each step, typical activities, and the expected outcome for readers.
| Step | Focus/Goal | Typical Activities | Expected Outcome |
|---|---|---|---|
| Gather essential equipment | Prepare photography kit | Select camera, tripod, lens, accessories | Ready and tested equipment |
| Choose ideal location | Find optimal stargazing spot | Scout low light, clear horizon, safe access | Best sky conditions for photography |
| Set up camera | Configure manual settings | Adjust ISO, aperture, shutter speed, focus | Camera optimised for night sky shots |
| Capture images | Take photos of celestial scenes | Plan timing/composition, shoot exposures | Stunning raw night sky images |
| Review and edit photographs | Perfect images post-capture | Import/adjust RAW, edit white balance/noise | Visually enhanced, natural sky images |
| Share night sky masterpieces | Publish and engage with community | Upload, narrate, connect on platforms | Build recognition & inspire audiences |
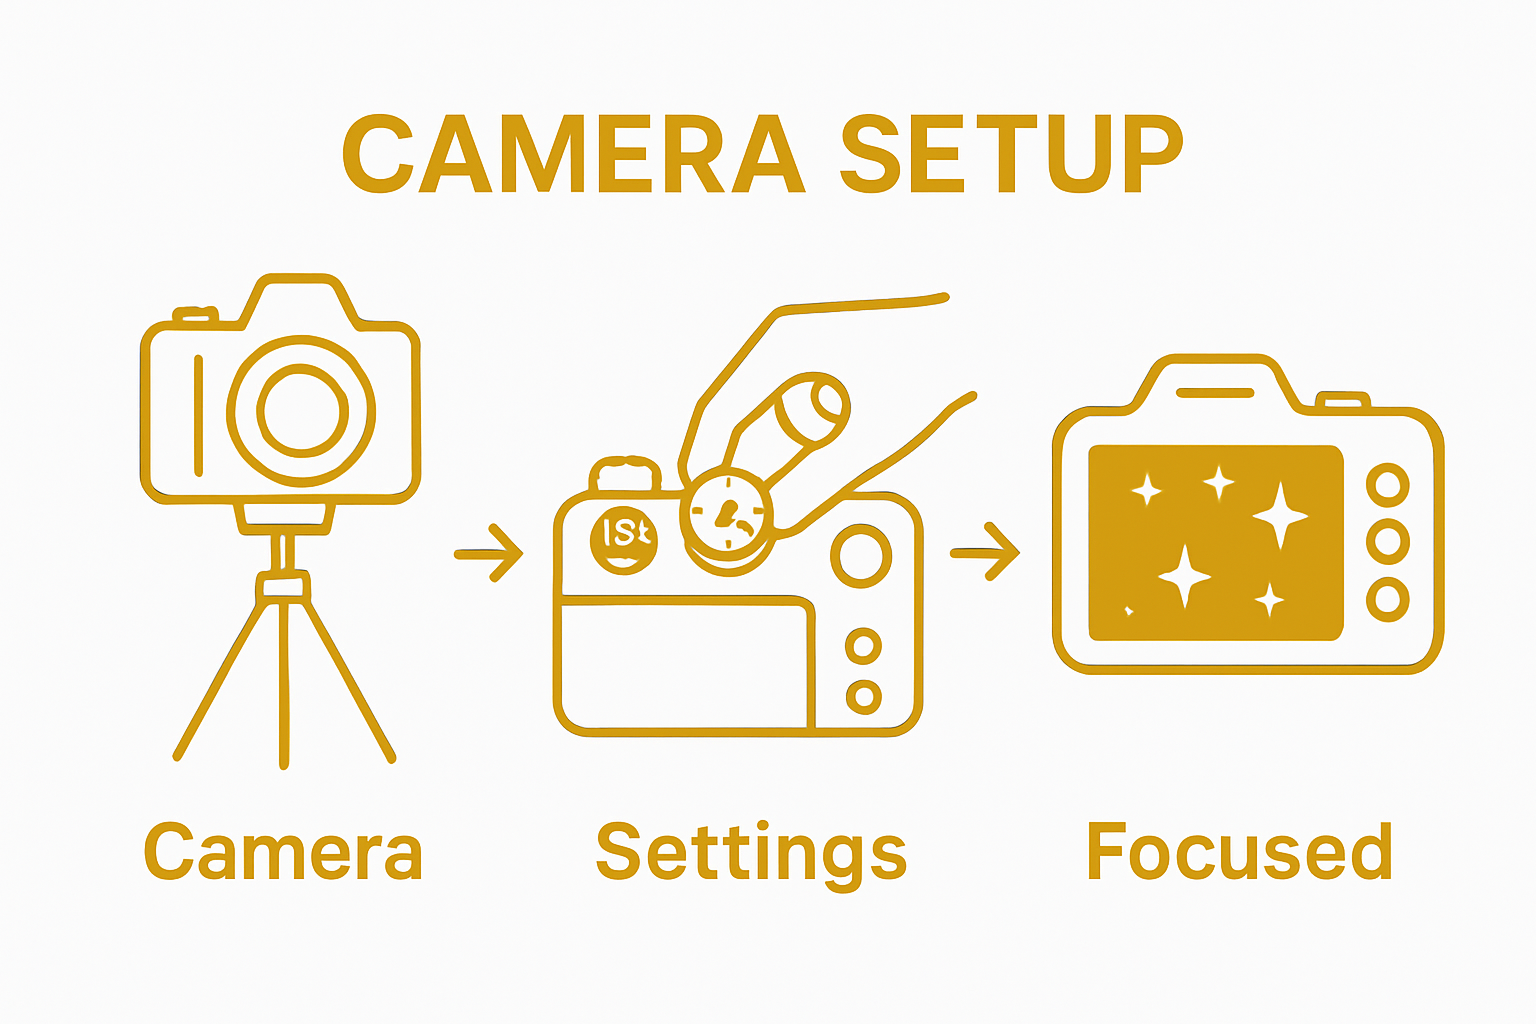
Step 3: Set Up Your Camera for Night Sky Photography
Configuring your camera correctly is the most critical step in capturing stunning night sky photographs. The complexity of astronomical imaging requires precise technical adjustments that transform an ordinary snapshot into an extraordinary celestial portrait. Manual settings are absolutely essential for achieving professional results.
Understanding Camera Configuration
Transitioning your camera to manual mode unlocks complete creative control. Start by mounting your camera securely on a sturdy tripod to eliminate any potential movement. Select a wide angle lens that allows maximum light capture and broad sky perspectives. Explore our photography technique insights to understand advanced camera settings.
According to the Texas Parks & Wildlife Department, your technical configuration should focus on several key parameters. Begin with setting your ISO between 800 and 3200 to balance light sensitivity and image noise. Choose a wide aperture setting like f/2.8 or lower to maximise light entry. Your shutter speed requires careful calculation using the classic “500 Rule” - divide 500 by your lens focal length to determine maximum exposure time before star trails appear.
Manual focus becomes crucial in low light conditions. Most autofocus systems struggle in darkness, so switch to manual and carefully focus on a bright star or distant light source. Use your camera’s live view mode and zoom in digitally to ensure absolute sharpness. Some photographers prefer setting focus to “infinity” and making slight adjustments based on test shots.
Prepare additional equipment to support your night sky photography:
- Remote shutter release to prevent camera shake
- Extra fully charged batteries
- Large capacity memory cards
- Lens cleaning materials
- Portable light with red filter to preserve night vision
Before your actual shoot, conduct several test exposures. Review these images carefully on your camera screen, checking focus, exposure, and noise levels. Make incremental adjustments and remember that night sky photography demands patience and persistent experimentation. Each location and atmospheric condition will require unique camera settings.
Step 4: Capture Stunning Night Sky Images
Capturing breathtaking night sky images requires more than technical knowledge. It demands patience, creativity, and an understanding of celestial dynamics. Your goal is to transform the vast darkness into a canvas of starlight, planetary movements, and cosmic wonder.
Composition and Timing
Successful night sky photography is about strategic positioning and precise timing. Astronomical events and celestial alignments create unique opportunities for extraordinary images. Research upcoming meteor showers, lunar phases, and planetary conjunctions before your photography session. Explore our creative photography techniques to understand how timing impacts visual storytelling.
According to the U.S. National Park Service, planning your shoot around specific astronomical events can dramatically enhance image quality. Consider incorporating interesting landscape elements as foreground subjects. Mountains, silhouetted trees, or reflective water surfaces can provide compelling context and depth to your celestial photographs.
Technical Execution
During your actual shooting session, maintain a methodical approach. Start by taking multiple exposures of the same scene, which allows you to later stack images in post processing to reduce noise and enhance detail. Experiment with different exposure lengths and ISO settings to find the perfect balance. Some photographers prefer creating star trail images by using longer exposure times, while others aim for crisp, pin sharp star points.
Your night sky photography workflow should include:
- Multiple bracketed exposures
- Careful monitoring of camera temperature
- Consistent white balance settings
- Regular sensor and lens cleaning
- Systematic image review after each set of shots
Remember that night sky photography is an iterative process. Each image provides learning opportunities. Review your photographs critically, understanding that perfect shots often emerge from persistent practice and willingness to experiment. Weather conditions, atmospheric clarity, and even slight camera movements can significantly impact your results. Develop a patient mindset and treat each photography session as a unique astronomical adventure.
Step 5: Review and Edit Your Photographs
Transforming raw night sky captures into stunning visual narratives requires careful review and strategic editing. Your photographs captured under challenging astronomical conditions need precise post processing techniques to reveal their true potential. Professional editing separates ordinary snapshots from extraordinary celestial imagery.
Digital Editing Fundamentals
Begin your editing journey by importing RAW files into professional photo editing software. Professional tools like Adobe Lightroom and Capture One provide sophisticated controls for astronomical photography. Discover advanced photography techniques to enhance your post processing skills.
According to the Planetary Society, effective night sky image editing involves several critical adjustments. Focus initially on correcting white balance to ensure accurate color representation of stars and celestial objects. Carefully adjust exposure to bring out subtle details without introducing excessive digital noise. Noise reduction becomes particularly crucial when working with high ISO images captured during night photography.
Sophisticated Editing Techniques
Professional night sky photographers often employ advanced editing techniques like image stacking. This process involves combining multiple exposures to reduce noise, enhance details, and create more vibrant astronomical images. Use specialised software that allows layer blending and alignment of multiple shots taken during your photography session.
Your systematic editing workflow should include:
- Precise noise reduction
- Careful contrast enhancement
- Selective color temperature adjustments
- Subtle sharpening of stellar details
- Maintaining natural astronomical color palettes
Remember that editing is an art form requiring nuanced understanding. Avoid over processing, which can make images look artificial. Your goal is to reveal the natural beauty of the night sky, not create an unrealistic representation. Each editing decision should respect the original astronomical scene you captured.
 Develop your unique editing style through consistent practice and careful observation of professional astronomical photography.
Step 6: Share Your Night Sky Masterpieces
Capturing extraordinary night sky images represents only half the journey. Sharing your astronomical photographs allows you to connect with fellow enthusiasts, inspire others, and document your creative journey through the cosmos. Your images are more than photographs they are visual stories of celestial exploration.
Selecting Sharing Platforms
Choosing the right platforms to showcase your night sky photography requires strategic consideration. Photography communities like Instagram, Flickr, and 500px offer specialised spaces for astronomical imagery. Professional networks such as Unsplash and Behance provide opportunities to gain recognition and potentially monetise your work. Explore our creative photography insights to understand effective image sharing strategies.
According to the Astronomical League, successful image sharing involves more than simply uploading photographs. Provide context about your capture location, camera settings, astronomical events, and personal experience. This narrative approach transforms your images from mere visual records into compelling storytelling experiences.
Building Your Photography Community
Engaging with online astronomical and photography communities amplifies your image’s reach and impact. Join specialised forums, participate in discussion groups, and connect with fellow night sky photographers. Constructive feedback from experienced astrophotographers can help refine your technical skills and artistic vision.
Consider these strategic sharing approaches:
- Create dedicated social media accounts for astronomical photography
- Use relevant hashtags to increase discoverability
- Participate in online photography challenges
- Engage thoughtfully with other photographers
- Consider creating a personal photography blog
Remember that sharing is about more than accumulating likes or followers. It is about building connections, inspiring curiosity about the universe, and contributing to a global community of astronomical enthusiasts. Each photograph you share represents a unique moment of cosmic beauty, inviting others to look up and marvel at the extraordinary sky above us.
Inspire the Next Generation of Night Sky Explorers
You have just discovered the secrets to mastering night sky photography. You know that finding the right equipment, keeping kids curious, and preserving our planet are all part of the creative journey. After reading these steps, it is clear that your biggest challenges include capturing clear images in low light, understanding camera settings, and inspiring a love of nature in children. These obstacles can feel overwhelming, especially when you wish to nurture young imaginations while protecting the natural beauty above us.

Imagine a world where every budding photographer feels confident holding their first camera under a starlit sky. At The Zoofamily, our mission goes beyond innovative kids’ cameras and adventure gear. We have designed our products and our ethos to stimulate playful learning about the wonders of nature. For every camera sold, we plant one tree, nurturing not just new skills but a brighter planet for the next generation. Ready to turn your night sky adventure into a lasting family memory? Explore all we have to offer at The Zoofamily website and discover how our creative tools and sustainability promise can help you start your journey today.
Frequently Asked Questions
What camera settings are recommended for night sky photography?
For night sky photography, use manual mode on your camera. Set your ISO between 800 and 3200, use a wide aperture (f/2.8 or lower), and calculate the shutter speed using the ‘500 Rule’ to avoid star trails.
How can I reduce light pollution when photographing the night sky?
To reduce light pollution, select a dark sky location away from urban areas. Use dark sky mapping tools and apps to find areas with minimal artificial light and optimal stargazing conditions.
What type of lens is best for capturing the night sky?
A wide-angle lens with a maximum aperture of f/2.8 or wider is recommended for night sky photography. This allows for more light capture and broader perspectives of the sky.
What should I do to prepare my equipment before a night sky photography session?
Before your session, charge all camera batteries, pack a sturdy tripod, ensure your lens is clean, and bring lens cleaning supplies. It’s also advisable to conduct equipment tests in low light to ensure everything is functioning properly.