

Every clean plastic bottle can become a useful DIY object. This guide covers 12 quick, practical projects you can make with bottles you already have, plus three step-by-step builds, preparation and safety advice, and selection guidance. We put this together because we care about creative, nature-focused activities for families.
TL;DR:
- Use PET bottles for planters and greenhouses to easily monitor root growth and soil moisture levels for better plant care.
- Select HDPE detergent bottles for reusable watering cans and heavy-duty storage that resist cracking with frequent handling outdoors.
- Start small with quick projects like piggy banks or scoops to involve children and build confidence before attempting longer, more complex crafts.
- Always wash bottles thoroughly and avoid bottles previously containing chemicals like fuel or pesticides to ensure safety and hygiene.
- Keep outdoor projects protected by avoiding direct sunlight, checking seams regularly, and choosing appropriate plastic types for durability over time.
Table of Contents
- 1. Twelve projects to make from plastic bottles
- 2. Preparation, tools and safety rules before you start
- 3. Three step-by-step projects to build this weekend
- 4. Choosing a project that fits your time, skill and bottles
- 5. Why reuse matters more than decoration alone
- 6. Where to store and display your finished projects
- 7. A note on starting small with children
- A ready-made alternative for creative gifts
- FAQ
- Sources
1. Twelve projects to make from plastic bottles
Each project below works with a specific bottle type; match the bottle to the job before you start cutting.
- Character planter: a small PET bottle, cut and painted, makes a beginner planter relatively quickly.
- Self-watering herb pot: a medium to large soda bottle, cut in two, suits an intermediate maker and takes under an hour.
- Vertical hanging garden: several medium bottles linked with twine, intermediate, takes about an hour for a full set.
- Bird feeder: a medium to large bottle with a stable base, beginner to intermediate skill level, takes under half an hour.
- Watering can: an HDPE detergent bottle with a tight cap, beginner level, takes about a quarter of an hour.
- Lantern or tea-light lamp: a small PET bottle, beginner, 20 minutes, best for battery tea lights only.
- Desk organiser or pencil pot: a 500ml bottle cut to height, beginner, 10 minutes.
- Storage basket wrapped in jute: a large bottle with the top removed, intermediate level, takes a bit under an hour including wrapping.
- Piggy bank: a small PET bottle with a coin slot, beginner, 15 minutes.
- Scoop or funnel: any rigid bottle cut diagonally, beginner, 5 minutes.
- Mini-greenhouse or cloche: a 2 litre bottle with the base removed, beginner, 10 minutes per seedling.
- Wind spiral or garden flower: a medium to large bottle cut into a continuous spiral or petal shapes, intermediate level, takes about half an hour to three quarters, intended for outdoor use only.
Craft guides commonly list these same categories, including watering cans, bird feeders, vertical gardens and mini-greenhouses, which gives a reliable starting shortlist for new makers.
2. Preparation, tools and safety rules before you start
Wash every bottle with warm soapy water and rinse twice. Skip bottles that held fuel, pesticides, bleach or other chemical products, since previous contents can leave residues that are unsafe for food, water or children’s projects.
- Use sharp craft scissors or a box cutter on a cutting mat, never freehand on your palm.
- Drill small holes with a fine bit at low speed to stop the plastic cracking.
- Avoid melting or reshaping bottles with heat at home, since household heat methods carry more risk without specialist equipment.
- Smooth cut edges with fine sandpaper or a lighter pass of a craft file.
- Use a plastic-rated adhesive such as an epoxy or hot glue for joins, and keep small offcuts away from young children.
- Put sharp offcuts straight into general waste, not loose in a recycling bin.
Pro Tip: Cut your test line in pencil first, then follow it with scissors. A straight guide line saves most beginner mistakes.
3. Three step-by-step projects to build this weekend
- Self-watering herb pot: cut the bottle roughly a third from the top, invert the top section into the base to form a wick cone, thread a strip of cotton rope through the cap for water uptake, fill the base with 4 to 5cm of water, add soil to the top section and check moisture daily for the first week.
- Bird feeder: cut two small side windows opposite each other for seed access, push a wooden skewer through below each window as a perch, drill a hole near the cap for a hanging string, and test the loaded feeder hangs level before placing it outside. Bird feeders need seed access, stable perches, hanging support and a way to clean them.
- Vertical planter: cut a window roughly 15 by 7.5cm on one side, drill three drainage holes in the base, thread rope through two top holes for suspension, and hang a test weight equal to wet soil before planting to confirm balance.
Confirm function before you decorate any of these three, since checking drainage and stability first prevents rework later.
4. Choosing a project that fits your time, skill and bottles
Pick a quick win when you have under half an hour: a pencil pot, a scoop or a piggy bank. Choose a longer project when you have an hour and a few extra parts on hand: a vertical garden set, a wrapped storage basket or a wind spiral.
- Clear PET bottles suit planters and greenhouses, since you can see root growth and soil moisture.
- HDPE detergent bottles suit watering cans and heavy-duty storage, since the plastic resists cracking under repeated handling.
- Keep outdoor pieces, such as feeders and wind spirals, away from direct sun to slow fading and brittleness.
Keep a small kit of outdoor paint, strong adhesive and garden twine on hand, and check seams every few months on anything left outside.
5. Why reuse matters more than decoration alone
Reuse only earns its environmental credit when it replaces something you would otherwise buy and when it lasts. UNEP frames creative reuse as part of a circular approach, noting that reuse schemes can cut consumption of short-lived plastics compared with business as usual.
A bottle turned into a lasting planter or watering can displace a purchase. The same bottle cut into a decoration you discard in a month does not.
A useful test before starting: will this object replace something you would have bought, and will it survive regular use? We explain the wider idea in our upcycling guide, and for every camera sold a tree is planted as part of the same thinking.
6. Where to store and display your finished projects
Group finished pieces by purpose rather than by how they look. Planters and vertical gardens sit best on a windowsill shelf or a wall bracket, since this keeps soil off furniture and gives plants even light. Bird feeders and wind spirals belong outdoors near a window you can see from indoors, hung from a bracket, a tree branch or a simple shepherd’s hook.
Indoor organisers, pencil pots and piggy banks work well on an open shelf where children can reach and use them, rather than tucked in a drawer. If you have made several items from one afternoon’s batch, a shallow basket or tray keeps small pieces like scoops and coin banks together until they find a permanent spot.

Rotate seasonal pieces, such as lanterns for autumn evenings, into storage in a dry box rather than leaving them outside year-round, since UV and damp shorten the life of most plastic crafts. A labelled shoebox works as well as anything purpose-bought.
7. A note on starting small with children
Start with one simple project, such as a pencil pot or a scoop, and let a child handle the painting and decorating stage rather than the cutting. Watching a bottle become something useful tends to stick with children more than any lecture about waste. Check every edge by hand before handing a finished piece over, and treat the mechanical safety check as the first step, not an afterthought.
— ALAIN
A ready-made alternative for creative gifts
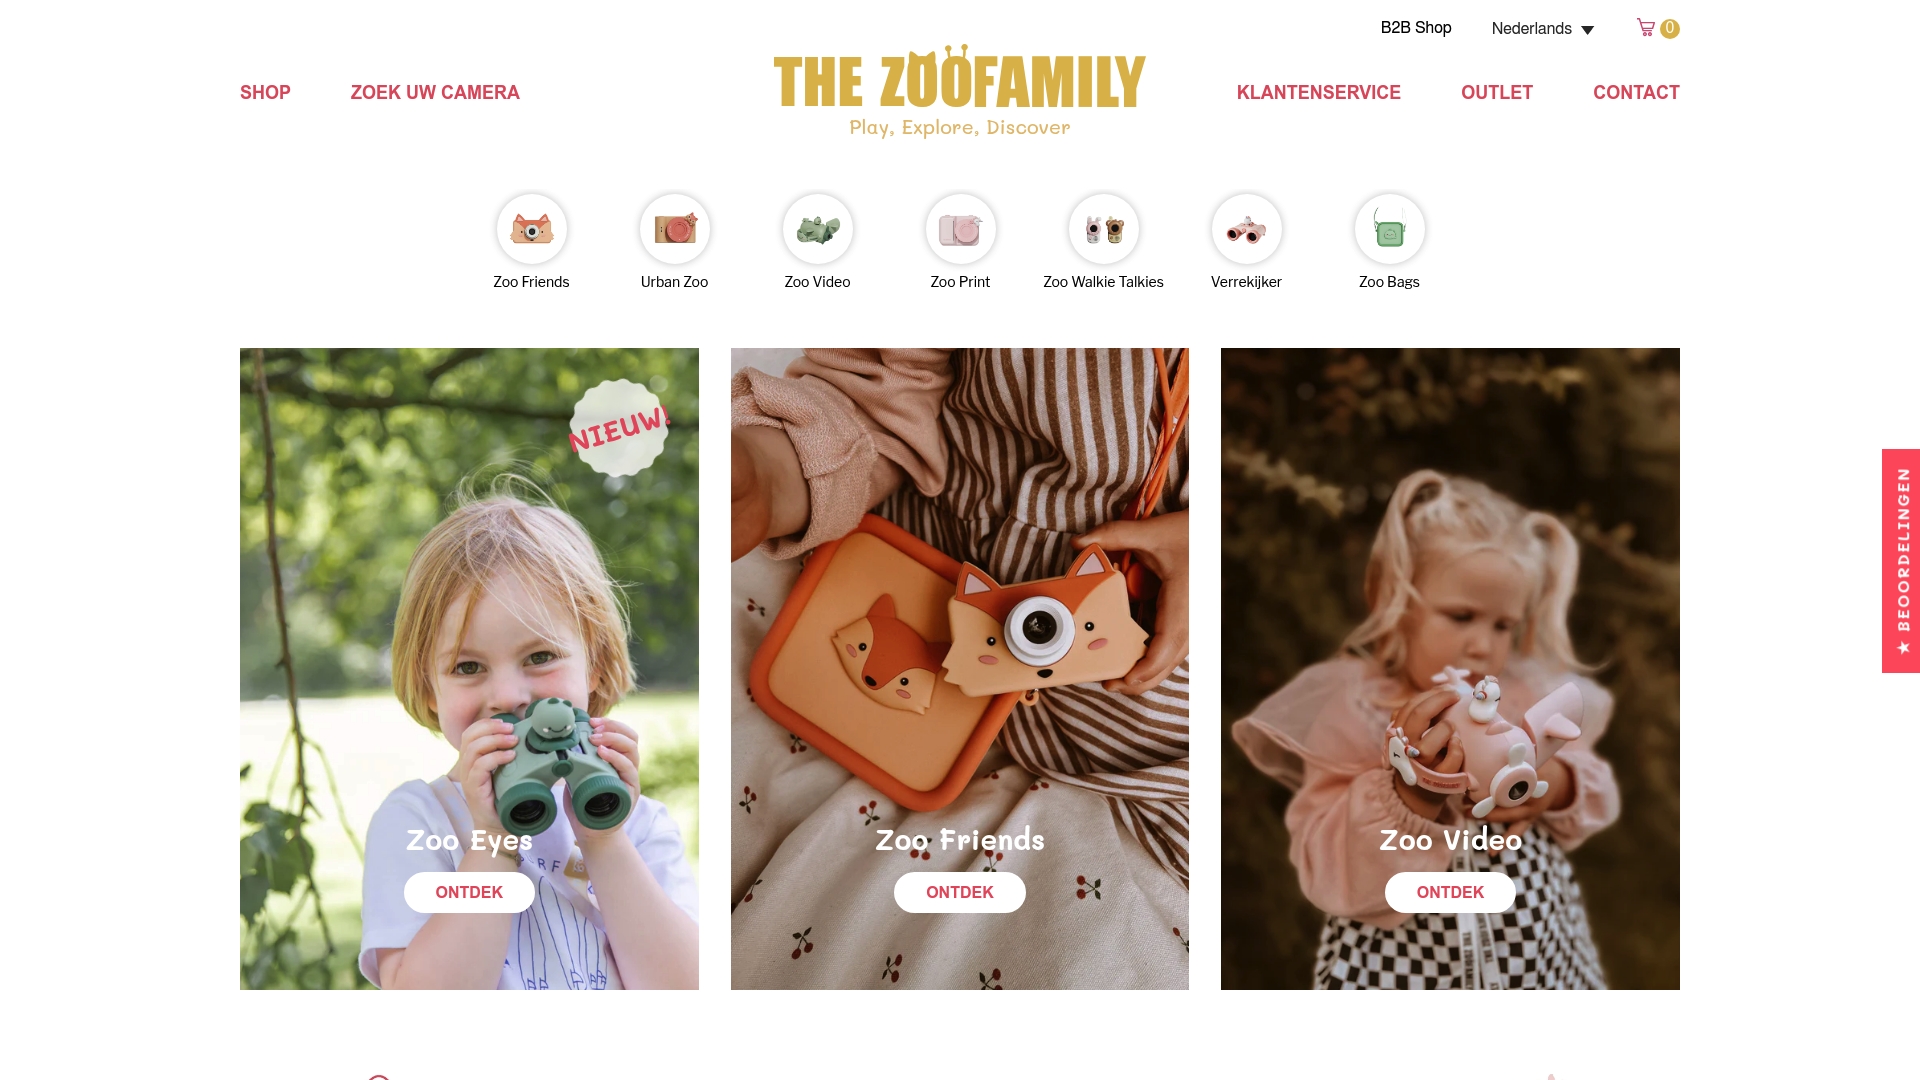
If cutting and gluing is not how you want to spend your weekend, consider animal-themed cameras, walkie-talkies and binoculars built to inspire children outdoors and into nature, with a tree planted for every camera sold.
| Product line | Price |
|---|---|
| Zoo Friends camera | 69.95 EUR |
| Zoo Walkie-Talkie | 54.95 EUR |
| Zoo Eyes binoculars | 39.95 EUR |
Browse the full Zoo Friends, Urban Zoo and more range or head straight to our kids camera collection to find a gift that pairs naturally with an afternoon of outdoor exploring. For families who also like tracking pets outdoors, interactive devices for dog safety cover a related angle worth a look.
FAQ
What are some creative things I can do with plastic bottles?
Clean plastic bottles convert into planters, bird feeders, watering cans, vertical gardens, organisers and lanterns among other projects. Most of these need only scissors, a drill and basic glue, with no specialist tools required.
What can you turn plastic bottles into?
Common conversions include self-watering pots, mini-greenhouses, piggy banks, storage baskets and garden decorations such as wind spirals. The best outcome is one that replaces something you would otherwise have bought, since that is when reuse delivers a real environmental benefit.
What are some crafts I can make with bottles?
Beginner-friendly crafts include a pencil pot, a scoop, a lantern and a piggy bank, each taking 20 minutes or less. Intermediate crafts such as a vertical planter or a wind spiral take closer to an hour.
Is it safe to use any plastic bottle for a craft project?
No, avoid any bottle that previously held fuel, pesticides or bleach, since residues can remain even after washing. Stick to bottles that held food or drinks, wash them thoroughly, and skip any heat-based reshaping at home.
How do I make a plastic bottle project last outdoors?
Choose HDPE bottles for heavy-duty outdoor use, keep pieces out of direct sun where possible, and check seams and holes every few months. Confirming drainage and stability before decorating also helps a project hold up over time.