

Yes, children aged 3 and up can photograph the night sky, and it needs no astrophotography skill. Give a child a sturdy, simple camera on a small tripod at dusk, then set one goal: a moon photo or a short star-trail attempt. A child-safe option such as a Thezoofamily camera makes that first outing straightforward rather than frustrating.
TL;DR:
- A simple, child-safe camera and a lightweight tripod are essential for steady night sky shots, especially when using long exposures with children.
- Keep camera settings straightforward, using a shutter speed of 10 to 20 seconds and focus locked to infinity for predictable results.
- Short, supervised outings at dusk with warm clothing and snacks make the experience enjoyable and reduce the risk of frustration or cold.
- Activities like silhouette challenges and glow-stick star trails turn the night shoot into a fun game that encourages observation and participation.
- Technical complexity should be avoided; focus on achievable goals and celebrate all attempts to foster interest and confidence in young children.
Table of Contents
- What kit works for small hands at night?
- What camera settings should parents use with kids?
- How do you keep a night photography session safe and comfortable?
- What activities make a first night shoot fun?
- Why this activity is worth the effort
- What actually matters when introducing kids to night photography
- A camera built for this exact evening
- Sources
What kit works for small hands at night?
Small hands need forgiving kit. A rugged, button-simple children’s camera or a phone in a firm clamp beats any adult camera with dials a three-year-old cannot operate. Weight matters too: anything heavier than a small water bottle gets abandoned within ten minutes.
Stability is the one thing that actually determines whether a night shot works. A lightweight tripod or flexible clamp holds the camera steady during longer exposures, and a child-sized tripod with a low centre of gravity is harder to knock over than a full-height adult one.
Useful additions for a first night session:
- A red-light torch, which preserves night vision better than a white beam
- A simple remote shutter or the camera’s built-in timer, so pressing the button doesn’t shake the shot
- Glow sticks for playful long-exposure trails
- A basic paper star chart or a kid-friendly stargazing app for naming what’s overhead
Thezoofamily builds its cameras around exactly this brief: animal-themed, durable, and designed for children aged 3 and up rather than scaled-down adult gear. Every camera sold also funds a tree planted through the brand’s conservation pledge, which gives the purchase a second purpose beyond the photos themselves.
Pro Tip: Practise mounting the camera on the tripod indoors, in daylight, before the first night outing. Fumbling with a clamp in the dark is where most young children lose patience.
What camera settings should parents use with kids?
Keep the settings simple enough to explain in one sentence, and rehearse them before dark. If the camera has a Night Portrait mode, that combines a longer exposure with a touch of flash, which suits a parent-and-child shot at dusk when there’s still some ambient light in the sky. For a manual camera app, a workable starting recipe is a shutter speed of 10 to 20 seconds with ISO 800 to 1600, focus switched to infinity before full darkness sets in.
Four steps make the whole session predictable:
- Pick a time and spot: dusk or early evening, somewhere away from bright streetlights.
- Mount the camera securely on its tripod or clamp and lock the focus to infinity.
- Use the timer or a remote shutter so nobody has to touch the camera during the exposure.
- Take 5 to 10 test shots, then let your child pick their favourite.
For a moon shot, zoom in and let your child watch the image sharpen on the screen. For a star-trail variant, wave a glow stick in slow circles during a 10-second exposure and let the child watch the trail appear afterwards, which turns the waiting time into the fun part rather than the boring part.
If shots come out blurred, the tripod likely moved. If they’re too dark, extend the shutter time rather than raising ISO further, since higher ISO adds grain that a young child may mistake for a “broken” photo. If your child is losing patience, that’s the cue to stop. Half of the value of a first session comes from finishing while everyone’s still enjoying it, not from squeezing out one more shot.
How do you keep a night photography session safe and comfortable?
A little planning beforehand prevents most problems outdoors after dark. Visibility comes first: red-mode torches for navigating, reflective strips or clothing if you’re near a road, and a firm rule that children stay within arm’s reach or a pre-agreed short distance.
Comfort keeps the session enjoyable rather than endured:
- Keep the first few outings short, 20 to 30 minutes, starting at dusk rather than midnight
- Pack an extra warm layer even in summer, since temperatures drop fast once the sun’s gone
- Bring a snack and water; a hungry child stops cooperating quickly
- Build in a sit-down break if attention starts to wander
Respect the space you’re in, too. Keep voices low, avoid disturbing nesting birds or roosting animals, and stick to paths where you’re allowed to be. If a shot fails or a child gets cold and wants to go in, treat that as useful information rather than a disappointment. Praise the attempt, not just the result.
Pro Tip: Tell your child in advance that some photos will come out blurry or black, and that’s completely normal. Framing failed shots as “practice” rather than mistakes keeps confidence intact.
What activities make a first night shoot fun?
Structure turns a night outdoors into a game rather than a chore, as suggested by Geocaching mit Kindern: Ideen und Vorlagen für Eltern. Try these four, in whatever order suits your child’s attention span:
- Dusk silhouette challenge. Have your child stand against the fading sky and photograph the outline, then compare shots taken five minutes apart as the light changes.
- Glow-stick star-trail. Set a 10-second exposure, hand your child a glow stick, and let them draw shapes in the air while the shutter’s open.
- Moon-phase photo journal. Photograph the moon on the same night each week and stick the prints in order; children as young as three enjoy spotting the shape change.
- Star-spotting and photograph game. Find the Big Dipper first, since its shape is the easiest in the sky to recognise, then use it to point toward Polaris and try to capture both in one frame.
Reviewing the pictures afterwards matters as much as taking them. Slowing down to look closely at a photo together builds a child’s confidence and observation skills, so ask simple questions: is the moon sharp or blurry, is the subject centred or off to one side, is there enough light or too little. Let your child choose the “winning” photo of the night. That small act of ownership does more for their interest than any technical explanation.
Why this activity is worth the effort
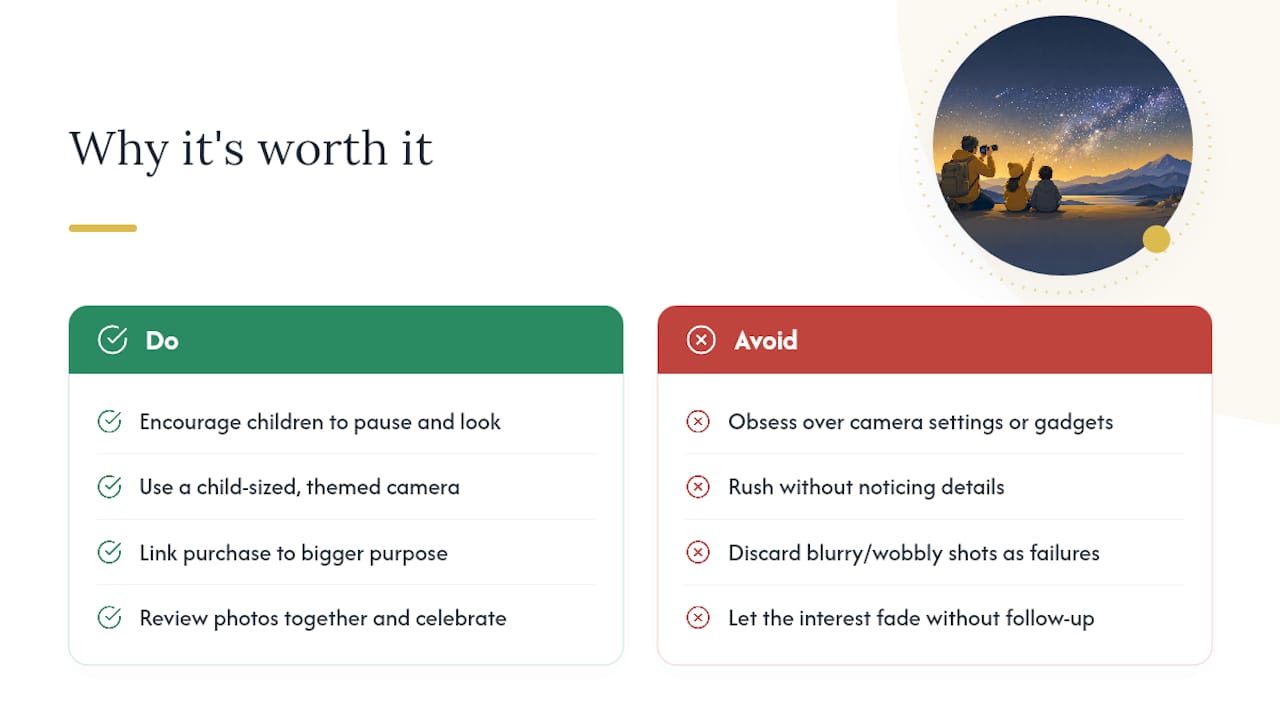
Photography gives a young child a reason to stop and actually look at the sky, rather than glancing up and moving on. That pause, more than any setting or gadget, is where the real learning happens. Encouraging children to slow down and notice detail builds observation and confidence over time, and a camera is simply the tool that makes that pause feel purposeful rather than aimless.
Thezoofamily was built around that idea: cameras designed for small hands, with animal themes chosen deliberately to spark a child’s curiosity about nature, and a one-tree-per-camera pledge that ties the purchase to something bigger than the box it arrives in. When you sit down afterwards to look through the night’s photos together, treat every blurry moon shot and every wobbly star trail as evidence your child was paying attention. Celebrate that, and the interest tends to stick.
What actually matters when introducing kids to night photography
Most advice on this topic overcomplicates things by importing adult astrophotography habits, wide apertures, star-tracking mounts, precise focus stacking, into a context where none of it is needed. That’s the wrong starting point for a three-year-old. What actually determines whether a child stays interested is friction: how many steps stand between “let’s go outside” and “look, a photo appeared.”
The conventional advice to master manual settings before you start gets this backwards. A child doesn’t care whether the shutter was open for 12 seconds or 18. They care whether pressing the button made something happen, and whether the grown-up next to them looked pleased about it. Prioritise a camera that’s simple enough for a child to hold and press themselves, a tripod that won’t tip over, and a single achievable goal per outing. Technical precision can wait until the child is old enough to ask for it.
— ALAIN
A camera built for this exact evening
Thezoofamily is the practical alternative to adapting adult camera gear for a child, built specifically so a three-year-old can hold, point, and press the shutter without help. Where a standard camera asks a small child to manage dials and delicate lenses, a Thezoofamily camera is designed to survive drops, cold hands, and repeated fumbling in the dark.
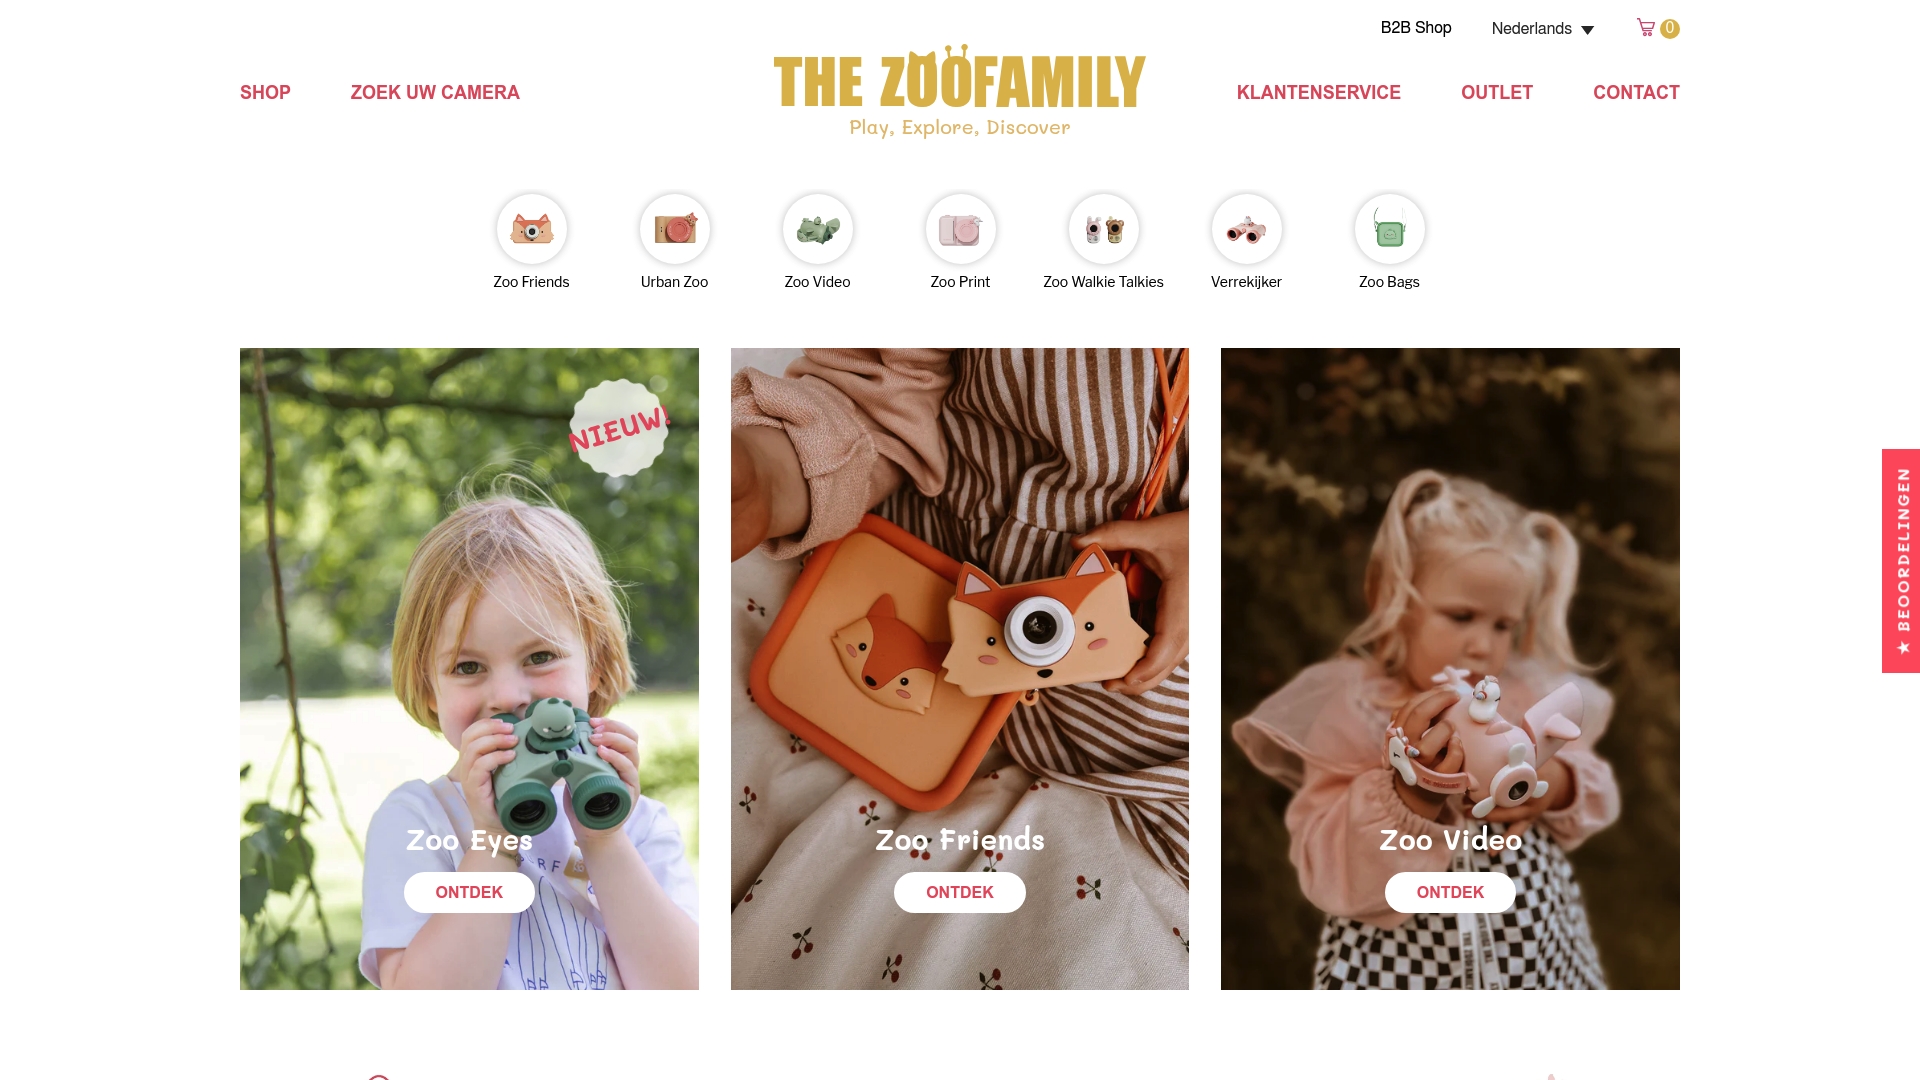
Before buying, run through a short checklist: does the camera suit your child’s age band, does it work with a simple clamp or tripod, and does the battery last a full evening outing without needing a mid-session recharge. Thezoofamily’s range is built around all three. If you want to see the current lineup and pick the right model for your child’s age, browse the Thezoofamily camera range and get the first night-sky outing planned for this week.
Sources
For more on planning a family dark-sky evening, see this guide to family dark-sky adventures. For structured nature-photography ideas at home, try Rainy Day Homeschooling’s guide. Thezoofamily’s own guides on eco-friendly photography for children and photography scavenger hunts build on the ideas here.