
Over 80 percent of British and Western European children live under skies where the natural beauty of the stars is hidden by light pollution. For parents passionate about conservation, teaching kids photography becomes a way to connect with nature and awaken curiosity about the universe. This guide introduces practical steps so families can explore dark sky sites, develop new skills, and create lasting memories while supporting efforts to preserve the night for future generations.
Table of Contents
- Step 1: Choose The Best Location For Dark Sky Photography
- Step 2: Prepare Eco-Friendly Gear And Camera Settings
- Step 3: Teach Children Essential Night Sky Composition Skills
- Step 4: Capture Magical Dark Sky Images Together
- Step 5: Review And Enhance Your Photos Responsibly
Quick Summary
| Key Point | Explanation |
|---|---|
| 1. Select Remote Dark Sky Locations | Choose areas with minimal light pollution, such as designated dark sky reserves or remote national parks, for optimal night sky photography. |
| 2. Use Eco-Friendly Photography Gear | Opt for lightweight and durable equipment made from sustainable materials, ensuring your environmental impact is minimised during your photographic adventures. |
| 3. Teach Composition Techniques to Children | Introduce children to photography composition methods like the rule of thirds to foster creativity and enhance their understanding of visual storytelling. |
| 4. Experiment with Camera Settings Together | Collaborate on adjusting ISO, aperture, and shutter speed to improve photographic outcomes, while helping children learn about technical aspects of photography. |
| 5. Review Photos and Discuss Responsibly | Involve children in critiquing images post-capture to teach them about image editing and the importance of authentic visual storytelling. |
Step 1: Choose the best location for dark sky photography
Capturing extraordinary night sky images requires selecting an optimal location that minimises light pollution and offers unobstructed celestial views. Your photography adventure begins with finding the perfect spot that reveals the universe’s hidden beauty.
To discover exceptional dark sky locations, seek out designated dark sky reserves and national parks that actively protect nocturnal environments. These regions implement strict lighting controls and often provide organised stargazing opportunities. National parks in remote areas typically offer pristine conditions perfect for astrophotography. Places like the Atacama Desert in Chile or Iceland’s northern regions are renowned for their extraordinary stargazing potential.
When scouting locations, consider factors beyond darkness. Look for areas with minimal atmospheric interference elevated terrain and clear horizons. Mountain regions national parks and wilderness zones far from urban centres provide ideal backdrops. Research local astronomy groups or dark sky associations who can recommend specific sites. Some regions track celestial events like meteor showers and solar eclipses which can enhance your photographic opportunities.
Expert Advice: Always check local weather forecasts and lunar cycles before planning your dark sky photography expedition to maximise your chances of capturing stunning celestial images.
Here is a summary comparing considerations for selecting a dark sky photography location:
| Factor | Why It Matters | Recommended Approach |
|---|---|---|
| Light Pollution | Reduces star visibility | Select remote areas far from cities |
| Atmospheric Conditions | Affects image clarity | Choose high, dry, clear regions |
| Terrain and Horizon | Impacts view of sky | Prefer open landscapes, minimal obstructions |
| Local Expertise | Identifies top spots | Consult astronomy groups for advice |
Step 2: Prepare eco-friendly gear and camera settings
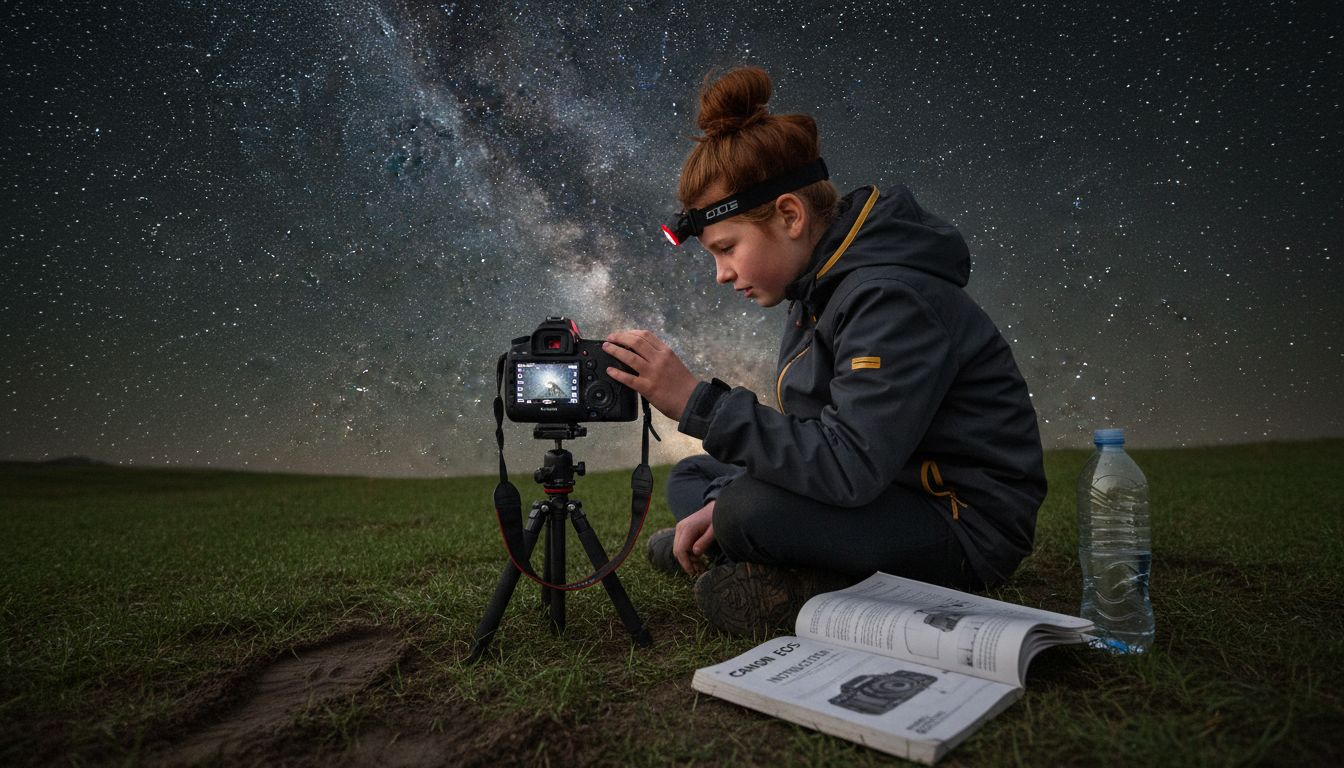
Preparing for a night sky photography adventure with your children involves selecting the right equipment and understanding camera settings that capture the magic of the celestial world while respecting the natural environment. Your goal is to create memorable images that inspire wonder and environmental consciousness.
Transforming family outings into inspiring sky photo adventures requires thoughtful gear selection and technical preparation. Start by choosing a camera with manual settings that allow you to adjust ISO, aperture, and shutter speed. Opt for lightweight, durable equipment made from sustainable materials. Consider compact digital cameras or mirrorless options that minimise environmental impact. Bring a sturdy but lightweight tripod crafted from recycled or sustainable materials to ensure stable shots in low light conditions.
When configuring your camera, prioritise settings that capture clear night sky details. Set your ISO between 800 and 3200 depending on ambient darkness, use a wide aperture like f2.8 or f4 to gather more light, and experiment with longer shutter speeds between 10 to 30 seconds. Remember to engage your camera’s noise reduction feature and bring extra batteries to minimise waste from frequent replacements. Involve your children by teaching them about each setting and encouraging them to help choose compositions that highlight the natural beauty around you.
Expert Advice: Pack rechargeable batteries and a portable solar charger to ensure an eco friendly power solution during your night sky photography expedition.
This overview outlines eco-friendly gear choices for ethical night sky photography:
| Gear Type | Eco-Friendly Feature | Environmental Benefit |
|---|---|---|
| Camera | Lightweight and durable build | Reduces resource use, longer lifespan |
| Tripod | Made from recycled materials | Minimises environmental footprint |
| Power Source | Rechargeable batteries | Decreases single-use waste |
| Accessories | Solar charger included | Supports off-grid, clean energy use |
Step 3: Teach children essential night sky composition skills
Teaching children night sky photography is about transforming technical skills into a magical learning experience that sparks curiosity and creativity. Your goal is to help young photographers understand how to capture the beauty of the celestial landscape through thoughtful composition and storytelling.
Night sky photography composition techniques offer exciting ways to engage children in astronomical exploration. Introduce them to the rule of thirds by showing how placing celestial objects off centre creates more dynamic and interesting images. Encourage them to incorporate natural foreground elements like silhouetted trees, mountain ranges, or interesting rock formations to provide depth and context to their night sky photographs. This approach helps children understand how scale and perspective can transform an ordinary image into a compelling visual narrative.
Support their learning by making composition an interactive experience. Explore age appropriate educational resources that break down complex astronomical concepts into engaging activities. Teach them to experiment with different angles, look for interesting silhouettes, and understand how negative space can dramatically enhance their images. Challenge them to tell a story through their photographs create compositions that capture not just the stars but the entire nocturnal landscape.
Expert Advice: Encourage children to sketch their intended composition before taking photographs to develop their visual planning and observation skills.
Step 4: Capture magical dark sky images together
Dark sky photography becomes an extraordinary family adventure when you transform technical skills into shared moments of wonder and discovery. Your mission is to create lasting memories while capturing the breathtaking beauty of the nocturnal landscape together.
Transform family outings into sky photo adventures by choosing optimal shooting times like the Golden Hour and Blue Hour. These magical periods offer soft light and stunning atmospheric conditions that enhance your photographs. Encourage each family member to take turns behind the camera, experimenting with different perspectives and angles. One child might capture a wide landscape shot while another focuses on intricate details like silhouetted tree branches against the starry backdrop. This collaborative approach not only improves photographic skills but also creates a sense of shared exploration.
Pay special attention to your camera settings and composition techniques. Work together to understand how adjusting ISO, aperture, and shutter speed can dramatically change the mood of your night sky images. Guide your children in framing shots that tell a story capturing not just stars but the entire celestial environment. Discuss the emotions and narratives behind each photograph helping them understand that great photography is about communicating feelings and experiences through visual storytelling.
Expert Advice: Create a family photo journal documenting your dark sky photography adventures to preserve both your images and the memories of your shared astronomical expeditions.
Step 5: Review and enhance your photos responsibly
Reviewing and enhancing night sky photographs is an art that balances technical precision with creative storytelling. Your goal is to transform raw images into compelling visual narratives that capture the magic of the celestial landscape while maintaining the authenticity of the natural environment.
Experienced night sky photographers recommend careful image review with meticulous attention to detail. Examine each photograph critically checking focus levels noise reduction and overall composition. Involve your children in this process teaching them to look for subtle details like star sharpness atmospheric nuances and interesting foreground elements. Use editing techniques that enhance without overprocessing carefully adjusting exposure contrast and colour balance to reveal the true essence of the night sky.
As you review your images consider the broader impact of your photography. Dark sky conservation efforts depend on authentic visual storytelling that inspires appreciation for natural nocturnal environments. Discuss with your children how post processing should reveal rather than fabricate the night sky’s beauty. Teach them to use editing tools responsibly preserving the genuine character of the celestial landscape. Encourage them to think about how their images can communicate the importance of protecting dark sky regions and reducing light pollution.
Expert Advice: Create a family ritual of selecting and discussing your best images together developing both photographic skills and environmental awareness.
Inspire Your Children to Capture the Night Sky and Connect with Nature
Mastering dark sky photography with kids can be a magical yet challenging experience. The article highlights key hurdles such as finding the perfect dark sky location, using eco-friendly gear, and teaching children composition skills. At The Zoofamily, we understand your goal to create memorable family moments while fostering a deep bond between your children and the natural world. Our expertly designed kids’ cameras and binoculars stimulate curiosity about the world around them and support creative learning experiences under the stars.

Bring your night sky adventures to life with gear crafted to engage young explorers and built with sustainability in mind. Every camera you choose helps plant a tree, ensuring a greener future for coming generations. Discover how The Zoofamily can equip your family for unforgettable stargazing journeys and nurture a love of nature. Explore our offerings today at The Zoofamily and turn your next outing into an inspiring sky photography adventure by visiting our simple family guide. Start your exploration now and capture moments that will last a lifetime.
Frequently Asked Questions
How do I choose the best location for dark sky photography with my kids?
Selecting a great location for dark sky photography involves finding areas far from urban light pollution. Research designated dark sky reserves or national parks that offer organised stargazing activities and minimal atmospheric interference. Check local astronomy groups for recommendations and scout high, clear regions for the best views.
What camera settings should I use for photographing the night sky?
For effective night sky photography, set your camera’s ISO between 800 and 3200, use a wide aperture of f2.8 or f4, and experiment with shutter speeds between 10 to 30 seconds. Adjust these settings according to the ambient light conditions to ensure clear captures of celestial details while involving your children in the process of learning about each adjustment.
How can I teach my children about night sky composition during photography?
Introduce your children to composition techniques such as the rule of thirds and the use of natural foreground elements to enhance their photos. Encourage them to capture images that tell a story, like including silhouetted trees or interesting landscapes, to help them understand scale and perspective while making it an interactive learning experience.
What eco-friendly gear should we use for dark sky photography?
Opt for lightweight and durable equipment made from sustainable materials, such as compact digital cameras or mirrorless options. Bring a tripod crafted from recycled materials and ensure that you use rechargeable batteries and a portable solar charger to minimise waste and support eco-friendly practices during your photography adventures.
How can we review and enhance our night sky photos responsibly?
Review your photos critically by examining focus levels, noise reduction, and overall composition. Discuss with your children how to enhance their images through careful adjustments while preserving the authenticity of the night sky, ensuring that your editing work reflects and communicates the natural beauty of the celestial environment.
Recommended
- 7 Tips for Exciting Photography Scavenger Hunts – The Zoofamily
- Meilleurs gadgets plein air enfants – Comparatif 2025 – The Zoofamily
- 7 activités sciences naturelles à la maison pour enfants curieux – The Zoofamily
- 7 activités sciences naturelles à la maison pour enfants curieux – The Zoofamily
- 10 Best Photo Spots in Switzerland for Stunning Visuals