You’re outside with your children, eager to photograph the night sky, but complicated manual settings leave you both frustrated. This guide offers simple, tested camera configurations that make star photography accessible and fun for the whole family. You’ll learn straightforward aperture, shutter speed, and ISO settings that deliver clear star images whilst keeping young astronomers engaged throughout the process.
Table of Contents
- Prerequisites: What You Need Before You Start
- Step-by-Step Camera Setup and Shooting Process
- Troubleshooting Common Mistakes and How to Fix Them
- Expected Results and How to Measure Success
- Summary and Practical Tips for Parents
- Explore More Family Photography Adventures With The Zoofamily
- Frequently Asked Questions
Key takeaways
| Point | Details |
|---|---|
| Essential camera settings | Set aperture to f/2.8–f/4, apply the 500 rule for shutter speed, and use ISO 1600–3200 for balanced sensitivity. |
| Stabilisation is critical | A sturdy tripod and remote shutter or self-timer eliminate blur and keep images sharp. |
| Location and timing matter | Choose dark sites away from city lights and shoot during clear nights near the new moon phase. |
| Involve children actively | Give kids roles in equipment setup and manual focus to make the experience educational and memorable. |
| Avoid common pitfalls | Switch to manual focus set at infinity, use the 500 rule to prevent star trails, and disable in-camera noise reduction. |
Prerequisites: what you need before you start
Successful star photography with children starts with the right equipment and environment. You’ll need a camera with full manual mode—DSLR or mirrorless models work best. Pair it with a wide-angle lens between 14mm and 24mm with an aperture of f/2.8 to f/4 to capture expansive star fields.
Using a sturdy tripod is essential to prevent camera shake during long exposures. Choose one that suits your camera’s weight and handles outdoor terrain securely. Add a remote shutter release or self-timer to avoid introducing vibrations when pressing the shutter button.
Location dramatically affects your results. Light pollution can reduce star visibility by over 75% in urban areas, so seek darker sites away from city centres. Clear weather and new moon phase nights provide optimal conditions for viewing and photographing stars.

Pro Tip: Scout your shooting location during daylight hours with your children. Identify safe, flat areas for tripod placement and note any obstacles. This preparation builds excitement and ensures everyone knows what to expect when you return after dark.
Before heading out, gather these essentials:
- Camera with manual mode capability
- Wide-angle lens (14–24mm focal length)
- Stable tripod rated for your camera’s weight
- Remote shutter release or knowledge of your camera’s self-timer function
- Torch with red light mode to preserve night vision
- Extra batteries (cold weather drains them faster)
- Memory cards with ample storage
For more detailed guidance on optimising your camera’s manual controls, explore our photograph stars settings guide. If you’re keen to expand beyond stars, our night photography moon guide offers complementary techniques. Additional technical insights are available through this star photography definitive guide and these star photography tips.
Step-by-step camera setup and shooting process
With your gear assembled and location chosen, follow these steps to configure your camera and capture stunning star images alongside your children.
- Position your tripod on stable, level ground away from artificial lights. Ensure all legs are firmly planted and locked.
- Mount your camera securely to the tripod head, checking that it doesn’t wobble when touched gently.
- Switch your camera to full manual mode (usually marked “M” on the mode dial).
- Set your lens aperture to its widest setting, typically f/2.8 to f/4. This allows maximum light to reach the sensor.
- Calculate shutter speed using the 500 rule (500 divided by your lens focal length in millimetres). For a 20mm lens, that’s 500 ÷ 20 = 25 seconds maximum exposure.
- Set ISO between 1600 and 3200 to balance light sensitivity and image noise. Start with ISO 1600 and increase if stars appear too dim.
- Switch to manual focus mode on both your camera body and lens. Rotate the focus ring to the infinity symbol (∞) or focus on a distant light source.
- Attach your remote shutter release or activate your camera’s self-timer (typically 2 or 10 seconds).
- Frame your shot through the viewfinder or LCD screen, composing the sky with any foreground elements you want to include.
- Press the shutter button (or remote) and wait for the exposure to complete. Review the image on your camera’s screen.
- Adjust settings based on your results. If stars are too dim, increase ISO or lengthen exposure slightly. If they’re overexposed or showing trails, reduce ISO or shorten exposure time.
Pro Tip: Let your child press the shutter button or remote. This hands-on involvement transforms them from observers into active participants, making the experience more memorable and educational.
| Focal Length | Maximum Shutter Speed (500 Rule) | Typical ISO Range |
|---|---|---|
| 14mm | 35 seconds | 1600–2500 |
| 20mm | 25 seconds | 1600–3200 |
| 24mm | 20 seconds | 2000–3200 |
For comprehensive settings guidance tailored to various scenarios, visit our photograph stars settings guide. Combine star photography with constellation identification using our child-friendly star counting guide. Technical details on optimising camera settings for stars provide additional refinement options.
Troubleshooting common mistakes and how to fix them
Even with careful preparation, certain issues crop up regularly in star photography. Recognising and correcting these problems quickly keeps frustration low and maintains children’s interest.
Auto-focus usually fails in low light, producing blurry, out-of-focus stars. Always switch to manual focus and set your lens to infinity. Test focus on a bright star or distant light before your main shooting session.
Star trails appear when your exposure exceeds the limits calculated by the 500 rule. Shorten your shutter speed or use a wider-angle lens to eliminate trailing. Remember, Earth’s rotation causes stars to move across your frame during longer exposures.
Blurry images despite correct focus often result from camera shake. Verify your tripod is stable on uneven ground and use a remote shutter or self-timer to avoid touching the camera during exposure. Wind can also cause vibration, so shield your setup or wait for calmer conditions.
Turning off in-camera noise reduction speeds up shooting and allows better noise control during post-processing. Long-exposure noise reduction doubles your wait time between shots, which tests children’s patience.
Light pollution washes out faint stars and adds unwanted colour casts. Move to darker locations away from streetlights and urban areas. Check light pollution maps before travelling to ensure you’ve chosen a sufficiently dark site.
Excessive image noise at high ISO settings degrades image quality. Stay within the recommended ISO 1600–3200 range. If noise remains problematic, reduce ISO slightly and compensate with a longer exposure (within 500 rule limits) or wider aperture.
Key fixes to remember:
- Manual focus set to infinity prevents autofocus failures
- Apply the 500 rule strictly to avoid star trails
- Use tripod and remote shutter to eliminate camera shake
- Disable in-camera noise reduction for faster workflow
- Seek darker locations to minimise light pollution interference
- Keep ISO between 1600 and 3200 for optimal noise balance
Our dark sky photography kids guide offers location selection strategies, whilst our star photography settings guide provides detailed troubleshooting scenarios. External resources on star photography troubleshooting and common photography mistakes expand your problem-solving toolkit.
Expected results and how to measure success
Understanding what constitutes a successful star photograph helps you recognise when your settings are working correctly and motivates continued practice with your children.
Recommended settings produce sharp, bright star images with minimal trails, with typical exposures ranging from 15 to 25 seconds at ISO 1600–3200. Stars should appear as distinct, round points of light rather than elongated streaks or fuzzy blobs.
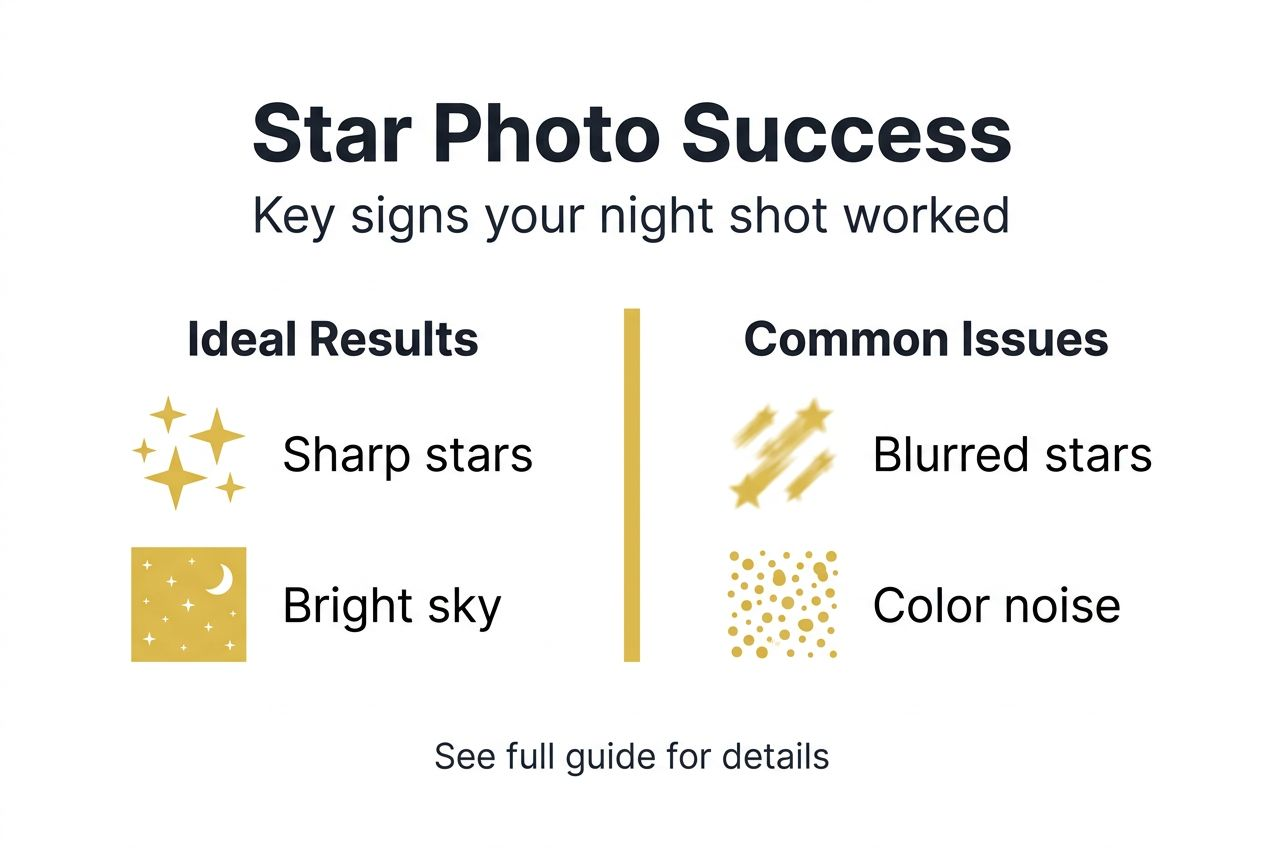
Balanced noise levels are achievable at ISO 1600–3200 when shooting in properly dark locations. Some grain is normal and acceptable, particularly in shadows and darker sky areas. Modern cameras handle these ISO values well, producing images that remain usable even before noise reduction.
Wide-angle framing captures broad star fields, including constellations and the Milky Way when visible. Your compositions should show context, whether that’s landscape foreground elements or pure night sky. This breadth makes images more engaging for children who can identify familiar star patterns.
Active child participation marks a successful outing beyond technical image quality. When children operate camera controls, adjust focus, or frame shots under your guidance, they’re learning practical skills whilst building confidence. Their engagement transforms photography from a parent’s hobby into a shared family activity.
Consistent, repeatable results in typical European dark-sky locations prove your technique is sound. Once you’ve mastered these settings, you should achieve similar outcomes across different clear nights, building a portfolio of star images that document your family’s astronomical adventures.
Success indicators:
- Stars appear sharp and round without trailing
- Exposure brightness reveals numerous stars across the frame
- Noise remains manageable and doesn’t obscure stellar detail
- Children actively participate in camera operation and composition
- You can replicate results reliably on subsequent outings
For further refinement of your technique, consult our photograph stars settings guide. Additional perspectives on astrophotography beginner settings offer alternative approaches and validation of your methods.
Summary and practical tips for parents
As you venture into star photography with your family, these practical considerations ensure safe, enjoyable, and educational experiences that children will remember.
Involve children directly in manual focus adjustment and equipment setup. Let them rotate the focus ring, check tripod stability, and compose shots with your guidance. This hands-on participation builds technical understanding whilst making them feel essential to the process.
Safety must remain your priority during night-time outdoor activities. Choose locations with secure, flat footing away from hazards like cliffs or water edges. Use headlamps with red light modes to preserve night vision whilst illuminating your path. Brief children on staying close and communicating clearly in darkness.
Encourage experimentation with settings as a fun learning opportunity rather than a technical chore. If an exposure turns out too dark, too bright, or shows star trails, discuss why with your children and adjust together. This trial-and-error approach teaches problem-solving and resilience.
Pair star photography outings with broader nature appreciation activities. Identify constellations, discuss seasonal star patterns, or share stories about celestial mythology. These connections deepen children’s engagement with both photography and astronomy.
Pro Tip: Create a simple checklist that children can tick off as you complete each setup step. This gives them ownership of the process and ensures nothing is forgotten in the excitement of being outdoors at night.
“Photography is a way of feeling, of touching, of loving. What you have caught on film is captured forever—it remembers little things, long after you have forgotten everything.”
Practical reminders:
- Give children specific roles in equipment setup and operation
- Prioritise safe locations with stable footing and minimal hazards
- Frame settings adjustments as experiments to encourage learning
- Combine photography with constellation identification and nature appreciation
- Use red-light headlamps to maintain night vision
- Communicate clearly and keep children within sight at all times
Our dark sky photography kids guide expands on family safety and engagement strategies for night-time outdoor photography adventures.
Explore more family photography adventures with The Zoofamily
Star photography represents just one avenue for engaging children with nature through creative exploration. The Zoofamily provides comprehensive resources to support parents in making outdoor photography educational, accessible, and genuinely enjoyable for the whole family.

Discover additional guides covering moon photography, wildlife observation, and nature documentation techniques designed specifically for families. Our equipment recommendations prioritise durability, ease of use, and features that help children develop technical skills whilst staying safe outdoors.
Join a community of parents passionate about fostering children’s curiosity through hands-on nature experiences. From family photography resources to specialised techniques in our dark sky photography kids guide, we’re here to support your family’s creative journey under the stars and beyond.
Frequently asked questions
What camera settings are easiest for kids to understand when capturing stars?
Manual mode with aperture set to f/2.8–f/4, shutter speed calculated using the 500 rule, and ISO between 1600 and 3200 simplifies the process considerably. These three settings work together predictably, allowing children to see direct cause-and-effect relationships when adjustments are made. Using a tripod and remote shutter removes the complexity of handholding, letting kids focus on framing and manual focus adjustments under your supervision.
How can I involve my child in the star photography process safely?
Ensure you’re working in well-lit staging areas with stable, flat ground away from hazards. Give children specific responsibilities like holding equipment, adjusting the manual focus ring, or pressing the remote shutter under your direct supervision. Clear communication about staying together and moving carefully in darkness prevents accidents whilst building their confidence and technical skills. Our dark sky photography kids guide offers detailed safety protocols.
What common mistakes should we avoid when photographing stars with children?
Avoid autofocus entirely and use manual focus set to infinity, as autofocus fails in low light conditions. Limit exposure time using the 500 rule to prevent star trails caused by Earth’s rotation. Always use a tripod and remote shutter or self-timer to eliminate blur from camera shake. These three adjustments prevent the most frequent image quality problems that discourage beginners. Additional guidance appears in our photograph stars settings guide.
Can I capture stars well from urban areas with children?
Urban environments present significant challenges because light pollution can reduce star visibility by over 75%. Whilst you might capture the brightest stars and planets, achieving the rich star fields and detailed night sky images requires darker locations. Plan short trips to nearby rural areas or designated dark-sky sites for substantially better results. The improved visibility makes the experience more rewarding for children and produces photographs worth the effort. More information on urban light pollution effects explains the technical limitations.