

Point the travel arrow at your target, rotate the housing until the orienting arrow sits around the red needle, then walk in the direction the travel arrow points. That is the core technique. Here is the quick version before the detail:
- Hold the compass flat at chest level.
- Point the travel arrow at your destination or a landmark ahead.
- Rotate the bezel until the orienting arrow frames the red needle.
- Walk forward, keeping the needle inside the orienting arrow.
Practising these steps with an Ordnance Survey map from the start will build your confidence far faster than compass-only drills alone.
Key takeaways
A compass works reliably when you hold it flat, set the bezel before you move, and always check declination before a long leg on open ground.
| Point | Details |
|---|---|
| Hold flat and level | Keep the compass at chest height so the needle moves freely and reads accurately. |
| Red needle = magnetic north | The red end always points to magnetic north; align it with the orienting arrow to follow a bearing. |
| Set the bezel, then walk | Rotate the housing to trap the red needle, pick a distant aiming point, and do not touch the bezel again. |
| Check declination for long legs | UK variation is typically small but non-zero; add the local value to your map bearing before walking. |
| Map + compass beats GPS alone | A compass needs no battery or signal, making it a reliable backup on remote UK terrain. |
Table of Contents
- How to use compasses: what each part does
- How to hold a compass and take a bearing in the field
- Using a compass with a map: orient, plot and follow
- Grid north vs magnetic north: what you need to adjust in the UK
- Common mistakes and practical tips for reliable bearings
- Practice exercises to build your compass confidence
- Teaching children compass basics through games
- Sources
How to use compasses: what each part does
A baseplate compass has several named parts. Knowing them makes every instruction easier to follow.
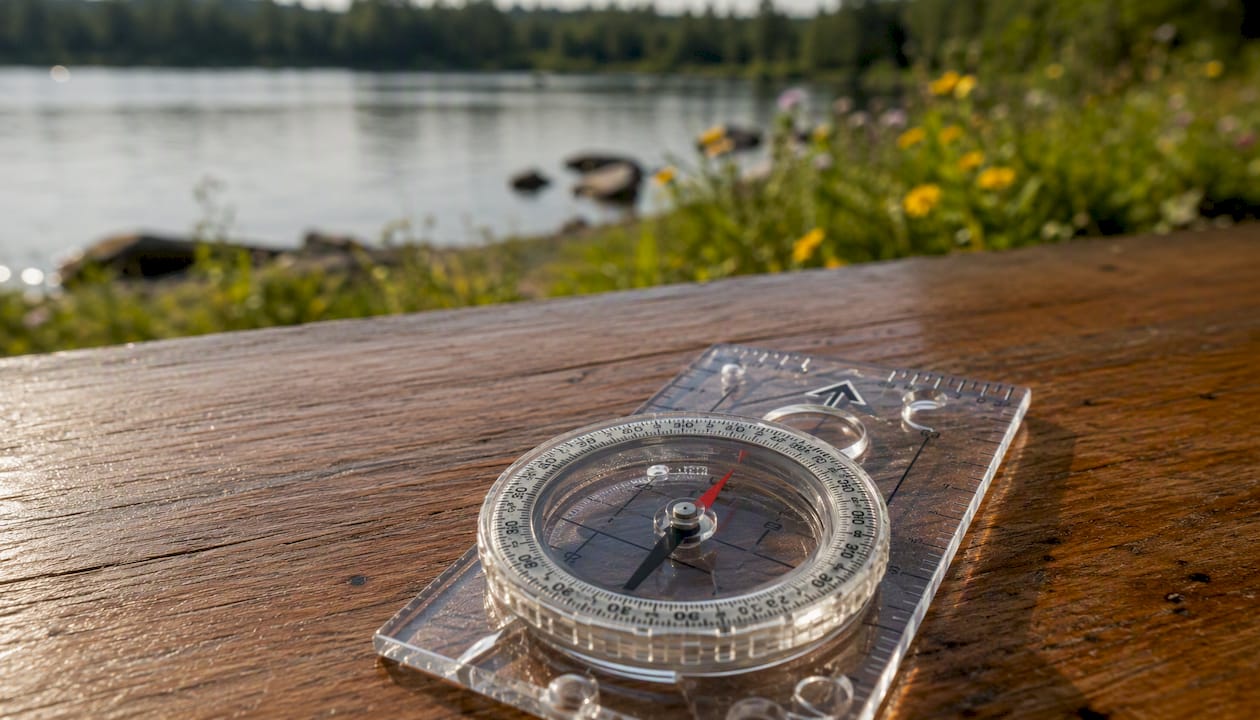
| Part | Function |
|---|---|
| Baseplate | Flat, transparent platform; carries millimetre and inch scales for map work |
| Magnetic needle | Rotates freely; red end points to magnetic north |
| Bezel (housing) | Rotating dial marked 0–360°; you turn this to set a bearing |
| Orienting arrow | Fixed arrow inside the bezel; you align the red needle to this |
| Orienting lines | Parallel lines inside the bezel; align with map grid lines |
| Travel arrow | Fixed arrow on the baseplate; points in your direction of travel |
| Index line | Mark where the bezel meets the baseplate; read your bearing here |
Cardinal directions in degrees:
The red end of the needle always points to magnetic north. The white or black end points south. Keep the compass away from mobile phones, metal zips, and watches — all can deflect the needle and give a false reading.
Some compasses include a sighting mirror on the lid. This lets you sight a distant landmark while reading the bezel simultaneously, which is useful for precision bearings but not required for general hiking.
How to hold a compass and take a bearing in the field
The full technique comes down to four physical actions: hold, point, rotate, walk.
Hold the compass flat at chest level. Place it on your palm with your elbow tucked in. A tilted compass lets the needle drag against the housing, which slows it and reduces accuracy. The National Trust’s compass guide confirms this sternum position as standard field technique.
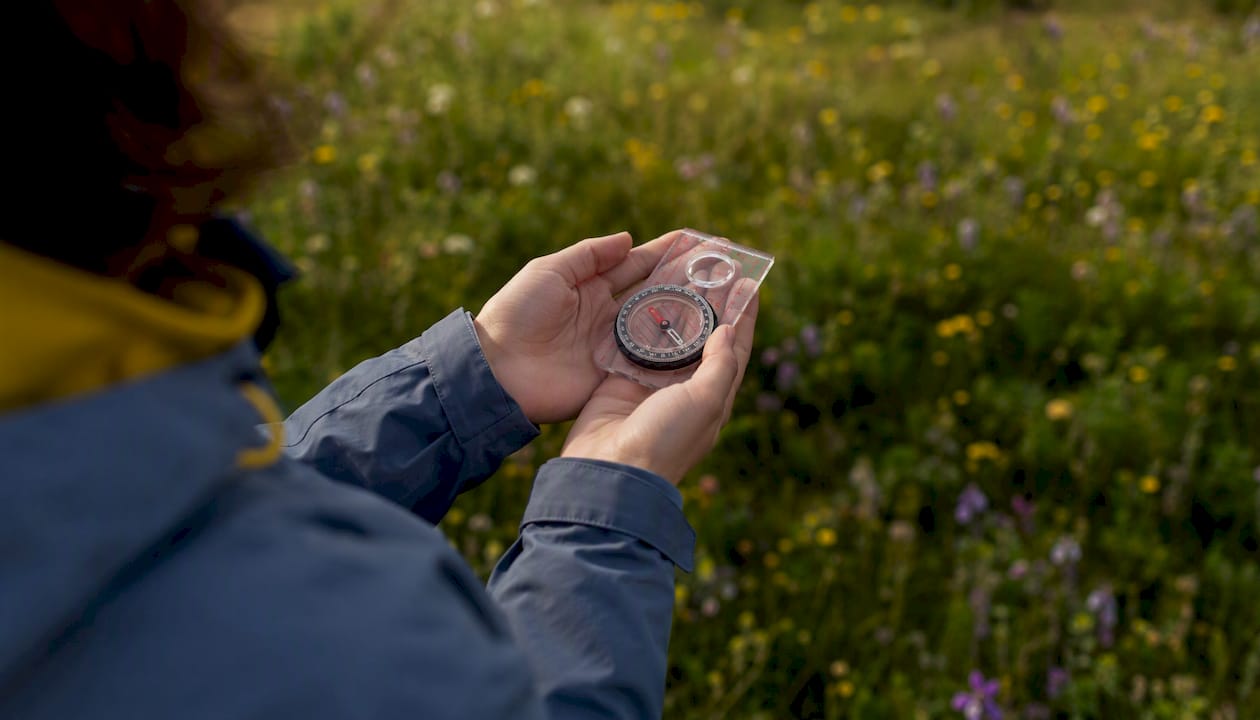
Point the travel arrow at your target. Turn your whole body, not just your wrist, until the travel arrow aims at the feature you want to reach — a hilltop, a gate, a tree on the horizon.
Rotate the bezel. Turn the housing until the orienting arrow sits neatly around the red needle. This is the “Red Fred in the shed” method: Red Fred is the red needle, and the shed is the orienting arrow. Once set, read the bearing at the index line.
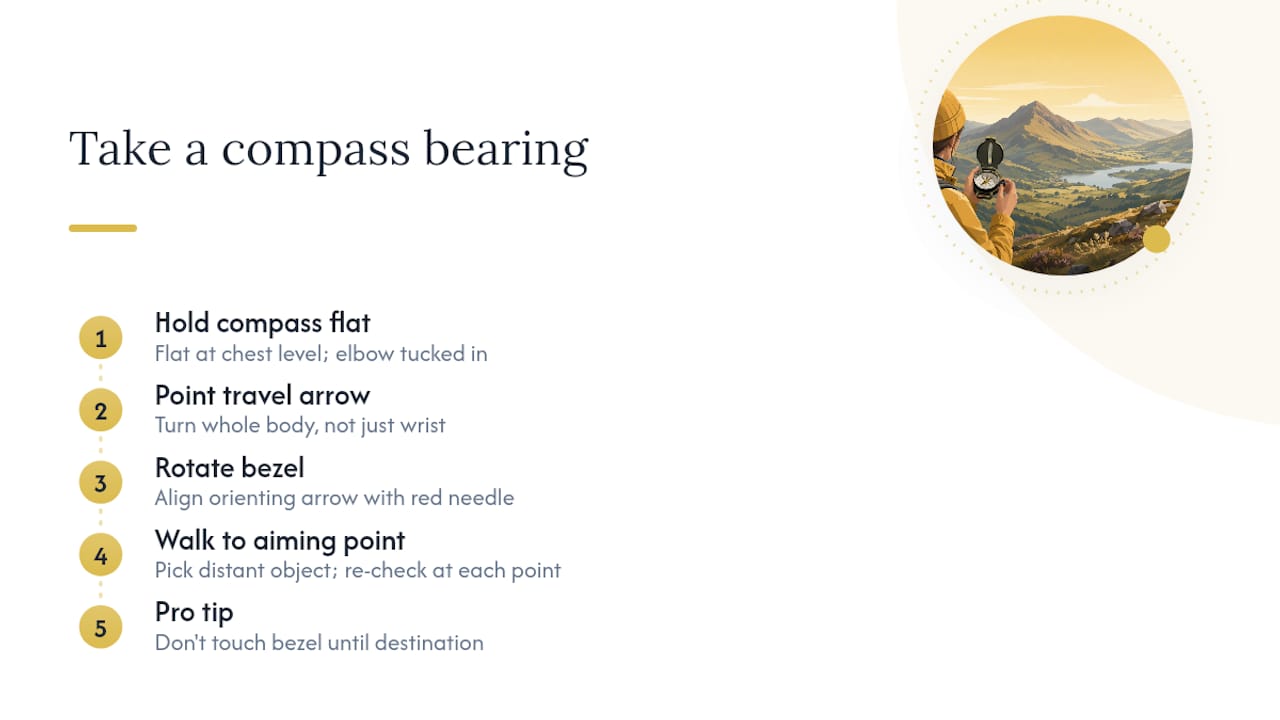
Pick a distant aiming point and walk. Do not stare at the compass while moving. Instead, identify a fixed object on your bearing line — a rock, a fence post, a tree — and walk to it. Re-check the compass at each aiming point.
There are two ways to take a bearing: by sight (as above) or by map transfer. Both are valid. The American Hiking Society notes that you should always check declination when accuracy over distance matters, and stay alert to nearby metal that can deflect the needle.
Pro Tip: Once you have set the bezel, do not touch it again until you reach your destination or deliberately change course. Accidental bezel rotation is one of the most common errors beginners make.
Using a compass with a map: orient, plot and follow
Combining a compass with a paper map lets you pinpoint your direction and, with two or more bearings, fix your position on the ground. The Ramblers’ beginner compass guide highlights that these combined skills open up less well-trodden routes where there are no signposts to rely on.
Four quick steps for map-to-ground navigation (from OS Maps):
- Orient the map. Place the compass on the map. Rotate map and compass together until the orienting lines inside the bezel run parallel with the map’s north-south grid lines and the needle points to the top of the map. The map now matches the terrain around you.
- Set the bearing. Lay the compass edge along the line from your start point (A) to your destination (B). Rotate the bezel until the orienting lines are parallel with the map grid lines. Read the azimuth at the index line.
- Lift and align. Pick up the compass and hold it at chest level. Rotate your body until the red needle sits inside the orienting arrow.
- Follow the travel arrow. Pick a distant landmark on that line and walk to it. Repeat.
Transferring a bearing from map to ground
Align the compass edge with the route line from A to B. Rotate the housing until the orienting lines are parallel with the map’s grid. Read the azimuth at the index line, then lift the compass and rotate your body until the needle aligns with the orienting arrow. The travel arrow now points along your route. This process is described in detail by Field & Stream’s compass guide.
Triangulation: fixing your position
If you are unsure where you are, take bearings to two or three identifiable landmarks (a summit, a church tower, a lake edge). Transfer each bearing to the map as a line drawn from that landmark. Where the lines cross is your position. Three bearings give a small triangle of error rather than a single point — your true position sits inside that triangle.
Practice route: Find a local park with a few distinct features. Orient your map, pick a landmark 150 metres away, set the bearing, and walk to it without looking at the map. Repeat for three or four legs. This single exercise covers orienting, bearing transfer, and aiming-point technique in under 30 minutes.
Grid north vs magnetic north: what you need to adjust in the UK
Declination is the angle between magnetic north (where your needle points) and grid north (the top of your OS map). You must account for it when transferring map bearings to the field, or your route will drift off course.
Why it matters: Over a distance of 1 kilometre, even 2° of uncorrected declination shifts your arrival point by roughly 35 metres. On open moorland with no clear landmarks, that error compounds with every leg.
Declination varies by location and changes over time. Ordnance Survey advises checking current declination for your specific map area rather than using a fixed value. According to OS Maps, current magnetic variation across Great Britain typically lies between approximately −1° and +4°, depending on where you are and when you check.
Worked example: Suppose your map bearing from A to B is 045° and the current declination for your area is +2° (magnetic north is 2° east of grid north). Add 2° to get your field bearing: 047°. Set 047° on the bezel and follow the travel arrow.
The rule for the UK: add the declination value to a map bearing to get the magnetic bearing you walk on. Check the current figure on the Ordnance Survey website before any walk where precision matters.
Common mistakes and practical tips for reliable bearings
Most compass errors come from a small set of repeatable mistakes. Catching them early saves a lot of retracing.
Do:
- Keep the compass flat and level at all times.
- Pick a distant aiming point rather than staring at the needle while walking.
- Check your bearing at every junction or change of terrain.
- Tell someone your planned route and expected return time.
- Carry a paper map and compass on every walk, regardless of phone signal.
Don’t:
- Hold the compass near a mobile phone, metal belt buckle, or watch.
- Move the bezel once you have set your bearing.
- Assume your phone GPS is sufficient in remote UK terrain. A compass is battery-free and works where signals fail — the National Trust recommends it as a reliable backup to GPS for exactly this reason.
- Ignore declination on long legs across open ground.
Navigation method comparison:
| Method | Power needed | Accuracy | Best terrain | Main limitation |
|---|---|---|---|---|
| Compass only | None | Moderate | Open, featureless ground | Requires skill and practice |
| Map + compass | None | Good | All UK terrain | Slower; needs map reading |
| GPS / smartphone | Battery | High | All terrain | Battery dependent; signal gaps |
Pro Tip: On a practice walk, check your bearing at every junction and note whether your aiming points were accurate. Reviewing small errors on a short route is far more useful than discovering a large one on a long one.
Practice exercises to build your compass confidence
A 20–40 minute session in a local park or open space is enough to cover the core skills. Start simple and add complexity as each step feels reliable.
- Find north. Stand still, hold the compass flat, and rotate your body until the red needle points to 0°/360°. Note which direction that is relative to a fixed landmark. Repeat from three different spots.
- Follow a bearing 100–200 metres. Set a bearing of 090° (east). Pick an aiming point, walk to it, and check whether you arrived on the correct line. Adjust your technique if you drifted.
- Transfer a map bearing. On a simple OS map of your local area, pick two visible points. Set the bearing using the map method, then walk the leg. Compare your arrival point with the map.
- Triangulation exercise. From an unknown spot, take bearings to two visible landmarks and draw the lines on your map. Confirm your position matches where you actually are.
Safety reminders for each exercise:
- Stay close to known paths, especially for exercises 3 and 4.
- Bring a second person or keep your phone charged as a backup.
- Pick landmarks that are clearly visible and unambiguous.
Sample beginner route for families: Choose a flat park with a café or car park as a fixed return point. Walk 100 metres on a bearing of 000° (north), then 100 metres on 090° (east), then 100 metres on 180° (south), then 100 metres on 270° (west). You should arrive back at your start. This square route teaches all four cardinal bearings and gives an immediate check on accuracy.
Teaching children compass basics through games
Children can learn compass fundamentals through short, active games that mirror the adult techniques without the complexity. Keep sessions to 15–20 minutes and stay in a familiar, open space.
- Treasure hunt with bearings. Hide a small object and give children a written bearing and distance (e.g. “Walk 20 steps on 090°”). Adjust the distance for age: shorter for under-8s, longer for older children.
- Compass tag. Call out a cardinal direction (north, south, east, west) and children run to the correct side of the space. Introduce northeast and southwest once the basics are secure.
- Map match. Give children a simple hand-drawn map of the play area and ask them to orient it using the compass so the map matches the ground around them.
- Landmark bingo. List five visible features on a card. Children use the compass to find the bearing to each one and record it. First to complete the card wins.
- North-finding race. Each child holds a compass and races to point at magnetic north. Fastest accurate answer wins.
- Bearing relay. Set a short course with three bearing legs. Children walk each leg in turn, passing the compass between them.
Keep all metal objects, phones, and watches away from the compass during activities. Supervise closely near roads or water. For younger children, pair each compass activity with a nature scavenger hunt to hold attention and add a second layer of outdoor learning.
Pro Tip: Frame each activity as an explorer’s mission rather than a lesson. Children who see themselves as explorers engage more consistently and remember the technique better.
Thezoofamily’s mission is to connect children with the natural world through hands-on tools and activities. Teaching compass skills fits directly into that goal: it gives children a reason to look up from a screen and pay attention to the terrain around them. For more child-safe exploration ideas, the Thezoofamily blog covers outdoor equipment and activities suited to different ages.
A note on learning by doing
The gap between reading about compass technique and using it confidently in the field closes quickly once you go outside and try it. A single 30-minute walk with a compass and an OS map will teach you more than an hour of reading. Carry the compass on every walk, even familiar ones, and check your bearing at each junction. The skill builds without effort when you use it regularly.
Compass skills also matter for safety. A magnetic compass needs no battery and no signal. On remote UK terrain, that reliability is not a minor convenience.
Sources
- How to read a compass | National Trust
- A beginners guide to using a compass - Ramblers
- A Beginner’s Guide to Using a Compass – OS Maps Discover
- Ordnance Survey
- How to Use a Compass - American Hiking Society