

The best camera for photographing stars is a DSLR or mirrorless body with full manual controls, a large sensor with strong ISO performance, and compatibility with fast wide-angle lenses. Astrophotography, as the discipline is formally known, demands that your camera work in conditions where light is scarce and exposure times stretch to 30 seconds or more. The good news is that you do not need the most expensive body on the market. A sturdy tripod and sharp lens often deliver more improvement than a camera upgrade alone. What matters most is understanding which features actually move the needle when you are standing in a dark field at midnight.
What technical camera features matter most for photographing stars?
Sensor size is the single most important hardware factor in astrophotography. A full-frame sensor captures more light per exposure than an APS-C sensor. That difference becomes visible in the amount of detail you recover from faint stars and the Milky Way core. APS-C cameras still produce excellent results, particularly for beginners, but full-frame bodies give you more headroom at high ISO settings.
ISO performance and noise management separate capable cameras from frustrating ones. Night sky photography typically requires ISO settings between 1,600 and 3,200. At those levels, cheaper sensors produce heavy grain that obscures faint detail. Cameras with back-illuminated sensors handle high ISO more cleanly because the sensor architecture places circuitry behind the light-gathering layer rather than in front of it.
The features you need in a camera for star photography are:
- Full manual exposure control (shutter speed, aperture, ISO independently adjustable)
- RAW file support so post-processing can recover shadow detail and reduce noise properly
- Bulb mode for exposures longer than 30 seconds when shooting deep-sky objects
- Live View with magnification for accurate manual focusing on stars
- A clean, accessible hot shoe or remote port for shutter release cables and intervalometers
Specialised astro cameras include sensor cooling to reduce thermal noise during long exposures. Consumer DSLRs and mirrorless bodies do not offer this, but cooled cameras are reserved for deep-sky imaging through telescopes rather than wide-field Milky Way photography.
Pro Tip: Shoot in RAW format every time, without exception. JPEG processing inside the camera discards the shadow data you need to recover faint nebulae and star colour in post-processing.
How does lens choice influence star photography results?
Lens choice is often more critical than the camera body itself. Aperture directly affects the signal-to-noise ratio and how bright faint stars appear in your final image. A faster lens gathers more light in the same exposure time, which means you can keep ISO lower and reduce noise without sacrificing star brightness.
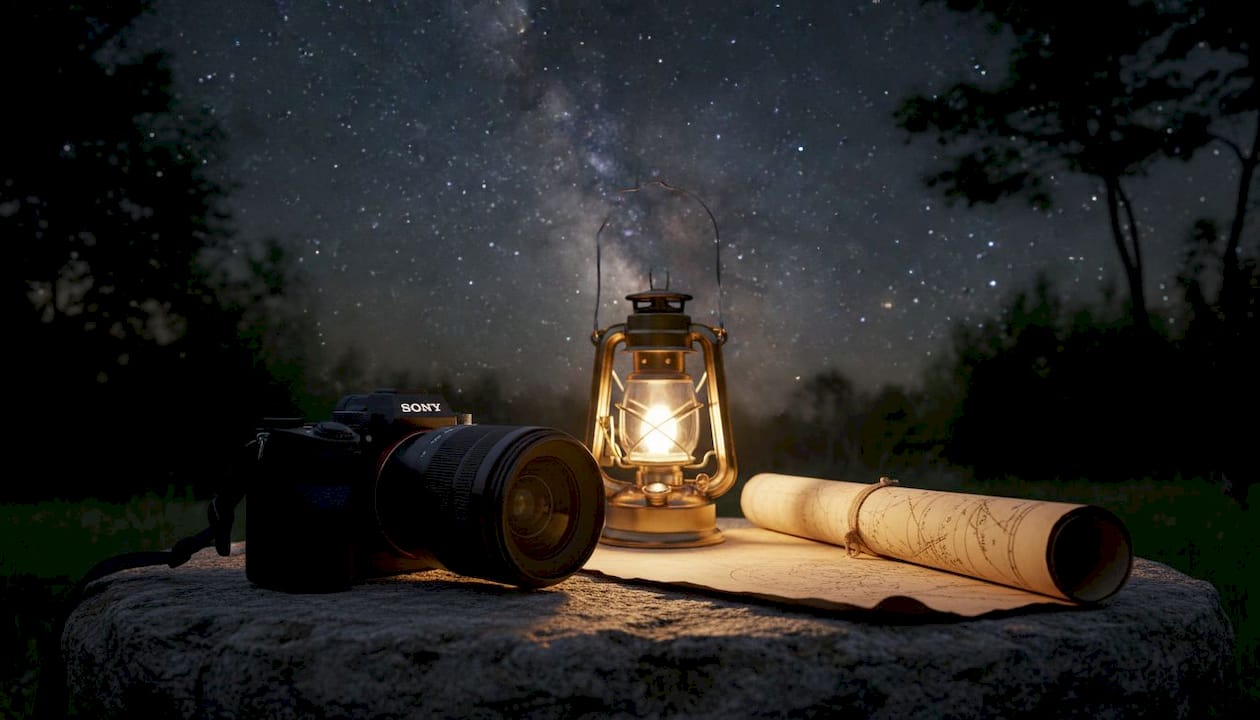
Wide-angle focal lengths between 14mm and 35mm are the standard range for night sky photography. Shorter focal lengths capture more of the sky in a single frame and allow longer exposures before stars begin to trail. A 14mm lens at f/2.8 on a full-frame body is the workhorse combination for Milky Way photography.
Key lens considerations for astrophotography:
- Aperture of f/2.8 or wider is the practical minimum; f/1.4 or f/1.8 prime lenses gather significantly more light
- Focal length of 14–35mm covers most wide-field night sky compositions
- Prime lenses outperform kit zoom lenses at wide apertures because they are designed to perform at their maximum opening
- Coma aberration causes bright stars near the frame edges to smear into seagull shapes at very wide apertures; stopping down one stop (for example, from f/1.8 to f/2.8) usually corrects this
Pro Tip: Test your lens for coma before a serious shoot. Point it at a bright star near the corner of the frame at maximum aperture, then stop down one stop and compare. Most lenses show a clear improvement in corner star sharpness at f/2.8 versus f/1.8.
Slow kit lenses with a maximum aperture of f/3.5 or f/5.6 are workable but limiting. They force you to push ISO higher to compensate, which increases noise. Investing in a fast wide-angle prime is the single upgrade that delivers the most visible improvement in star photography results.
What are the best settings for astrophotography?
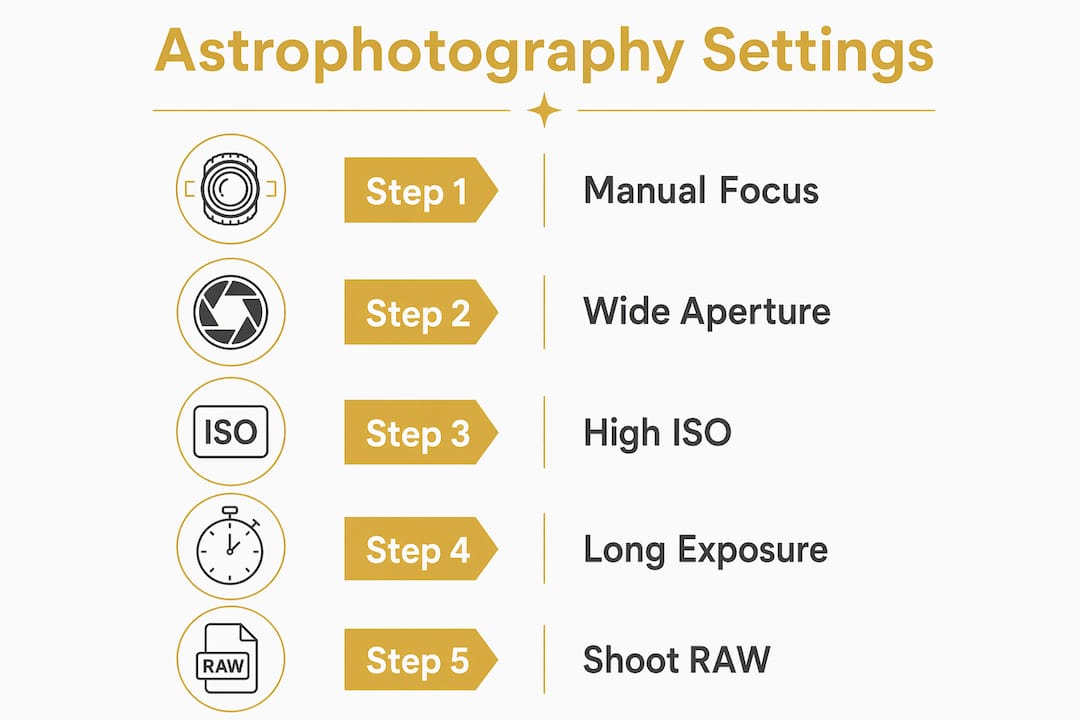
Settings are where most beginners go wrong. The right combination of shutter speed, aperture, and ISO is not guesswork. It follows a clear framework.
- Set your camera to Manual (M) mode. Auto modes cannot interpret a dark sky correctly and will produce blurred or overexposed results.
- Open the aperture to its widest setting, typically f/1.4 to f/2.8 depending on your lens. This maximises light gathering from the outset.
- Apply the 500 Rule to calculate your maximum shutter speed. Divide 500 by your focal length. On a 24mm lens, that gives you a maximum of roughly 20 seconds before stars begin to trail. On a crop-sensor body, divide by the effective focal length after applying the crop factor.
- Set ISO between 1,600 and 3,200 as your starting point. Review the histogram after your first shot and adjust upward or downward based on exposure.
- Set white balance manually between 3,800K and 4,200K. Auto white balance shifts colour temperature unpredictably between shots. Manual white balance neutralises the orange cast from distant artificial light sources.
- Focus manually using Live View. Zoom to 10x magnification on a bright star or planet and adjust the focus ring until the star appears as a tight, clean point. Infinity marks on lenses are often inaccurate and should not be trusted for star focus.
- Turn off image stabilisation. On a tripod, stabilisation systems hunt for movement that does not exist, which introduces micro-blur into long exposures.
- Turn off long exposure noise reduction. In-camera dark frame subtraction doubles your exposure time without improving final image quality compared to noise reduction applied in post-processing software.
- Use a remote shutter release or the camera’s self-timer set to a 2-second delay. Pressing the shutter button physically transmits vibration through the body and into the image.
Pro Tip: After focusing, use a small strip of gaffer tape to lock the focus ring in place. Temperature drops during a night shoot cause lens barrels to contract slightly, which can shift focus without you noticing.
Supporting equipment and setup tips for better star photos
The camera and lens are only part of the system. Supporting equipment determines whether your technically correct settings actually produce sharp images.
- Tripod stability is non-negotiable. A sturdy tripod in the £60–£150 range provides the foundation every long exposure requires. Lightweight travel tripods flex in wind and ruin otherwise perfect shots.
- Use a tripod hook. Hanging a bag or weight from the tripod’s centre hook lowers the centre of gravity and reduces vibration from wind or uneven ground during 15–30 second exposures.
- Consider a star tracker for longer exposures. A motorised star tracker rotates the camera to follow the Earth’s rotation, allowing exposures of several minutes without star trails. This is the step between wide-field Milky Way photography and deep-sky imaging.
- Fit a lens hood. A lens hood blocks stray light from torches, car headlights, and distant towns from striking the front element and causing flare or reducing contrast.
- Carry anti-condensation measures. Dew forms on lens elements within an hour in humid conditions. A simple lens warmer or even a hand warmer secured loosely around the lens barrel prevents this.
- Use an intervalometer for stacking. Capturing 20–30 consecutive exposures and stacking them in post-processing software reduces noise far more effectively than any single long exposure.
Pro Tip: Arrive at your location at least 30 minutes before you plan to shoot. Your eyes take time to adjust to darkness, and your camera needs time to reach ambient temperature to minimise thermal noise in the sensor.
Post-processing is not optional. RAW files from even entry-level cameras contain far more recoverable detail than the JPEG preview suggests. Software such as Adobe Lightroom, Darktable, or Sequator allows you to reduce noise, boost faint nebula detail, and correct colour casts that are invisible on a camera screen in the field.
Key takeaways
The best camera for astrophotography combines full manual control, strong high-ISO performance, and a fast wide-angle lens, supported by a stable tripod and disciplined post-processing workflow.
| Point | Details |
|---|---|
| Camera type | A DSLR or mirrorless body with manual controls and RAW support is the minimum requirement. |
| Lens priority | A fast prime lens at f/2.8 or wider improves results more than a camera body upgrade. |
| Settings framework | Apply the 500 Rule for shutter speed, ISO 1,600–3,200, and manual white balance at 3,800–4,200K. |
| Tripod and stability | A sturdy tripod with a hanging weight reduces vibration and sharpens long exposures. |
| Post-processing | Shooting RAW and processing in dedicated software recovers detail no in-camera setting can match. |
Why I stopped obsessing over camera bodies
The most common mistake I see from photographers starting out in astrophotography is spending months researching camera bodies while ignoring the lens sitting on top. I spent two years convinced that my images were soft because of my sensor. The real problem was a kit zoom lens at f/5.6 that was simply not gathering enough light to render faint stars cleanly.
The moment I paired a mid-range mirrorless body with a 24mm f/1.8 prime, the results changed completely. Not because the camera was better, but because lens aperture is the variable that controls how much of the night sky actually reaches the sensor. A camera body cannot compensate for a slow lens.
My other honest observation is that patience matters more than any piece of gear. The photographers who improve fastest are the ones who go out on clear nights repeatedly, review their failures methodically, and adjust one variable at a time. Checking the night sky photography guide at Thezoofamily before each session helped me build that habit early on.
Autofocus is the other trap. Beginners trust it because it works brilliantly in daylight. In darkness, it fails entirely. Manual focus via Live View at 10x magnification is not a workaround. It is the correct technique, and it produces sharper stars than any autofocus system on the market.
— ALAIN
Thezoofamily’s resources for night sky photographers
Choosing the right camera for star photography is the first step. Knowing how to use it in the field is where the real learning begins.

Thezoofamily has built a growing library of practical guides for photographers who want to go further with night sky photography. The star photography settings guide covers exposure frameworks, white balance choices, and RAW workflow in detail. For photographers who want to share the experience with younger family members, the guide on night sky photos with kids offers location advice and simplified techniques that work for all ages. Every camera sold by Thezoofamily also contributes to planting one tree, connecting your photography hobby directly to the natural world you are photographing.
FAQ
What is the best type of camera for astrophotography?
A DSLR or mirrorless camera with full manual controls and RAW file support is the best starting point. Full-frame sensors offer the most headroom at high ISO, but APS-C bodies produce strong results for beginners.
Do I need an expensive camera to photograph stars?
No. Entry-level DSLRs and mirrorless cameras with manual controls can deliver impressive night sky images. A stable tripod and a fast wide-angle lens matter more than camera body price.
What is the 500 Rule in star photography?
The 500 Rule calculates the maximum shutter speed before stars begin to trail. Divide 500 by your focal length in millimetres. On a 20mm lens, the maximum exposure is 25 seconds.
Should I use autofocus for star photography?
Autofocus fails in low-light conditions. Manual focus using Live View zoomed to 10x on a bright star produces sharper results than any autofocus system.
What aperture is best for photographing stars?
An aperture of f/2.8 or wider is the practical standard for star photography. Prime lenses at f/1.4 or f/1.8 gather significantly more light and allow lower ISO settings for cleaner images.