
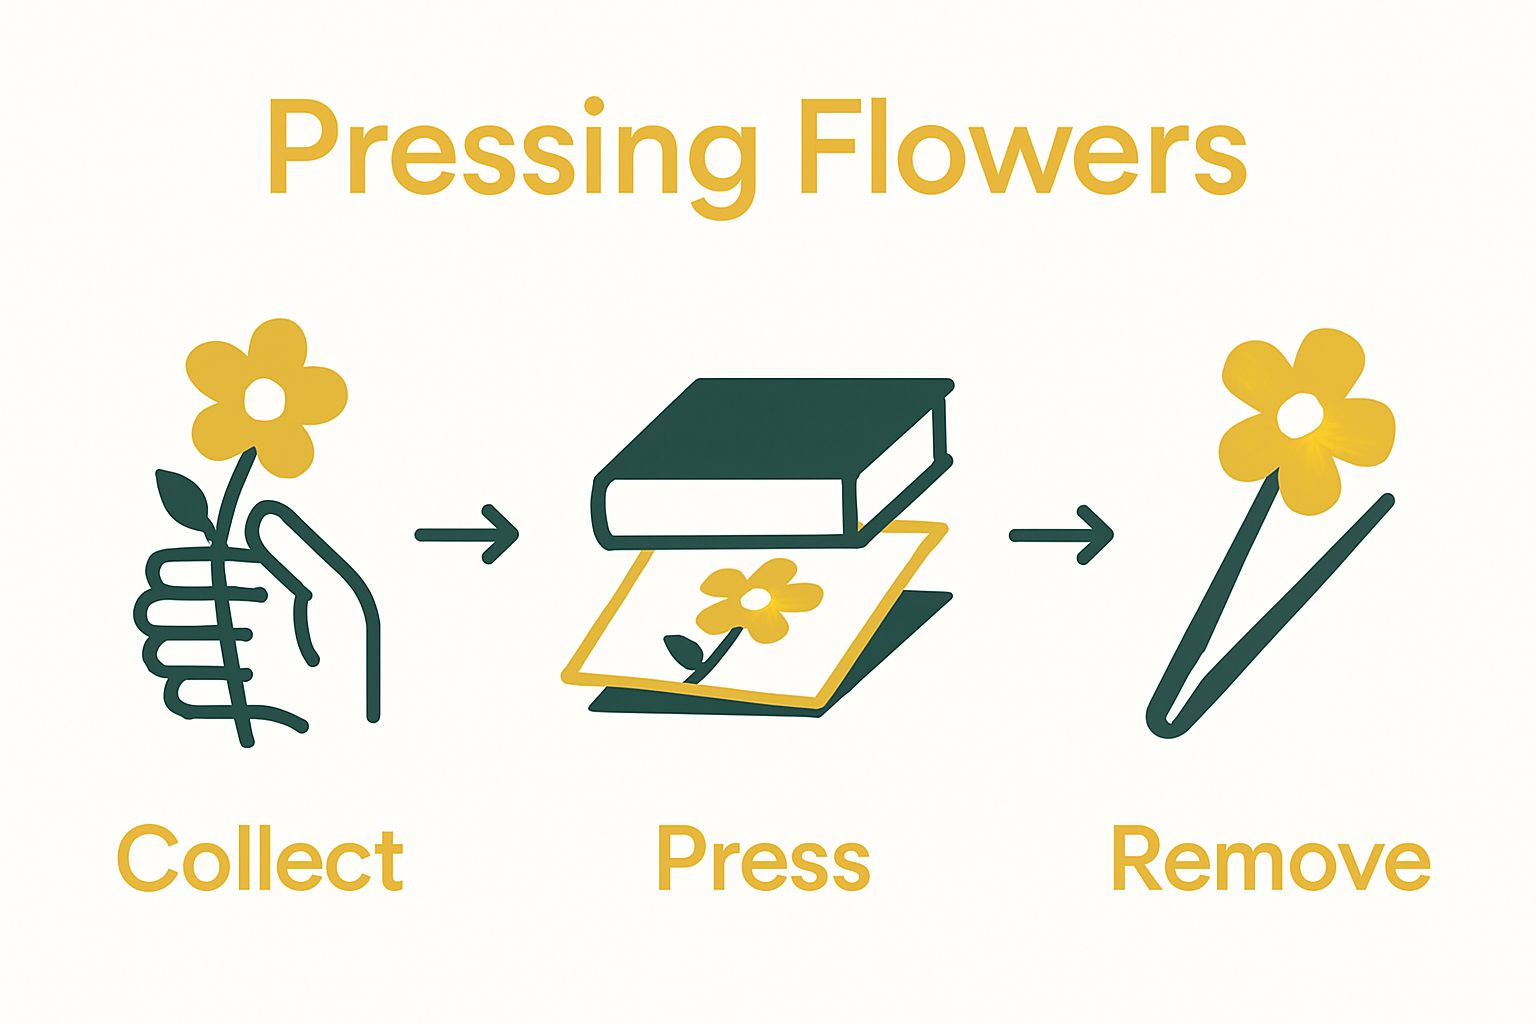
Pressing flowers might look simple and old fashioned. It is a tradition people have cherished for centuries. Pause for a moment though. A single pressed flower can last over 100 years when stored properly, outliving the original plant by decades. Most folks expect pressed flowers to fade or crumble within weeks, but careful technique can turn these delicate blooms into artwork that truly stands the test of time.
Table of Contents
- Step 1: Gather Your Materials For Flower Pressing
- Step 2: Select And Prepare Flowers For Pressing
- Step 3: Arrange Flowers Between Pressing Sheets
- Step 4: Apply Weight And Time The Pressing Process
- Step 5: Check For Dryness And Remove Flowers
- Step 6: Store Or Display Your Pressed Flowers
Quick Summary
| Key Point | Explanation |
|---|---|
| 1. Select flowers at peak freshness | Choose fully open, dry flowers to enhance their colour and shape retention during pressing. |
| 2. Prepare flowers with care | Remove excess moisture and handle gently to preserve petal structure and prevent damage. |
| 3. Use acid-free materials for pressing | Ensure flower papers are high-quality to avoid damage; avoid glossy papers that inhibit moisture absorption. |
| 4. Maintain consistent weight and pressure | Use heavy books or dedicated presses to ensure even pressure, preventing flower crushing while drying. |
| 5. Store in low light and stable conditions | Protect pressed flowers from direct sunlight and humidity by using acid-free folders and cool storage spaces. |
Step 1: Gather Your Materials for Flower Pressing
Starting your flower pressing journey requires careful preparation and the right tools. Selecting the appropriate materials will determine the quality and success of your pressed flower collection. Before diving into the pressing process, you need to assemble a thoughtful collection of supplies that will help preserve the delicate beauty of your chosen blooms.
Begin by selecting flowers at their peak condition. Fresh flowers that are dry and not damp from morning dew or recent rain are ideal. Choose blossoms with minimal moisture to prevent mould growth during the pressing process. Look for flowers that are fully open but not overly mature, as younger blooms tend to retain their colour and shape more effectively.
Your essential materials will include:
- Absorbent paper (like parchment or blotting paper)
- Heavy books or wooden flower presses
- Clean, flat surface for working
- Scissors or garden shears
- Tweezers for delicate flower handling
- Cardboard or thick paper for protection
When collecting flowers, timing is crucial. Mid morning is typically the best time, after the morning dew has evaporated but before the intense midday heat. Gentle handling prevents bruising or damaging the petals. Use sharp scissors or garden shears to cut flower stems at an angle, which helps them retain moisture and maintain their structure during pressing.
Consider the variety of flowers you wish to press. Some flowers, like pansies, lavender, and daisies, press exceptionally well and retain their colour and shape. Thick, robust flowers might require more preparation, such as carefully separating petals or removing excess moisture. Delicate wildflowers and thin-petaled blooms are often the most successful candidates for pressing.
Prepare a clean, dry workspace away from direct sunlight and humidity. This controlled environment will help ensure your flower pressing process goes smoothly. Have all your materials organised and within reach before you begin, creating an efficient workflow that minimises handling and potential damage to your chosen botanical specimens.
By meticulously gathering and preparing your materials, you set the foundation for creating beautiful, long lasting pressed flower art that captures nature’s ephemeral beauty.
The following table summarises the essential tools and materials required for natural flower pressing, alongside their purposes and best practices.
| Material/Tool | Purpose | Recommended Practice |
|---|---|---|
| Absorbent paper | Removes moisture from flowers during pressing | Use parchment or blotting paper; avoid glossy papers |
| Heavy books/press | Applies even, consistent pressure | Use encyclopaedias or wooden presses |
| Clean flat surface | Provides a stable workspace | Work away from sunlight and humidity |
| Scissors/garden shears | Cuts flower stems cleanly | Use sharp blades for angled cuts |
| Tweezers | Handles delicate flowers and petals | Use for positioning and removal |
| Cardboard/thick paper | Protects flowers and adds stability | Layer underneath and between paper sheets |
Step 2: Select and Prepare Flowers for Pressing
Selecting the right flowers is a critical step in creating beautiful pressed botanical artwork. Your success depends on choosing blooms that will not only preserve well but also maintain their intrinsic beauty throughout the pressing process. Understanding flower characteristics will help you make informed selections that yield stunning results.
Begin by examining your flowers closely. Ideal candidates have thin, delicate petals and minimal moisture content. Wildflowers, pansies, forget me nots, and small daisy varieties are excellent choices for beginners. Avoid thick, fleshy flowers like roses or sunflowers, which require more advanced pressing techniques. Look for blooms that are fully open but not yet showing signs of wilting or browning.
Your flower preparation process requires careful attention to detail. Gently remove any excess moisture by allowing flowers to sit in a cool, dry area for approximately 30 minutes after picking. Careful handling is paramount during this stage. Use clean, dry tweezers to manipulate delicate petals, preventing damage and preserving their natural shape.
Prepare your flowers by following these specific steps:
- Remove stems and leaves completely
- Gently spread petals to their natural position
- Check for any visible insects or debris
- Trim edges if necessary for symmetrical pressing
Consider the colour preservation of your flowers. Bright, vibrant blooms tend to retain their pigmentation better during pressing. Pale or white flowers might require additional protection from light exposure to prevent discolouration. Some flowers naturally fade faster than others, so selecting robust specimens increases your chances of creating long lasting pressed flower art.
Colour and texture variations matter significantly in flower selection. Transparent or thin petaled flowers like Queen Anne’s lace, violets, and elderflowers often create stunning pressed specimens. Experiment with different flower types to discover which ones yield the most visually appealing results. Some flowers might surprise you with their unexpected beauty when transformed through the pressing process.
Before placing flowers between pressing papers, take a moment to arrange them intentionally. Position petals carefully to ensure they lay flat and maintain their natural spread. This preliminary arrangement prevents overlapping and ensures each flower receives uniform pressure during the pressing technique. By meticulously preparing your flowers, you set the stage for creating exquisite botanical keepsakes that capture nature’s delicate essence.
Step 3: Arrange Flowers Between Pressing Sheets
Arranging flowers between pressing sheets is a delicate art that requires patience, precision, and a gentle touch. This crucial stage determines how your botanical specimens will ultimately appear in their preserved state. Careful placement can mean the difference between a stunning pressed flower and a disappointing, crumpled result.
Begin by selecting high quality, acid free paper that will protect and preserve your flowers. Parchment paper, blotting paper, or specialized pressing papers work best. Avoid glossy or coated papers that might prevent proper moisture absorption. Create a layered system that allows each flower to dry evenly and maintain its delicate structure.
Your arrangement process should follow these fundamental principles:
- Position flowers with intentional, deliberate spacing
- Ensure petals are fully spread and not overlapping
- Use tweezers for precise flower placement
- Maintain a light, careful touch throughout positioning
Positioning is paramount in successful flower pressing. Spread each flower carefully, ensuring no petals are folded or creased. Larger flowers might require additional care, potentially being separated into individual petals to achieve a more elegant pressed result. Some flowers, like intricate wildflowers, may need gentle manipulation to display their natural beauty most effectively.
Consider creating multiple layers within your pressing setup. Start with a sturdy base layer of cardboard for stability, then alternate between absorbent paper sheets and your carefully positioned flowers. This multi layered approach ensures even pressure and optimal moisture absorption. Space flowers generously to prevent any potential bleeding of colours or unwanted overlapping.
Light pressure during initial placement helps maintain the flower’s natural shape. As you progress, gradually increase the weight and pressure. Consistent, gentle compression allows flowers to dry slowly and retain their delicate characteristics. Professional botanical artists often recommend using heavy books, wooden flower presses, or purpose designed pressing equipment to achieve uniform results.
Before finalising your arrangement, take a moment to review each flower’s positioning.
Look for symmetry, petal spread, and overall aesthetic appeal. Minor adjustments now can significantly impact the final pressed flower’s appearance. Remember that each flower is unique, and slight imperfections often contribute to the charm of handpressed botanical art.
By meticulously arranging your flowers between pressing sheets, you transform delicate, ephemeral blooms into timeless botanical keepsakes that capture nature’s intricate beauty.
Step 4: Apply Weight and Time the Pressing Process
Applying the right weight and understanding the precise timing for flower pressing transforms delicate blooms into preserved botanical treasures. The pressing process is a careful balance of consistent pressure and patient waiting, requiring a nuanced approach that respects each flower’s unique characteristics.
Weight application is an art form in itself. Heavy books remain the classic pressing tool, with encyclopedias or large art books providing uniform pressure. However, dedicated flower presses offer more controlled and consistent compression. If using books, place several additional heavy objects on top to ensure even weight distribution. Aim for steady, moderate pressure that flattens flowers without crushing their delicate structures.
Your pressing strategy should consider these critical elements:
- Select consistently heavy pressing weights
- Avoid direct sunlight during the pressing process
- Maintain a cool, dry environment
- Check flowers periodically for moisture and colour preservation
Timing varies significantly depending on flower type and environmental conditions. Thin, delicate flowers like pansies might require two to three weeks, while thicker blooms could need four to six weeks for complete drying. Temperature and humidity play crucial roles in determining pressing duration. Warmer, drier environments accelerate the process, while humid conditions can prolong drying times and potentially compromise flower quality.
Periodic inspection helps prevent potential issues during pressing. Every seven to ten days, carefully lift your pressing weights and check flower progress. Look for signs of proper drying: flowers should feel crisp and papery, with colours remaining vibrant. If excessive moisture remains, replace absorbent papers and return flowers to the press.
Create an ideal pressing environment by selecting a location away from direct sunlight, which can fade colours, and maintain consistent room temperature. Avoid areas with high humidity like kitchens or bathrooms. A quiet shelf or dedicated pressing area works best, providing stable conditions that support gradual, even drying.
Experienced botanical artists recommend rotating flower positions slightly during the pressing process to ensure uniform pressure and prevent potential discolouration. This subtle adjustment can make a significant difference in the final appearance of your pressed flowers. By applying careful, consistent weight and monitoring the pressing timeline, you transform fragile botanical specimens into enduring artistic memories that capture nature’s ephemeral beauty.
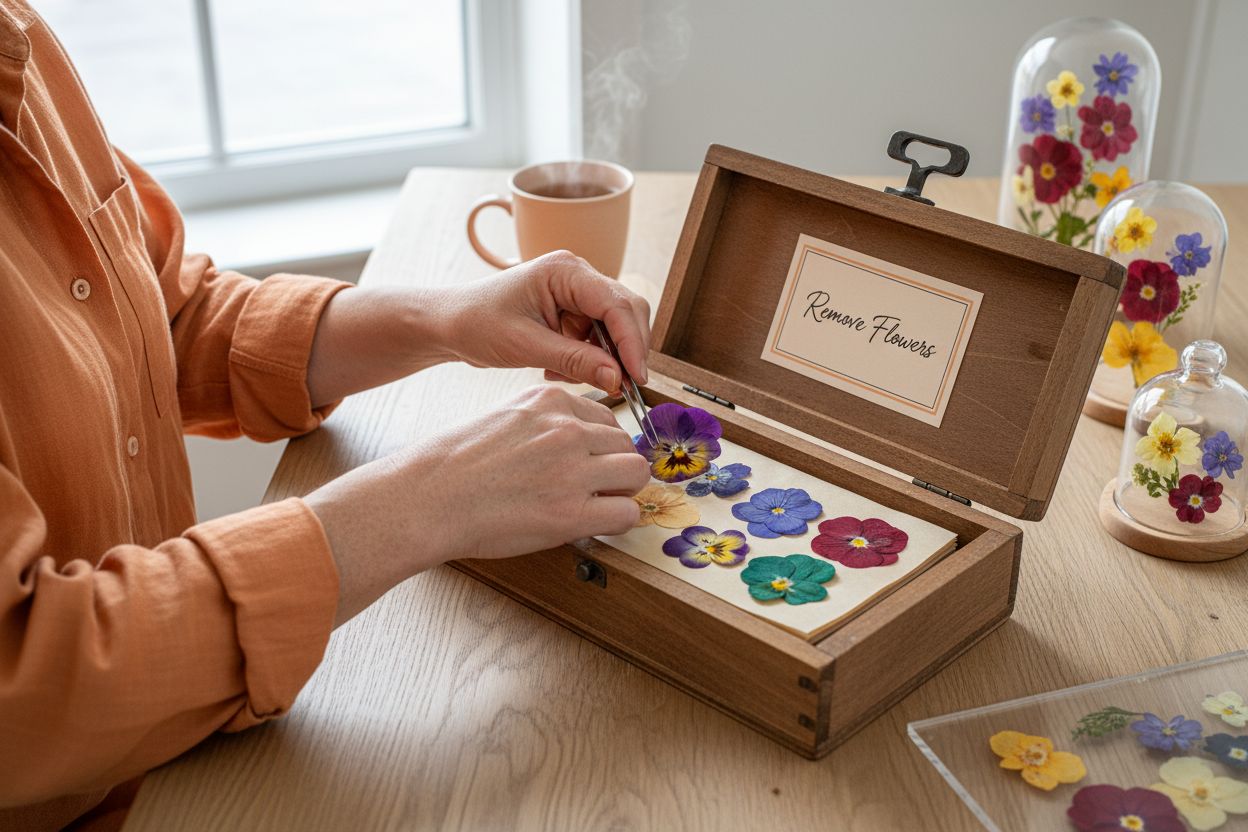
Step 5: Check for Dryness and Remove Flowers
Removing pressed flowers requires extraordinary care and precision. This final stage of the flower pressing process transforms your carefully preserved botanical specimens into delicate artwork that captures nature’s ephemeral beauty. Understanding the signs of complete dryness is crucial to ensuring your flowers emerge intact and beautifully preserved.
Begin by creating a clean, stable workspace with soft lighting that allows you to examine your pressed flowers meticulously. Proper handling is paramount during removal to prevent accidental tearing or crumpling of these fragile botanical treasures. Soft tweezers or clean, dry hands provide the most controlled approach for extracting pressed flowers from their pressing materials.
Recognise these key indicators of proper flower drying:
- Flowers feel completely crisp and papery
- No visible moisture remains between pressing sheets
- Petals maintain their original shape without flexibility
- Colours remain vibrant with minimal fading
Carefully lift the top pressing sheet, observing how the flower responds. A perfectly pressed flower will adhere gently to the paper, maintaining its carefully arranged position. If any resistance occurs or the flower seems damp, return it to the pressing setup for additional drying time.
Below is a checklist table to help you verify when your pressed flowers are fully dried and ready for removal, ensuring optimal preservation and colour retention.
| Verification Step | What to Check For |
|---|---|
| Feel for crispness | Flowers should feel crisp and papery |
| Check for residual moisture | No damp spots or moisture between sheets |
| Assess petal flexibility | Petals should not be flexible or limp |
| Inspect colour vibrancy | Colours remain bright with minimal fading |
| Test gentle lifting | Flower detaches easily from the paper |
| Avoid signs of sticking or tearing | No petals adhere stubbornly or tear |
| Patience during this stage prevents potential mould growth and preserves the flower’s intricate details. |
Temperature and humidity significantly impact the drying process. Flowers pressed in warm, dry environments typically dry faster and retain more vibrant colours. Conversely, humid conditions can prolong drying times and potentially compromise your botanical specimens. If you live in a particularly humid region, consider using silica gel packets or a dehumidifier near your pressing area to accelerate moisture removal.
When removing flowers, work in a methodical manner. Gently slide a piece of clean, acid free paper underneath the pressed flower, supporting its entire structure. This technique minimises the risk of accidental damage and provides a protective base for storing or displaying your pressed botanical art. Some flower artists recommend creating a protective folder or album specifically for preserving these delicate creations.
Examine each flower critically upon removal. Some specimens might require slight adjustments to restore their original positioning. Use fine tweezers to make minute corrections, ensuring each petal remains in its intended arrangement. By approaching this final stage with patience and precision, you transform fragile flowers into enduring botanical keepsakes that capture a moment of natural perfection.
Step 6: Store or Display Your Pressed Flowers
Preserving and presenting your pressed flowers requires thoughtful consideration and careful handling. This final stage transforms your botanical specimens from delicate pressed specimens into lasting artistic expressions that capture nature’s ephemeral beauty. The right storage and display techniques will protect your flowers from degradation while allowing their intricate details to shine.
Begin by selecting archival quality materials that provide protection from light, moisture, and environmental damage. Acid free paper, archival folders, and museum grade storage solutions offer the best preservation environment. Consider creating a dedicated storage system that allows you to categorise and protect your pressed flower collection while maintaining their structural integrity.
Consider these storage and display options:
- Create acid free folder collections
- Use glass frame displays with UV protection
- Develop scrapbook or botanical album presentations
- Design resin jewelry or decorative art pieces
Light exposure plays a critical role in flower preservation. Direct sunlight will rapidly fade your pressed specimens, causing colours to diminish and structural integrity to weaken. Choose display locations with indirect, soft lighting. Museum curators recommend keeping pressed flowers away from windows and using UV protective glass if displaying in brighter areas.
For long term storage, maintain a consistent environment with stable temperature and low humidity. Cool, dark spaces like dedicated drawers or archival boxes work exceptionally well. Include silica gel packets to absorb any potential moisture and prevent potential mould growth. Avoid storing pressed flowers in areas prone to temperature fluctuations, such as attics or garages.
Creative display options extend beyond traditional storage methods. Consider embedding pressed flowers in clear resin to create lasting art pieces, designing bookmarks, or crafting delicate greeting cards. Each presentation method offers a unique way to showcase the intricate details of your botanically preserved specimens. Some artists create multilayered displays that highlight the delicate translucency of pressed flowers, transforming them from simple botanical samples into genuine artistic expressions.
Regular maintenance ensures your pressed flowers remain vibrant and intact. Periodically inspect your collection, checking for any signs of colour fading or structural degradation. Gentle handling and minimal exposure to environmental stressors will help preserve these delicate botanical memories for years to come. By treating your pressed flowers with care and creativity, you transform momentary natural beauty into enduring artistic treasures.
Bring Nature and Creativity Closer to Your Family
Have you ever found yourself wishing that your child’s love of flower pressing could become a doorway to deeper adventures with the natural world? Your journey to perfectly pressed flowers is filled with anticipation of preserving beauty and fostering a sense of connection with nature. Yet, keeping that curiosity thriving can sometimes be a challenge, especially when you want your little explorers to remain inspired, engaged, and caring about our planet.

At The Zoofamily, we believe every pressed flower should spark wonder and creativity. Our range of nature-inspired products like engaging kids’ cameras, imaginative binoculars, and playful walkie-talkies is crafted to help your family go beyond the basics of flower pressing. Let your children capture their own discoveries and unlock new stories behind every blossom. Plus, each camera purchased plants a tree, ensuring the preservation of real wildflowers for tomorrow. Visit The Zoofamily today and let your flower-pressing adventure inspire a lifelong bond with nature. Start your next creative journey now.
Frequently Asked Questions
How do I prepare flowers for pressing?
To prepare flowers for pressing, choose blooms that are fully open and without moisture. Remove any leaves and stems, then allow them to sit in a cool, dry place for about 30 minutes to dry out excess moisture before positioning them for pressing.
What type of paper should I use for pressing flowers?
Use high-quality, acid-free papers such as parchment or blotting paper to press flowers. These materials will absorb moisture effectively and preserve the flowers’ colours and shapes better than glossy or coated papers.
How long does it take for flowers to dry when pressed?
The drying time for pressed flowers typically ranges from two to six weeks, depending on the flower type and environmental conditions. Check your flowers every seven to ten days to monitor their dryness and ensure proper preservation.
Can I press thicker flowers like roses?
While thicker flowers can be pressed, they generally require more advanced techniques, such as separating their petals or using additional drying methods. For best results, consider starting with thinner, delicate flowers like pansies or daisies.
How should I store pressed flowers to prevent damage?
Store pressed flowers in a cool, dark, and stable environment using acid-free materials like archival folders or boxes. This will help protect them from light and moisture exposure, ensuring their colours remain vibrant and structural integrity is maintained.
What are some creative ways to display pressed flowers?
You can creatively display pressed flowers by embedding them in clear resin, framing them with UV-protective glass, or making botanical albums. Explore various presentation methods to showcase the delicate details of your pressed flowers beautifully.