
Most british night sky photographers agree that the real challenge begins before you even press the shutter. Deep darkness, unpredictable weather, and ambient light pollution tested the patience of over 60 percent of beginners last year. Setting up your camera the right way is the difference between noisy misses and gallery-worthy shots. This guide brings you practical, step-by-step advice so any british stargazer can capture crisp, breathtaking starscapes with confidence.
Table of Contents
- Step 1: Prepare Your Camera For Night Photography
- Step 2: Select The Ideal Location And Timing
- Step 3: Adjust Camera Settings For Star Clarity
- Step 4: Focus Manually To Ensure Sharp Stars
- Step 5: Test And Review Your Star Photographs
Quick Summary
| Key Point | Explanation |
|---|---|
| 1. Use a wide-angle lens | A wide-angle lens allows capturing more of the night sky alongside interesting foreground elements, enhancing composition. |
| 2. Prioritise manual settings | Switch to manual mode to control aperture, shutter speed, and ISO for optimal results in low light conditions. |
| 3. Focus manually for sharpness | Set focus to infinity and use manual adjustments to ensure clear and sharp star images, avoiding autofocus. |
| 4. Select dark locations | Choose remote areas far from city lights to minimise light pollution and enhance visibility of stars. |
| 5. Review and refine images | Take multiple test shots and assess them for sharpness and exposure, allowing for adjustments before final captures. |
Step 1: Prepare your camera for night photography
Capturing stunning night sky images requires strategic camera preparation. Before venturing out into the darkness, you will need to configure your equipment to handle low light conditions and minimise unwanted camera shake.
Start by selecting a wide-angle lens that provides a broader view of the night sky. Wide-angle lenses capture more celestial landscape and allow you to include interesting foreground elements. Switch your camera to manual mode to gain full control over settings. Your primary adjustments will focus on three critical parameters: aperture, shutter speed, and ISO.
A sturdy tripod is non negotiable for night photography. Stabilising your camera eliminates vibrations that could blur your images. Choose a robust tripod that can handle your camera’s weight and provides stable support on uneven terrain. Mount your camera securely, ensuring it remains completely motionless during long exposure shots.
Pro tip: Always use manual focus and set your focus to infinity. Autofocus struggles in dark conditions, so manually adjusting your lens will guarantee crisp, sharp images of the starry landscape. Some cameras offer a live view mode with zoom functionality, which can help you precisely set your focus.
With your camera now prepared, you are ready to explore the magical world of night sky photography.
Step 2: Select the ideal location and timing
Successful night sky photography begins with meticulous location scouting and strategic timing. Your mission is to discover an environment that offers unobstructed views and optimal astronomical conditions.
Choosing locations far from urban areas is crucial for minimising light pollution. Seek out remote landscapes like countryside fields, mountain ranges, or coastal regions where artificial illumination cannot interfere with your starry canvas. Careful planning involves understanding moon phases and weather conditions that will impact your photographic outcome. Aim to shoot during new moon periods when the sky is darkest and stars shine most brilliantly.
Research potential locations during daylight hours. Look for interesting foreground elements like silhouetted trees, rock formations, or shorelines that can add depth and context to your night sky composition. Use mapping applications and astronomy apps to preview potential shooting sites and understand the precise celestial alignment you might capture.
Pro tip: Check local weather forecasts and astronomical calendars. Clear skies with minimal cloud cover are essential for capturing crisp, detailed star photographs. Consider checking astronomical websites that provide predictions about meteor showers, planetary alignments, and other celestial events that could enhance your image.
With your location selected and timing planned, you are now prepared to venture into the nocturnal world of astrophotography.
Step 3: Adjust camera settings for star clarity
Nailing the perfect camera configuration is crucial for capturing breathtaking star photographs. Your goal is to balance light sensitivity, exposure time, and image sharpness to transform the night sky into a mesmerising canvas.
Selecting the right aperture and ISO settings will dramatically improve your starry landscape. Aim for wide aperture settings between f/2 and f/2.8 to allow maximum light into the camera sensor. Increase your ISO to between 1600 and 6400 for enhanced light sensitivity without introducing excessive digital noise.

Implement the 500 Rule to prevent unwanted star trails. Divide 500 by your lens focal length to determine the maximum exposure time before stars begin to blur. For instance, with a 20mm lens, your maximum exposure would be 25 seconds (500 divided by 20). This technique ensures crisp, pinpoint stars that maintain their celestial brilliance.
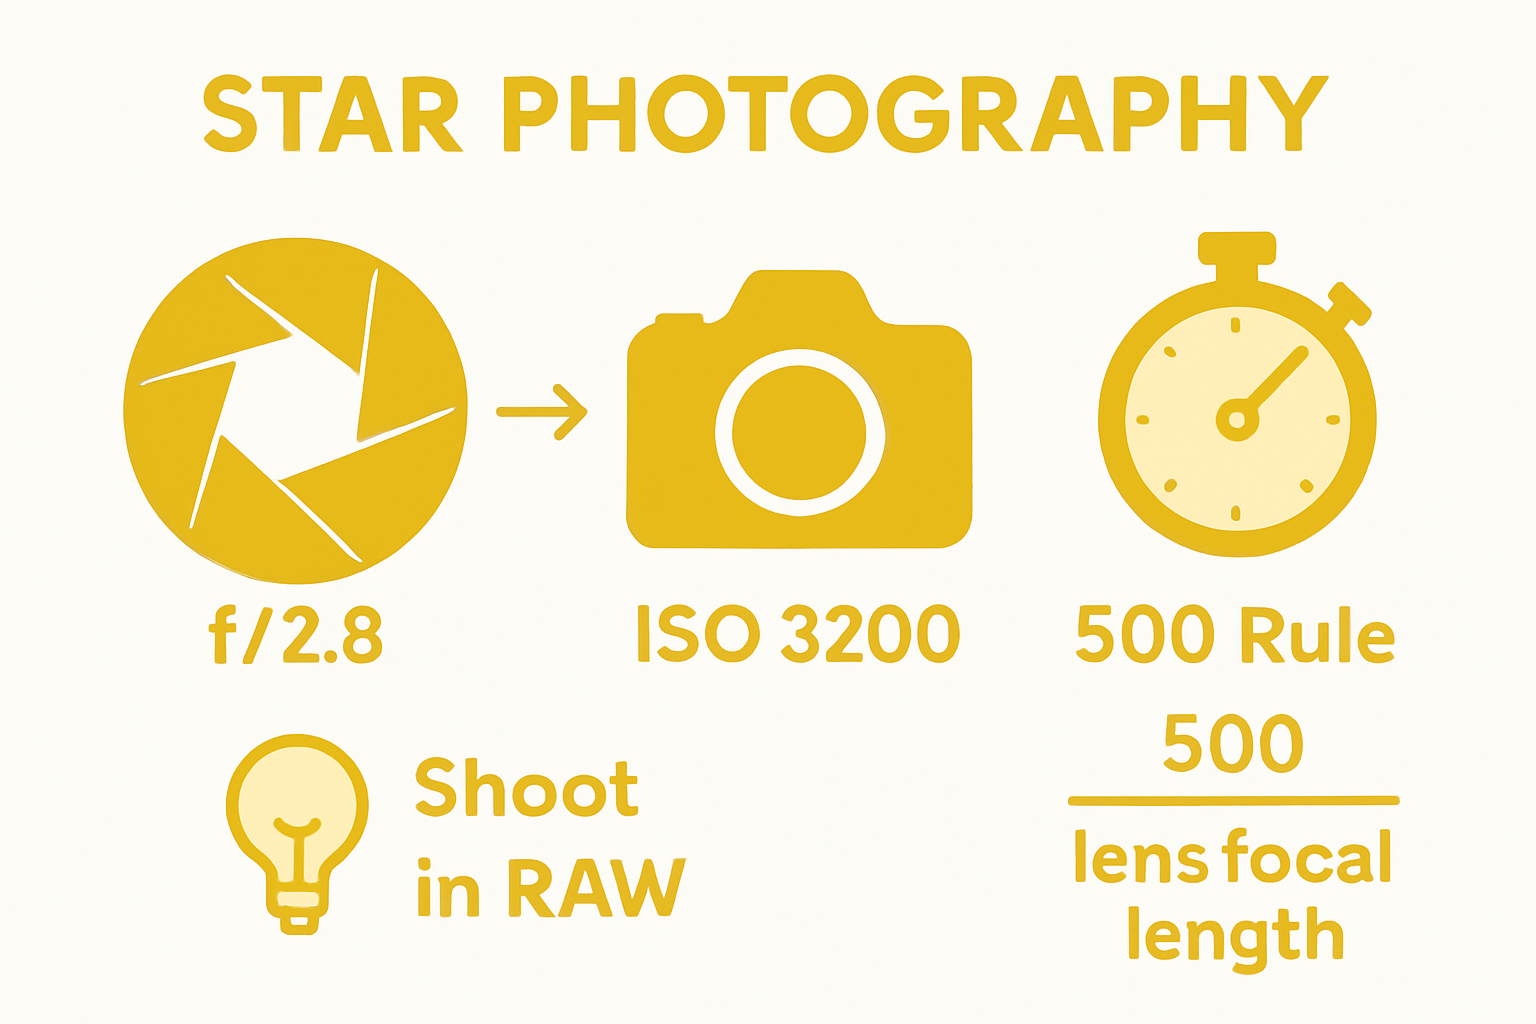
Pro tip: Always shoot in RAW format. This digital file type captures significantly more image data, giving you greater flexibility during post processing. RAW images allow you to adjust exposure, recover shadow details, and fine tune white balance without compromising image quality.
With your camera meticulously configured, you are now ready to capture the magical dance of stars across the nocturnal landscape.
Step 4: Focus manually to ensure sharp stars
Manual focusing represents the critical difference between amateur and professional night sky photography. Your objective is to achieve pin sharp star details that capture the celestial landscape with crystal clarity.
Presetting your focus during daylight hours offers a strategic approach to night time focusing. Find a distant object like a far away mountain or treeline and manually adjust your lens to its sharpest point. Once set, carefully mark or remember this precise focal position for your nocturnal shoot.
Using live view mode provides an excellent technique for fine tuning focus in low light conditions. Zoom into the brightest star or distant light source on your camera screen. Slowly adjust the focus ring until the point of light becomes the smallest and most defined pinpoint possible. This method allows you to see exactly how sharp your stars will appear in the final image.
Pro tip: Avoid touching your focus ring after achieving perfect focus. Even slight movements can compromise your carefully calibrated settings. Consider using manual focus lock or carefully taping your lens focus ring to prevent accidental shifts.
With your stars now sharply focused, you are prepared to capture the breathtaking details of the nocturnal sky.
Step 5: Test and review your star photographs
Capturing the perfect night sky image requires patience and careful evaluation. Your goal is to transform initial test shots into stunning celestial masterpieces through systematic review and refinement.
Taking multiple test shots allows you to fine tune camera settings with precision. Start by reviewing each image critically on your camera’s LCD screen or computer monitor. Check for three key elements: star sharpness, overall exposure, and noise levels. Zoom into your images at 100% magnification to assess the intricate details of individual stars and detect any subtle imperfections.
Analyse your histogram to understand the true exposure of your night sky photographs. A well balanced histogram should spread across the graph without significant clustering at either extreme. Look for details in the darkest regions of your image while ensuring the brightest stars remain distinct and undistorted. Pay special attention to the subtle gradations between dark sky and starlit areas.
Pro tip: Always shoot in RAW format to give yourself maximum flexibility during post processing. RAW files capture substantially more image data, allowing you to rescue slightly underexposed or overexposed images without significant quality loss.
With your photographs carefully reviewed and refined, you are now ready to transform your technical captures into true works of astronomical art.
Discover Night Sky Magic with The Zoofamily
Capturing the brilliance of stars requires more than just perfect camera settings it involves patience, focus, and a genuine connection to the wonders above. If you want to spark curiosity in children while guiding them through the enchanting world of night sky photography, we have just the right tools. The challenges of manual focus, choosing the right aperture, and battling light pollution become joyful learning moments with our specially designed kid-friendly cameras and binoculars.

Begin your family’s journey into astrophotography today with The Zoofamily where every camera encourages creativity and love for nature. By choosing our gear, you are also helping sustain our planet as we plant one tree for each camera sold. Whether it is star gazing, nature exploration, or creative play, explore our collection that makes night sky photography accessible and inspiring for kids. Take the next step now and bring home a camera that not only captures moments but also fosters lifelong connections with the natural world.
Frequently Asked Questions
What camera settings are best for photographing stars?
To photograph stars effectively, use a wide aperture between f/2 and f/2.8, set your ISO between 1600 and 6400, and follow the 500 Rule for maximum exposure time. Adjust these settings based on your specific lens and conditions to achieve the clearest star images.
How can I minimise camera shake when shooting at night?
To minimise camera shake, always use a sturdy tripod to stabilise your camera during long exposure shots. Ensure your camera is securely mounted and avoid touching it while the shutter is open to prevent any vibrations.
What should I do to ensure my stars are in focus?
Manual focusing is crucial for sharp stars in night photography. Pre-set your focus on a distant object during daylight and mark that position, or use live view mode at night to fine-tune focus until the stars appear sharp and defined.
How do I know if my exposure settings are correct for night photography?
Review your images on your camera’s LCD screen to check for star sharpness, overall exposure, and noise levels. Use the histogram to assess exposure balance; a well-distributed graph indicates optimal settings, allowing adjustments as necessary for better results.
When is the best time to photograph the night sky?
The best time for night sky photography is during new moon phases when the sky is darkest and offers the clearest visibility of stars. Check local weather forecasts and astronomical calendars to plan your shoot for clear nights with minimal light pollution.
Why should I shoot in RAW format for star photography?
Shooting in RAW format captures more image data, providing greater flexibility during post-processing. This allows for adjustments in exposure, shadow details, and white balance without compromising the quality of your star photographs.