
Outdoor photography inspiration is the practice of using natural settings, light, and environment to craft visual stories that go beyond simple snapshots. The best nature photography ideas do not require expensive gear. Mastering natural light and reading weather conditions consistently produce stronger results than upgrading your camera body. Whether you are planning your first outdoor photo shoot or looking to push your creative practice further, the ten ideas below cover diverse techniques, settings, and approaches that will give you a genuine reason to pick up your camera.
What makes an outdoor photography idea truly inspiring?
The most compelling outdoor photography themes share one quality: storytelling potential. A single image of a forest at dawn is pleasant. A sequence that moves from a wide establishing shot to a medium composition and then to a tight macro detail tells a complete story. Varying your angles across wide, medium, and tight shots during every session is the single most reliable way to produce a cohesive set of images rather than a folder of similar frames.
Timing is the second criterion. Golden hour sessions produce soft, directional light that flatters both portraits and landscapes, and standard outdoor sessions of 30 to 45 minutes during this window consistently outperform midday shoots regardless of equipment. The light does the heavy lifting.
Ethical responsibility rounds out the criteria. Creative outdoor photography that disturbs wildlife, damages habitats, or uses hazardous props is not inspiring. It is irresponsible. Every idea in this list is chosen because it can be executed with respect for the environment.
- Storytelling potential: Does the idea allow a sequence of images to build a narrative?
- Light dependency: Does the idea reward shooting at a specific time of day or in particular weather?
- Ethical footprint: Can the idea be executed without disturbing wildlife or damaging the environment?
- Skill development: Does the idea push you to practise a technique you have not fully mastered?
10 creative outdoor photography inspiration ideas for nature enthusiasts
1. Macro storytelling in the undergrowth
Macro photography transforms overlooked subjects into extraordinary ones. A dewdrop on a spider’s web, the underside of a fern, or the texture of tree bark all become abstract compositions at close range. Overcast, flat light is the preferred condition for macro nature photography because it eliminates harsh shadows and allows even textures to show clearly. You do not need a dedicated macro lens to start. A set of extension tubes fitted to a standard 50mm lens costs a fraction of specialist glass and produces comparable results for beginners.
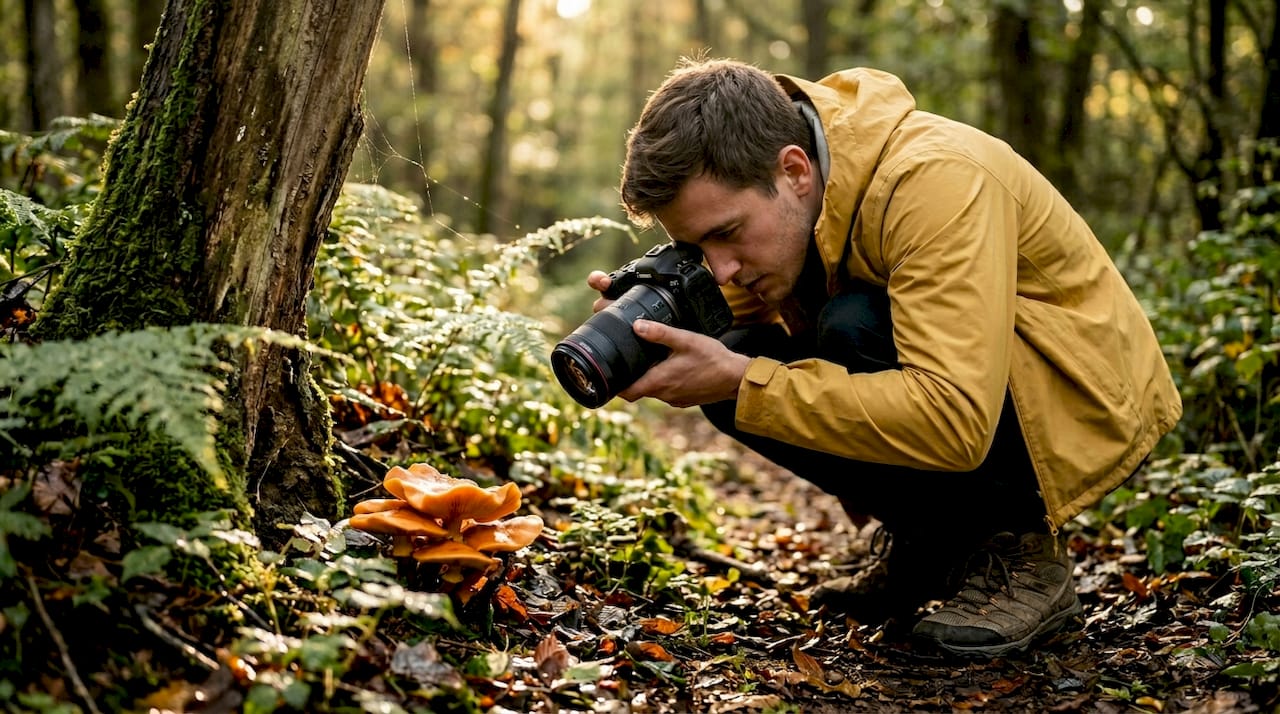
Pro Tip: Shoot a sequence of three macro frames from the same subject: one showing context, one showing detail, and one showing an abstract crop. This three-frame approach mirrors the wide, medium, tight rule and gives you a publishable set rather than a single image.
2. Motion blur trails at golden hour
Motion blur is one of the popular 2026 techniques that rewards patience and planning. The technique involves using a slow shutter speed, typically between 1/15s and 2 seconds, to record movement as a streak of light or colour against a sharp background. Waterfalls, rivers, and coastal waves are the obvious subjects, but moving grasses in wind or star trails over a dark hillside work equally well. Golden hour adds warm tones to the blurred element, which separates the technique from flat midday attempts.
A sturdy tripod is non-negotiable here. Even slight camera movement at slow shutter speeds ruins the sharp background that makes the blur read as intentional rather than accidental.
3. Layered landscape compositions with telephoto compression
Wide-angle lenses dominate landscape photography, but telephoto lenses compress landscapes and isolate textures in ways that produce more atmospheric images. A 200mm or 300mm focal length stacks distant mountain ridges, tree lines, and mist layers into a single frame, creating a sense of depth that a 16mm lens cannot replicate. The technique works particularly well at dawn when atmospheric haze is present.
Scouting your position matters more than the lens itself. Standing at a higher elevation and shooting across a valley compresses the layers far more effectively than shooting from the valley floor. Use Google Earth or OS Maps to identify elevated viewpoints before you travel.
4. Seasonal revisits to a single location
Returning to the same landscape across different seasons creates photographic stories with genuine depth. A beech woodland in April, July, October, and January is effectively four different subjects. The light angle changes, the colour palette shifts, and the emotional tone of each visit differs entirely. This approach also builds a personal relationship with a place, which is where originality in landscape photography actually comes from.
Keep a simple location journal. Note the exact time of your visit, the weather, and the focal length you used. When you return, you have a baseline to either replicate or deliberately subvert.
5. Wildlife photography using photo hides
Photo hides minimise disturbance to wildlife and allow you to capture authentic behaviour that would disappear the moment an animal detected your presence. Commercial hides are available at many nature reserves across the UK, but a simple camouflage net draped over a folding chair works for garden birds and small mammals. The key is patience. Arriving before dawn and remaining still for two hours produces images that no amount of post-processing can replicate.
Research the species before you go. Understanding feeding patterns, territorial behaviour, and preferred habitats means you position yourself correctly rather than waiting in the wrong spot.
Pro Tip: Build your photography confidence with garden birds before committing to a full-day hide session at a nature reserve. The technical challenges of low light and fast movement are identical, but the stakes are lower.
6. Environmental change and conservation storytelling
Landscape photography increasingly documents environmental changes by revisiting locations across seasons, relying on research and patience rather than equipment upgrades. This approach shifts the purpose of your photography from decoration to documentation. Photographing a peat bog in 2024 and returning in 2026 to record its condition tells a story that no single image can. Conservation organisations, local councils, and editorial publications actively seek this type of work.
The technique requires no special gear. A consistent focal length, a fixed shooting position marked with GPS coordinates, and a reliable schedule are all you need to build a compelling before-and-after archive.
7. Double exposure and in-camera composites
Double exposure is available as an in-camera feature on most modern mirrorless and DSLR bodies, including those from Nikon, Canon, and Sony. The technique overlays two separate exposures into a single frame, typically combining a portrait silhouette with a landscape or botanical texture. The results look complex but the execution is straightforward once you understand how the camera blends the two images.
Start with high-contrast subjects for your first layer. A person photographed against a bright sky produces a clean silhouette that accepts the second layer clearly. Busy, mid-tone backgrounds produce muddy composites that are difficult to salvage.
8. Blue hour urban nature photography
The blue hour, the 20 to 30 minutes after sunset, produces a cool, even light that works particularly well where natural and built environments meet. Canal towpaths, urban parks, and coastal promenades all take on a different character when the sky turns deep blue and artificial lights begin to register on the sensor. This is one of the most underused travel photography ideas because most photographers pack up at sunset rather than waiting for the light to shift.
A wide aperture and a tripod allow you to balance the ambient blue tone with any warm artificial light in the frame, creating a natural colour contrast without any post-processing.
9. Rain and fog as creative tools
Fog and rain are not obstacles. They are filters. Fog compresses tonal range, removes distracting backgrounds, and adds a sense of mystery that clear conditions cannot produce. Rain creates reflections on any flat surface, effectively doubling your composition. Both conditions require weather sealing on your camera body, or a simple rain sleeve that costs under £15.
The practical challenge is condensation on the front element of your lens. Carry a microfibre cloth and check the glass every few minutes. A single smear of moisture produces a soft, low-contrast image that looks like a technical failure rather than an intentional effect.
10. Outdoor portraits with portable strobe fill
Harsh midday sun creates unflattering shadows on portrait subjects, but portable strobes like the Neewer Q120 outperform continuous LED lighting for outdoor high-contrast portraiture and are light enough to carry on a hike. At approximately £160, the Q120 provides enough power to balance bright sunshine and is compact enough to fit in a camera bag alongside your other kit.
Set the strobe to match the ambient exposure, then dial it up by one stop to lift the shadows on your subject’s face. The result looks natural rather than obviously lit. Professionals scout locations off-season to avoid crowds and test strobe positions before the actual session.
Pro Tip: Avoid smoke bombs in dry outdoor environments. They carry a genuine fire hazard risk and can result in legal intervention in protected areas. A coloured fabric or a reflective surface achieves a similar visual effect without the risk.
How lighting conditions shape your creative vision
Natural light is the single most variable and most powerful tool in outdoor photography. Golden hour produces warm, directional light that reveals texture and creates long shadows. Blue hour produces cool, diffused light that flattens contrast and adds atmosphere. Overcast conditions act as a giant softbox, ideal for macro work and portraits where even illumination matters more than drama.
Side lighting, where the sun sits at roughly 90 degrees to your subject, reveals surface texture more effectively than front lighting. Backlighting, where the sun is behind your subject, creates rim light and translucency in leaves, petals, and hair. Both require exposure compensation to avoid silhouetting your subject unintentionally.
“Weather is always more important than the camera kit you use.” Digital Camera World
Apps like PhotoPills allow you to visualise sun positions in advance, so you can plan exactly where the light will fall at a given location and time. This removes guesswork and replaces it with intention. Adapting your camera settings to changing conditions, keeping ISO between 100 and 400 in good light and adjusting aperture and shutter speed first, preserves image quality across a full session.
Ethical practices every outdoor photographer should follow
Responsible photography protects the subjects and environments that make nature photography worth pursuing. These are the non-negotiable principles:
- Maintain distance from wildlife. Use telephoto lenses to fill the frame rather than approaching animals. Stress responses in birds and mammals are not always visible but are always harmful.
- Use photo hides where available. Hides allow authentic behaviour to continue undisturbed and produce images that feel genuinely observed rather than staged.
- Research before you visit. Understanding nesting seasons, migration patterns, and protected species status prevents accidental disturbance.
- Leave no trace. Do not trample vegetation for a better angle. The habitat is more important than the photograph.
- Avoid gimmicks in sensitive environments. Smoke bombs, drones in restricted airspace, and flash photography near nocturnal animals all carry risks that outweigh the creative benefit.
Pro Tip: A photography scavenger hunt is an excellent way to practise ethical outdoor photography with younger photographers. It builds observation skills and creative thinking without requiring proximity to sensitive wildlife.
Key takeaways
The strongest outdoor photography inspiration comes from combining deliberate light timing, compositional variety, and ethical awareness rather than from upgrading equipment.
| Point | Details |
|---|---|
| Light timing beats gear | Shooting during golden hour or blue hour consistently outperforms midday sessions regardless of camera brand. |
| Use the three-angle rule | Wide, medium, and tight shots from every session build a complete visual story rather than repetitive frames. |
| Revisit locations seasonally | Returning to the same spot across seasons creates personal, original work that single visits cannot produce. |
| Ethical practice protects subjects | Photo hides, telephoto distance, and research produce authentic images without disturbing wildlife or habitats. |
| Weather is a creative tool | Fog, rain, and overcast conditions are not obstacles. They are distinct lighting environments with their own visual qualities. |
Why I stopped chasing new locations and started going back
I spent three years travelling to new locations every month, convinced that originality came from geography. It does not. The images I am most proud of came from a single stretch of moorland I visited eleven times across two years. By the fourth visit, I knew exactly where the light would fall in October. By the seventh, I had a relationship with a pair of short-eared owls that tolerated my presence at a distance I would never have earned on a first visit.
The uncomfortable truth about creative outdoor photography is that patience and repetition produce more original work than any new destination. Developing a personal connection with recurring subjects yields originality and deeper creative work. That is not a romantic idea. It is a practical one.
I also stopped worrying about weather forecasts. Rain, fog, and flat grey skies used to send me home. Now they send me out. The compositional problems that difficult conditions create force solutions that clear skies never demand. Some of my most requested images were made in conditions I would previously have written off entirely.
The gear question resolves itself quickly once you accept that weather matters more than kit. Spend the money you would have spent on a new lens on a PhotoPills subscription, a quality rain sleeve, and a hide session at a local nature reserve. The return on creative investment is considerably higher.
— ALAIN
Explore more with Thezoofamily

Thezoofamily exists to connect people with the natural world through creative photography. If the ideas in this article have sparked something, the Thezoofamily blog has practical guides on building confidence behind the lens, running outdoor photo challenges with family, and finding the best nature locations for all skill levels. For every camera sold, Thezoofamily plants one tree, so your creative practice directly supports the environments you photograph. Explore the full range of nature photography resources and find your next outdoor project today. You can also discover family photo challenges that bring the whole family into the frame.
FAQ
What is the best time of day for outdoor photography?
Golden hour, the period shortly after sunrise and before sunset, produces soft, directional light ideal for both portraits and landscapes. Standard outdoor sessions of 30 to 45 minutes during this window consistently outperform midday shoots.
Do I need expensive gear for nature photography?
No. Mastering light and weather is far more impactful than upgrading camera gear. Apps like PhotoPills and a reliable tripod deliver more creative improvement than a new lens.
How do I photograph wildlife ethically?
Use photo hides to minimise disturbance and telephoto lenses to maintain safe distances. Research nesting seasons and protected species before visiting any location.
What camera settings work best outdoors?
Keep ISO between 100 and 400 in good light to preserve detail, and adjust aperture and shutter speed first when conditions change. Adapting to the environment rather than relying on auto mode builds the technical flexibility that separates consistent photographers from occasional ones.
How can I make my landscape photos more original?
Returning to the same location across different seasons builds a personal visual relationship with a place that single visits cannot produce. Pair seasonal revisits with the subtraction technique, removing clutter from compositions, to sharpen the viewer’s focus on what matters.