
Did you know that over 60 percent of children enjoy drawing animals as their first creative subject? Whether you are new to art or want to hone your sketching skills, learning to draw animals opens a world full of imagination and connection with nature. With the right guidance and art supplies, anyone can turn a blank page into a lifelike creature, mastering techniques that grow more confident with each drawing.
Table of Contents
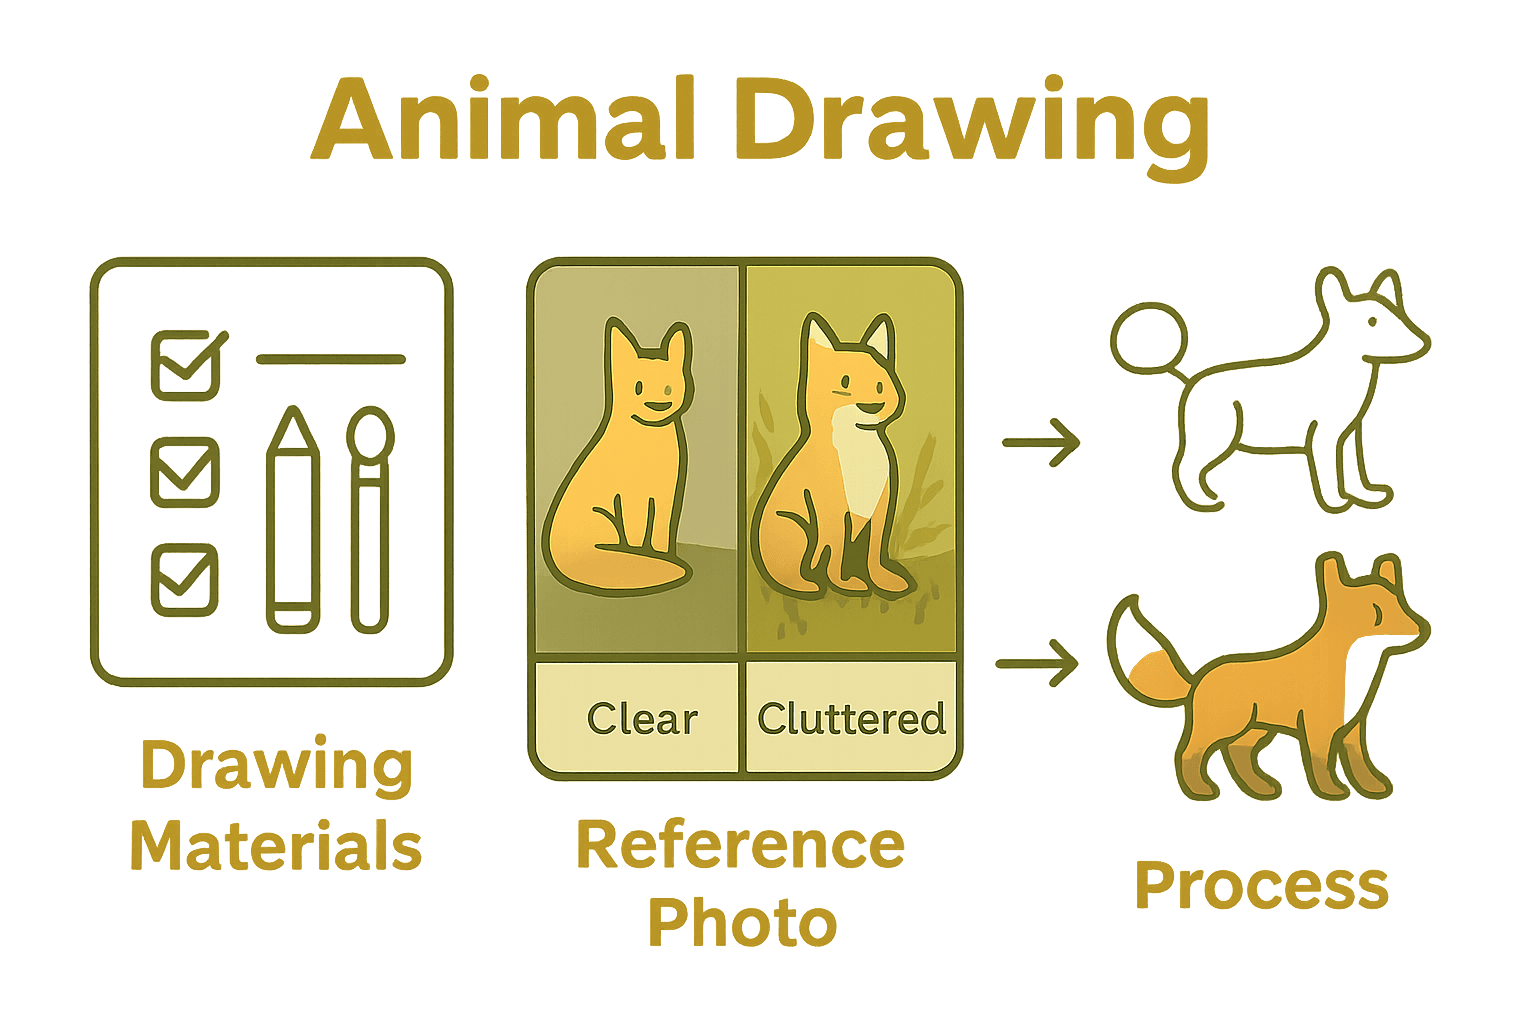
- Step 1: Gather Essential Drawing Materials
- Step 2: Choose the Animal Reference Image
- Step 3: Sketch Basic Animal Shapes Lightly
- Step 4: Add Details and Define the Outline
- Step 5: Color and Complete Your Animal Drawing
- Step 6: Review and Share Your Artwork Together
Quick Summary
| Key Point | Explanation |
|---|---|
| 1. Gather essential drawing materials | Start your animal drawing journey with quality graphite pencils, erasers, and a smooth sketchbook to enable flexible and enjoyable creations. |
| 2. Choose a clear reference image | Select a well-lit, detailed photograph to understand your animal’s anatomy and features, making your drawing easier and more accurate. |
| 3. Sketch basic shapes lightly | Begin by sketching simple geometric shapes to establish proportions and overall structure without worrying about perfection at this stage. |
| 4. Add details and define the outline | Gradually refine your drawing by carefully adding unique features and textures, ensuring to focus on capturing essential characteristics. |
| 5. Layer color for vibrancy | Use a carefully selected color palette, apply lighter shades first, and blend to enhance realism and depth in your animal depiction. |
Step 1: Gather Essential Drawing Materials
Before diving into drawing adorable animals, you will need the right art supplies to set yourself up for success. According to University of Tennessee Institute of Agriculture, having the correct drawing materials can transform your artistic journey and make learning much more enjoyable.
Your essential drawing toolkit should include a range of graphite pencils with different hardness levels. Start with a basic set that includes 2B, 4H, and 6B pencils, which will give you flexibility in creating light and dark lines. You will also want a quality sketchbook with smooth paper that can handle multiple drawing techniques. Additional crucial materials include both white rubber and kneaded erasers for corrections and refining details, blending stumps for smooth shading, and optional extras like charcoal sticks and colored pencils.
As a practical tip, invest in a small pencil sharpener and keep it nearby. Sharp pencils allow for precise lines and help you create more detailed animal drawings. Clean paper towels can also help you blend and smooth your artwork without smudging. With these materials ready, you will be well prepared to start your animal drawing adventure.
Ready to explore your first animal drawing technique?
Step 2: Choose the Animal Reference Image
Selecting the perfect reference image is your gateway to creating an amazing animal drawing. According to Nassau Museum, a clear and detailed photograph is crucial for understanding an animal’s anatomy and capturing its unique features.
When hunting for your ideal reference image, focus on finding a photograph with excellent lighting and minimal background distractions. As recommended by Arlington Community Education, look for images that showcase the animal in a simple pose with good lighting that highlights its form and details. Consider using wildlife photography books, reputable nature websites, or even your own photographs from family trips to the zoo or nature reserves.
A pro tip for young artists: start with animals that have distinct and clear shapes like cats, dogs, or simple wildlife creatures such as rabbits or foxes. These animals often have recognisable silhouettes that make initial drawing attempts more approachable and less intimidating. Print out your chosen image or keep it on a tablet screen nearby for easy reference while you draw.
Ready to sketch your first animal outline?
Step 3: Sketch Basic Animal Shapes Lightly
Now comes the magical moment of transforming your reference image into a drawing. According to California State University, the key is to begin by lightly sketching basic shapes that form the animal’s body such as circles, ovals, and rectangles to establish proportions and overall structure.
Start by identifying the primary geometric shapes within your animal reference. If you are drawing a fox, for example, you might see a large oval for the body, a triangle for the head, and smaller rectangles for the legs. Use your lightest pencil pressure to create these initial shapes, allowing yourself the freedom to adjust and refine as you go. As Prima Materia Institute recommends, using light pencil strokes enables easy corrections and helps ensure your overall composition remains accurate.
A helpful trick is to think of your drawing like building with building blocks.
 Each simple shape connects to another, gradually forming the animal’s complete silhouette. Dont worry about perfection right now. These initial lines are just a roadmap for your artistic journey. Keep your hand loose, your pencil light, and enjoy the process of seeing your animal take shape.
Ready to add some definition to your sketch?
Step 4: Add Details and Define the Outline
With your basic shapes in place, it is time to breathe life into your animal drawing. According to Caran dAche, the next stage involves refining your drawing by gradually adding intricate details such as facial features, fur texture, and muscle definition.
Begin by carefully tracing over your initial light shapes with slightly darker lines, paying close attention to the animal reference image. Focus on capturing unique characteristics that make the animal distinctive. As Kaiwen Pen recommends, concentrate on the specific features and patterns that will bring realism to your drawing. For instance, if you are drawing a fox, notice the direction of fur growth, the shape of its ears, and the subtle variations in its coat colour.
A pro tip for young artists is to work from larger details to smaller ones. Start with defining the overall shape and major features, then progressively add smaller elements like individual fur strands or subtle muscle contours. Use your blending stump to create smooth transitions and add depth to your drawing. Remember that patience is key your drawing will develop character with each careful stroke.
Ready to add some shading and bring your animal to life?
Step 5: Color and Complete Your Animal Drawing
The most exciting part of your drawing journey has arrived. According to Cass Art, introducing color is about carefully layering your pencils and paying close attention to the natural colors and shading that will bring your animal to life.
Start by selecting a colour palette that matches your reference image. Begin with lighter shades and gradually build up layers of colour, using gentle pressure to create smooth transitions. As recommended by Kraft Geek, focus on blending techniques that help create smooth transitions between different colours and shades. This approach will enhance the three dimensional appearance of your drawing and make your animal look more vibrant and realistic.
A helpful tip for young artists is to observe the subtle colour variations in your reference image. Look for places where colours blend or change slightly different tones of brown in a fox fur, or the varying shades of grey in a wolf coat. Use your blending stump to soften edges and create a more natural look. Take your time and enjoy watching your animal drawing transform from simple shapes to a beautiful piece of art.
Would you like to show off your masterpiece?
Step 6: Review and Share Your Artwork Together
Congratulations on completing your animal drawing. According to Caran dAche, the final step is to review your artwork carefully and identify areas where you can improve your skills in future drawings.
Gather your family or drawing buddies and create a supportive sharing session. As Kaiwen Pen suggests, engaging in group discussions about artwork encourages learning and can inspire further creativity. Ask for gentle feedback about what people appreciate in your drawing. Look for specific details like how you captured the animal’s expression, the texture of its fur, or the overall shape and proportions.
A helpful tip is to display your artwork proudly. Take a clear photograph of your drawing, perhaps alongside the original reference image. Consider creating a special art journal or hanging your drawing in a visible spot where you can appreciate your progress. Remember that every drawing is a learning experience. Each time you sketch an animal, you will develop more confidence and skill. Celebrate your unique artistic journey and the beautiful connection you are creating with the natural world.
Ready to start planning your next animal drawing adventure?
Inspire Young Artists to Connect with Nature Through Drawing
Drawing animals step by step is a wonderful way to nurture creativity while building a deeper bond with the natural world. This guide highlights the challenge young artists face when capturing the unique features and life of animals. Whether it is sketching basic shapes or adding delicate shading and colour, many children need tools and inspiration that go beyond paper and pencil. At The Zoofamily, we understand the desire to make learning fun and meaningful. Our specially designed animal references are created to spark kids’ curiosity about wildlife and encourage them to explore nature with excitement and care.

Bring your child’s artistic adventures to life with our range of kids’ cameras, walkie-talkies, and binoculars that help them observe animals up close and ignite their imagination. Every product is thoughtfully crafted to create lasting memories and deepen connections with nature. Plus, with every camera sold, we plant a tree to help restore the beauty of our planet for future generations. Discover how you can support your child’s creative journey and foster a love for wildlife today at The Zoofamily. Start exploring and drawing from life in a way that is engaging and rewarding.
Frequently Asked Questions
How can my family choose the best animal reference image for drawing?
Select a clear photograph with good lighting and minimal distractions, focusing on simple animal poses that highlight their features. Begin by looking through wildlife photography books or family photos from the zoo to find images that inspire you.
What essential drawing materials do we need to start drawing animals?
Gather basic supplies including a set of graphite pencils (2B, 4H, 6B), a quality sketchbook, erasers, blending stumps, and optional colored pencils. Ensure you have sharp pencils and clean paper towels nearby for better control and blending as you draw.
How do we incorporate basic shapes into our animal drawings?
Start by identifying primary geometric shapes within your reference image, such as circles and ovals, to outline the animal’s body. Lightly sketch these shapes to establish proportions, allowing for adjustments as you build your drawing.
What techniques can help us add details to our animal drawings?
Refine your sketch by tracing over your initial shapes with darker lines, focusing on unique features like fur texture and facial structures. Progress from larger details to smaller ones to create depth, and use blending tools to smooth transitions between features.
How can we effectively add color to our animal drawings?
Layer colors gradually, beginning with lighter shades before building up to darker tones, while keeping an eye on the variations in your reference image. Use blending techniques to create smooth transitions, enhancing the dimension of your animal drawing.
What should we do after completing our animal drawings?
Review your artwork to identify areas for improvement, then share it with family or friends for supportive feedback. Consider taking photographs of your finished pieces and creating an art journal to track your progress and celebrate each drawing adventure.