Every eco-conscious parent in Paris or Munich knows the challenge of finding activities that nurture both creativity and environmental respect. Nature-inspired crafts offer meaningful ways for children to connect with their surroundings, transforming simple walks through local parks into adventures in collecting twigs, leaves and feathers for imaginative projects. This guide highlights how everyday natural treasures can become the foundation for magical fairy creations using biodegradable, renewable and non-toxic materials while making each step safe, educational and fun.
Table of Contents
- Step 1: Gather Eco-Friendly Craft Materials
- Step 2: Design Your Unique Fairy Template
- Step 3: Assemble The Fairy Body And Wings
- Step 4: Add Magical Details With Natural Items
- Step 5: Verify Your Fairy Is Sturdy And Safe
Quick Summary
| Key Point | Explanation |
|---|---|
| 1. Gather eco-friendly materials | Collect biodegradable items like twigs, leaves, and stones for crafting fairies while encouraging children to respect nature. |
| 2. Create a personalised fairy template | Sketch a base design on recycled paper, allowing space for natural materials. Encourage creativity in exploring different shapes and sizes. |
| 3. Assemble with attention to detail | Use lightweight materials to build the fairy, ensuring secure attachments that allow for imaginative play and movement. |
| 4. Enhance with magical natural details | Select additional natural embellishments like moss and beads to add personality, encouraging storytelling as part of the craft. |
| 5. Conduct a thorough safety inspection | Check all connections for stability and safety, ensuring no small parts are a choking hazard before allowing children to play with their creations. |
Step 1: Gather eco-friendly craft materials
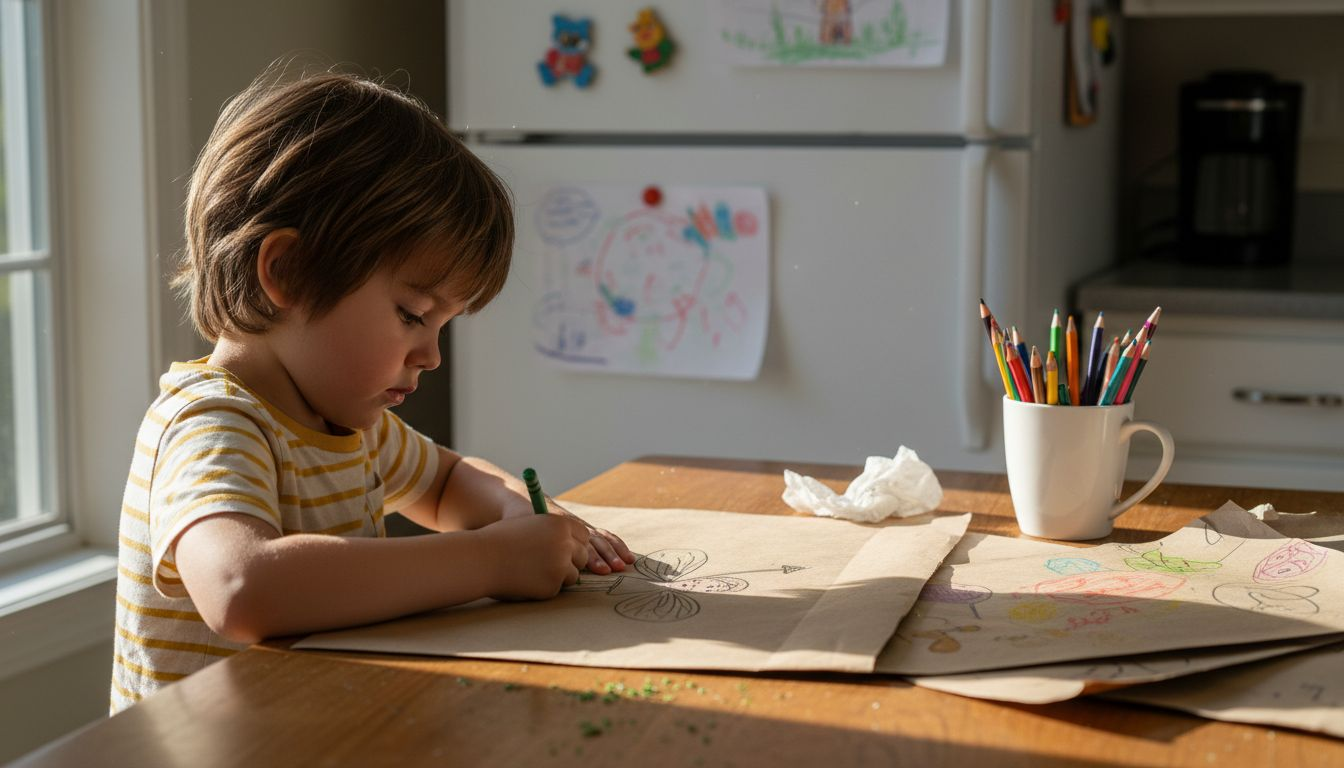
Creating a fairy with natural materials requires thoughtful collection of earth-friendly supplies. Our goal is to transform everyday elements from nature into magical craft elements that spark imagination while teaching children about environmental respect.
Begin by exploring sustainable craft supplies that minimise environmental impact. Wander through gardens, parks, and woodland areas to collect biodegradable materials like twigs, fallen leaves, smooth pebbles, pinecones, feathers, and soft moss. Children love transforming natural objects into artistic creations, so encourage them to observe textures and shapes during your gathering walk.
Select materials carefully, focusing on items that are clean, dry, and free from potential insects. Look for lightweight twigs for fairy limbs, interesting shaped leaves for wings, small stones for base supports, and soft moss or lichen for decorative elements. Natural fabrics like cotton scraps or wool remnants can provide additional textural opportunities for clothing and accessories.
Here is a summary of common natural materials and their recommended uses when crafting eco-friendly fairies:
| Material | Best Use | Unique Feature |
|---|---|---|
| Twigs | Limbs and body base | Lightweight and easily shaped |
| Leaves | Fairy wings | Variety of shapes and colours |
| Moss or Lichen | Decorative details | Soft texture for fairy attire |
| Pebbles | Base or crown | Smooth finish, stable weight |
| Feathers | Accessories | Adds delicate, airy movement |
| Pinecones | Shoes or hats | Interesting natural patterns |
| Cotton/Wool | Clothing | Soft and comfortable finish |

Expert Tip: Always supervise children during material gathering and wash collected items thoroughly before crafting to ensure safety and cleanliness.
Step 2: Design your unique fairy template
Now that you have gathered your natural materials, it is time to bring your fairy to life through a personalised template. Printable fairy designs offer an exciting starting point for children to explore their creativity and develop fine motor skills.
Begin by sketching a basic fairy silhouette on sturdy recycled paper. Consider the proportions carefully, creating a template that allows space for attaching natural materials like twigs for limbs and leaves for wings. You might draw a simple outline with dotted lines to guide cutting and placement of decorative elements. Encourage your child to experiment with different body shapes and sizes, understanding that each fairy will be wonderfully unique.
For added engagement, transform the template creation into an imaginative storytelling activity. Let your child design wings with interesting shapes, select body proportions that reflect their vision, and plan where natural materials will be attached. Fairy design activities support not just artistic development but also communication and social skills as children discuss their creative choices.
Expert Tip: Create multiple template variations to allow children maximum creative freedom and prevent frustration with a single rigid design.
Step 3: Assemble the fairy body and wings
With your template and natural materials ready, it is time to transform your paper design into a three dimensional fairy creation. Crafting fairy wings requires careful attention to detail and a playful approach to design.
Start by cutting out your paper template carefully, using the dotted lines as guides. Select lightweight natural materials like thin twigs for the body structure, ensuring they are clean and dry. For the wings, consider using pressed leaves or delicate flower petals that can be carefully attached to a lightweight base. You might use fabric glue or natural twine to secure these elements, creating a translucent and ethereal effect that captures the magical essence of your fairy.
Pay special attention to the wing attachment, creating comfortable fairy costume wings that allow for movement and play. Experiment with different attachment methods, such as using thin elastic bands or carefully woven plant fibres to connect the wings to the body. Encourage your child to think creatively about how the fairy might move and interact with its environment, transforming a simple craft project into an imaginative storytelling experience.
Expert Tip: Work on a flat surface with all materials laid out beforehand to minimise potential mess and maximise creative flow.
Step 4: Add magical details with natural items
With the basic fairy structure complete, it is time to transform your creation into a truly enchanting character. Fairy craft decorations offer countless opportunities to bring imagination to life using nature’s treasures.
Carefully select small natural objects that will enhance your fairy’s personality. Tiny pinecones can become adorable shoes, delicate moss might form a whimsical dress, and smooth pebbles could craft a miniature crown. Look for materials with interesting textures and shapes that spark creativity. Attach these elements using child safe eco friendly glue, ensuring each piece adds character and charm to your woodland sprite.
Encourage your child to tell a story about their fairy while decorating, exploring magical craft embellishments that transform a simple craft into an imaginative adventure. Consider creating accessories like a twig wand, acorn cup hat, or feather cape that reflect the fairy’s unique personality and magical abilities.
Expert Tip: Collect decorative materials during a nature walk together, turning preparation into a memorable shared experience.
Step 5: Verify your fairy is sturdy and safe
Before presenting your magical creation to children, conducting a careful safety inspection ensures your fairy craft remains both delightful and secure. Fairy craft safety guidelines highlight the importance of thorough checking and preparation.
Carefully examine each connection point where natural materials are joined, ensuring no sharp edges or loose elements might pose potential risks. Gently tug on wing attachments and decorative pieces to confirm they are firmly secured with child safe adhesive. Check that smaller embellishments like acorn cups or pebble decorations are large enough to prevent accidental swallowing and will not easily detach during play.
To help ensure your fairy craft is both safe and durable, consider this overview of child-friendly finishes and checks:
| Safety Measure | Purpose | How to Implement |
|---|---|---|
| Wash all materials | Remove dirt and insects | Use warm water before crafting |
| Inspect connections | Enhance structural integrity | Gently test joints by hand |
| Avoid sharp edges | Prevent injury | File or sand rough surfaces |
| Use large embellishments | Reduce choking risk | Select items larger than 2cm |
| Eco-friendly glue usage | Ensure non-toxicity | Choose certified child-safe glue |
Pay special attention to the overall structural integrity, creating safe children craft projects that can withstand gentle handling. Reinforce any weak joints with additional natural twine or eco friendly glue, and smooth any rough surfaces that might cause discomfort. Invite your child to handle the fairy carefully, demonstrating how to play gently and appreciate the delicate craftsmanship.
Expert Tip: Conduct your safety check in good natural light and involve your child in the process to teach careful handling and appreciation of handmade objects.
Inspire Natural Creativity with The Zoofamily’s Nature-Inspired Tools
Crafting fairies from natural materials can be a magical way to connect children with the environment while nurturing their creativity. Yet, ensuring the materials are safe, promoting imaginative storytelling, and encouraging outdoor exploration can sometimes present challenges. At The Zoofamily, we understand these goals deeply and provide nature-inspired products that complement such educational projects perfectly.

Enhance your family’s outdoor adventures with our kids’ cameras, walkie-talkies, and binoculars designed to spark curiosity about wildlife and nature. Each product not only supports imaginative play but also fosters respect for the natural world, making them perfect companions when collecting eco-friendly craft materials. Plus, with our commitment to plant a tree for every camera sold, you help restore natural beauty for future generations. Start your journey of creativity and connection today by visiting The Zoofamily and see how our tools can bring your child’s fairy-making experience to life.
Frequently Asked Questions
What eco-friendly materials can I use to create fairies with my kids?
You can use natural materials such as twigs, leaves, pebbles, moss, feathers, and pinecones. Gather these biodegradable items during a nature walk to ensure you have a variety of textures and shapes for your fairy crafts.
How can I design a unique fairy template for my child?
Start by sketching a basic silhouette of a fairy on sturdy recycled paper. Encourage your child to think creatively by experimenting with different shapes and sizes, making sure to include areas for attaching the natural materials you have collected.
What steps should I follow to assemble the fairy’s body and wings?
Begin by cutting out your fairy template and selecting lightweight natural materials for the body and wings. Use glue or twine to firmly attach the wings, ensuring they are secured in a way that allows for easy movement and play.
How can I add magical details to the fairy using natural items?
Select small natural objects such as tiny pinecones for shoes or delicate moss for clothing to enhance your fairy’s character. Use eco-friendly glue to attach these details, encouraging your child to explore their creativity and tell a story about their unique fairy.
What safety measures should I take when finalising my child’s fairy craft?
Inspect all connections to ensure they are secure and check for any sharp edges. Use larger embellishments to reduce the choking risk, and wash all materials thoroughly before crafting to maintain safety and cleanliness.
Recommended
- Bricolages avec coquillages : Créez des cadeaux uniques pour enfants – The Zoofamily
- Making Learning Fun: Engaging Activities for Your Kids – The Zoofamily
- Meilleurs gadgets plein air enfants – Comparatif 2025 – The Zoofamily
- Understanding the Benefits of Imaginative Play – The Zoofamily
- Bringing a New Puppy into Your Home with Kids: A Guide – iPupPee
- 9 Creative Group Hangouts Ideas to Try in 2026 | Groop Blog
- 8 Ways Deal with Children’s Anger - Mastering Anger