
Children love foraging in the garden and discovering the hidden treasures scattered among leaves and branches. Surprisingly, ornament crafts made from natural items can become lasting keepsakes, not just fleeting art projects. While most think DIY nature ornaments are messy or tricky, the real delight is how children develop confidence and creativity as they turn their finds into beautiful gifts that others will treasure.
Table of Contents
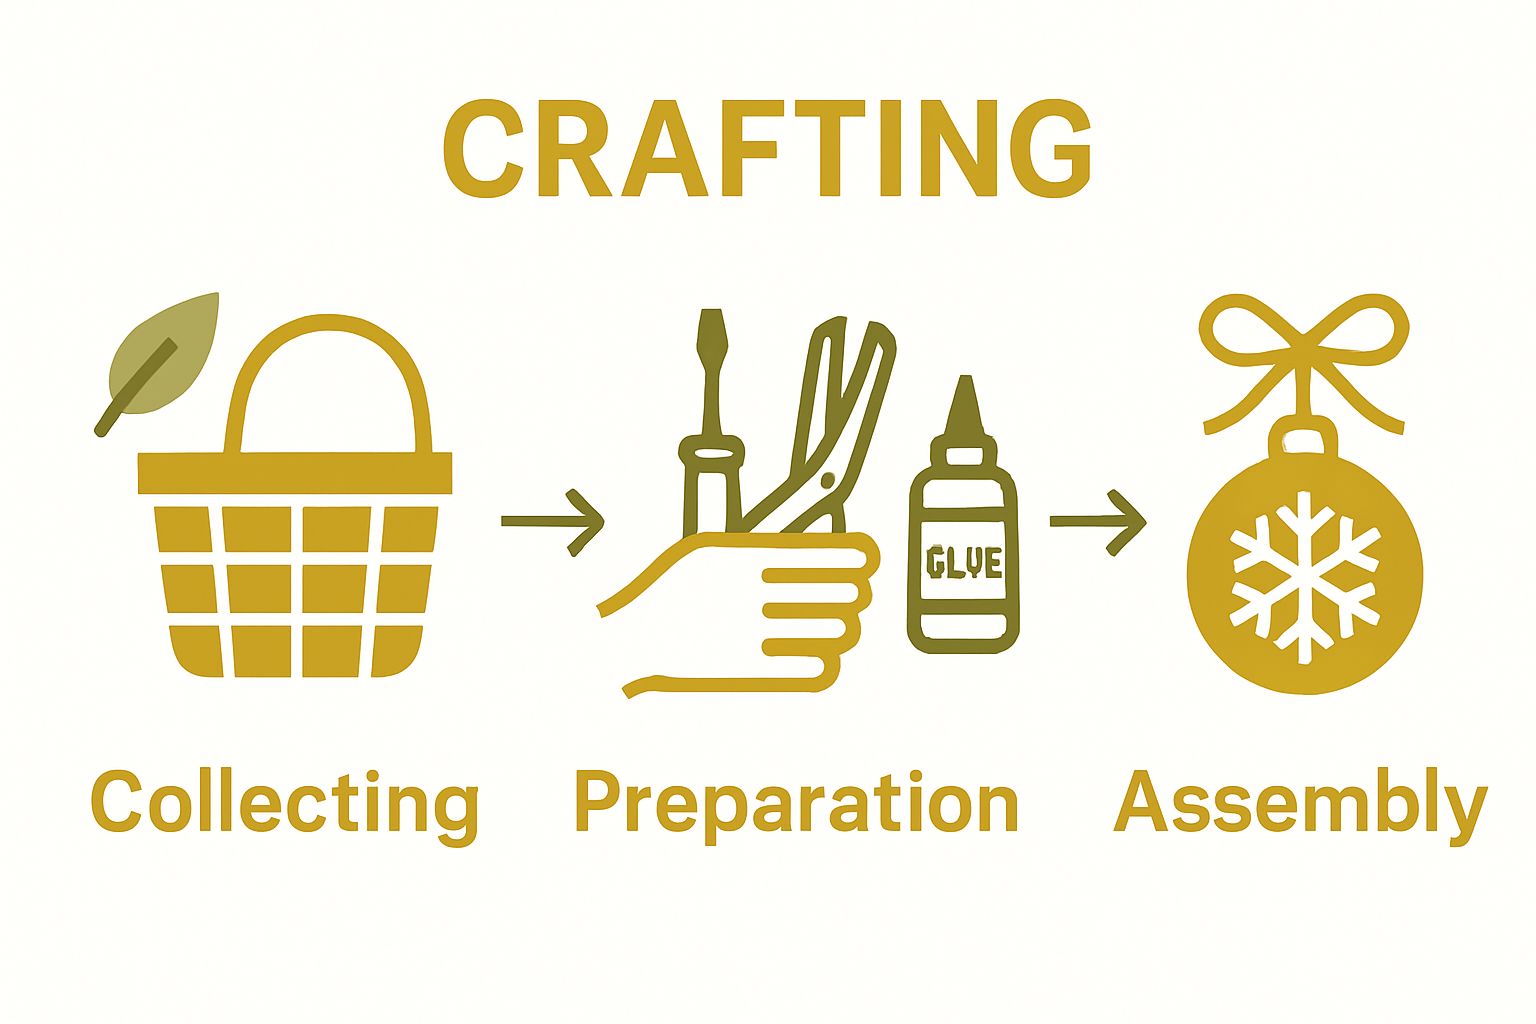
- Step 1: Gather Natural Materials From Your Garden
- Step 2: Prepare Your Workspace With Tools And Supplies
- Step 3: Create The Ornaments Using Your Collected Items
- Step 4: Add Finishing Touches And Decorations
- Step 5: Allow Ornaments To Dry And Set
- Step 6: Present Your Beautiful Nature Ornaments As Gifts
Quick Summary
| Key Point | Explanation |
|---|---|
| 1. Gather materials thoughtfully from your garden | Encourage children to collect safe, interesting natural items, fostering exploration and respect for the environment. |
| 2. Prepare a suitable workspace for crafting | Organize a clean, well-lit area with necessary tools to ensure safety and support creativity during the crafting process. |
| 3. Allow creative expression in ornament design | Let children freely arrange natural materials, promoting personal creativity and connection to their collected items. |
| 4. Use minimal embellishments for personalisation | Encourage subtle decorative touches that enhance the ornament’s beauty without overwhelming its natural aspects. |
| 5. Emphasise meaningful gift presentation | Help children package their ornaments thoughtfully, creating narratives to enhance the personal value of their handmade gifts. |
Step 1: Gather Natural Materials from Your Garden
Creating beautiful DIY nature ornaments begins with an exciting treasure hunt right in your own garden. This initial step transforms a simple crafting project into a delightful outdoor exploration that connects children directly with the natural world. By collecting materials thoughtfully and safely, you’ll set the foundation for memorable ornaments that capture the essence of nature’s beauty.
Materials Hunting Strategy
Starting your nature ornament adventure requires a keen eye and a spirit of discovery. Walk through your garden with your children, encouraging them to observe carefully and select materials that are interesting, varied, and free from damage. Look for fallen leaves with unique shapes, small twigs with interesting textures, pinecones, acorns, small branches, and dried seed pods. Teach children to be gentle with living plants, selecting only materials that have naturally fallen to the ground.
Before collecting, equip your young explorers with simple gathering tools that make the process safe and enjoyable. A small basket or cloth bag works perfectly for collecting, allowing children to see their growing collection and feel a sense of accomplishment. Check out our guide on outdoor exploration for kids to enhance their learning experience during this gathering phase.
Preparation and Selection Tips
Not all collected materials will be suitable for ornament making. After gathering, spread your findings on a clean surface and help children sort through their collection.
 Look for items that are relatively dry, free from insects, and have minimal signs of decay. Pinecones with intact scales, smooth twigs without bark peeling, and leaves that are not too brittle make excellent ornament components.
Consider the seasonal variations that can impact your material selection. Autumn offers rich, warm-toned leaves and interesting seed pods, while spring might provide delicate flower petals or fresh green leaves. Each season brings unique textural and colour possibilities that can make your nature ornaments truly special. Always supervise children during collection to ensure they choose safe, appropriate materials and understand the importance of respecting natural environments.
Step 2: Prepare Your Workspace with Tools and Supplies
Transitioning from nature gathering to crafting requires creating a thoughtful, organised workspace that supports creativity and ensures safety for young makers. The right environment transforms a simple project into an engaging, memorable experience that encourages children’s artistic exploration and connection with natural materials.
Essential Workspace Setup
Choose a workspace that offers ample light, a sturdy flat surface, and easy cleanup potential. A kitchen table covered with a washable tablecloth or a dedicated craft area works perfectly. Protect surfaces by laying down newspaper or a disposable plastic sheet, which will catch stray glue, paint, or small material fragments. Read our detailed guide on creative spaces for children to enhance your crafting area.
Gather supplies before starting to maintain children’s enthusiasm and prevent interruptions. Your crafting toolkit should include child-friendly tools that make ornament creation safe and enjoyable.
This table summarises the essential tools and supplies mentioned for creating DIY nature ornaments, including their intended use.
| Tool or Material | Purpose/Use |
|---|---|
| Non-toxic white glue | Securely attaches natural materials |
| Child-safe scissors | Safely trims materials for children |
| Soft paintbrushes | Applies glue, paint, or sealant |
| Ribbon or twine | Creates a loop for hanging the finished ornament |
| Clear sealant/mod podge | Preserves and protects ornament, adds shine |
| Disposable wet wipes | Easy cleanup of hands and surfaces |
| Paper towels | Drying, cleaning, blotting excess glue or paint |
- Non-toxic white craft glue
- Sharp scissors (for adult use)
- Child-safe scissors with rounded tips
- Soft paintbrushes
- Ribbon or twine for hanging
- Clear sealant or mod podge
- Disposable wet wipes
- Paper towels
Safety and Preparation Considerations
Before beginning, discuss workspace rules with children to create a positive crafting environment. Explain the purpose of each tool, demonstrating proper handling techniques. Adult supervision is crucial, particularly when using adhesives or cutting materials. Encourage children to wear old clothing or protective aprons to manage potential messiness.
Organise collected natural materials into separate containers or trays, allowing children to see their options clearly. This visual organisation helps them plan their ornament designs and keeps the workspace tidy.
Below is a checklist table to help ensure your workspace and materials are fully prepared before starting the crafting process.
| Preparation Item | Check Requirement | Completed (✔/✗) |
|---|---|---|
| Workspace is clean and well-lit | Area is organised and covered for mess | |
| All materials are sorted and ready | Natural items are clean and dry | |
| Supplies are within easy reach | Glue, scissors, brushes, sealant ready | |
| Safety rules explained to children | Proper tool handling discussed | |
| Protective clothing/aprons worn | Children dressed for mess | |
| Adult supervision is arranged | Supervision confirmed for craft | |
| Materials grouped in containers | Organised by type or colour |
Consider sorting materials by colour, size, or texture to spark creative thinking and make selection easier. By preparing thoroughly, you transform a simple craft activity into an engaging learning experience that celebrates nature’s beauty through collaborative creativity.
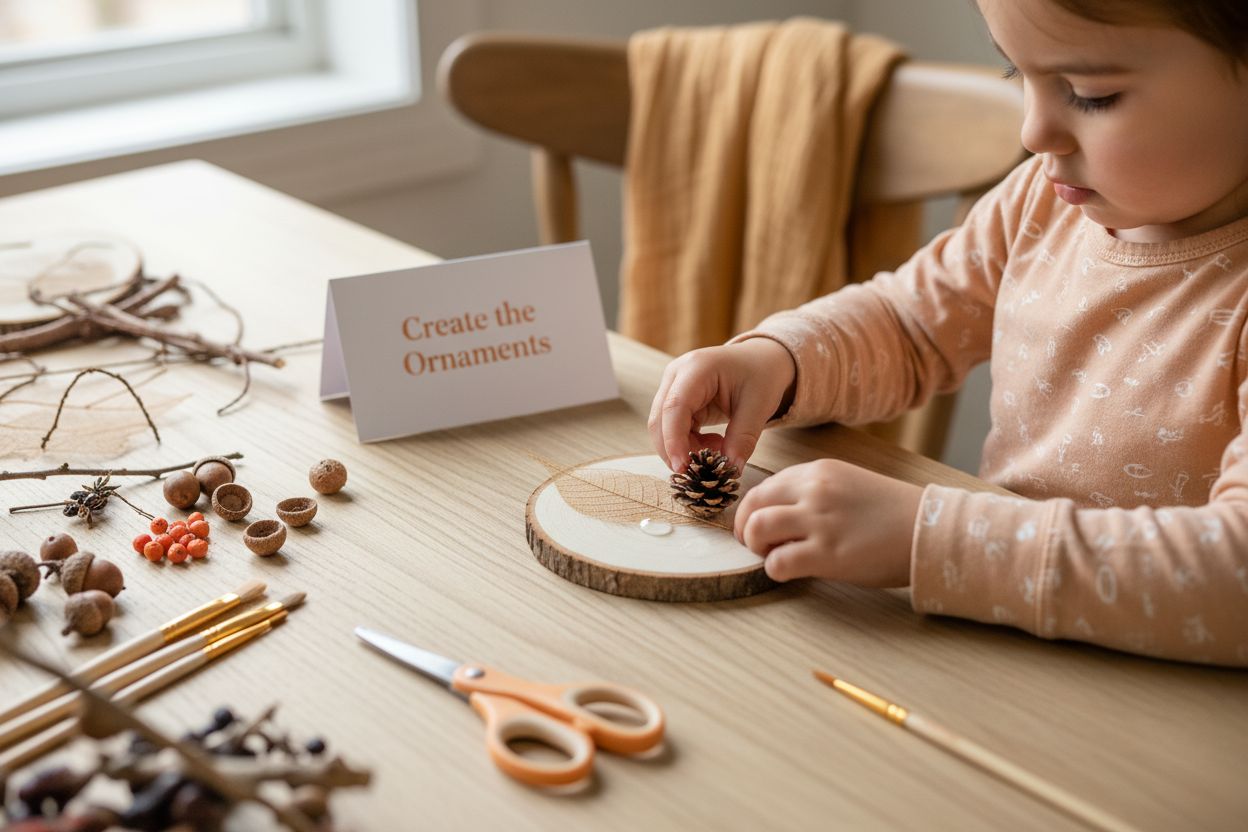
Step 3: Create the Ornaments Using Your Collected Items
With gathered materials and a prepared workspace, you are now ready to transform natural elements into charming ornaments that capture imagination and celebrate the beauty of the outdoors. This stage is where creativity truly blossoms, turning simple garden finds into cherished keepsakes that children will proudly display and share.
Crafting Techniques and Design
Begin by laying out your collected materials and discussing potential design ideas with children. Encourage free expression and allow them to experiment with different arrangements before committing to a final design. Some children might prefer creating symmetrical patterns, while others might enjoy more abstract compositions. Explore creative craft techniques for unique children’s gifts to inspire additional design approaches.
For circular ornaments, consider using a sturdy base like a wooden disc or thick cardboard cut into circles. Arrange natural materials like leaves, small twigs, and pinecones on the base, experimenting with placement before applying adhesive. Use white craft glue sparingly, pressing each item gently to ensure secure attachment. Allow children to layer materials, creating depth and interesting textures that tell a visual story of their garden exploration.
Finishing and Preservation
Once the design is complete and glue has dried, apply a thin layer of clear sealant or mod podge to protect the ornament and enhance its durability. This step not only preserves the natural materials but also gives the ornament a subtle, professional shine. Carefully thread a ribbon or twine through a small hole at the top of the ornament, creating a loop for hanging.
Remember that imperfections are part of the charm. Each ornament will be unique, reflecting the individual child’s creativity and connection with nature.
 Encourage children to sign and date their creations, transforming these ornaments into precious memories of a shared crafting experience. By focusing on the joy of creation rather than achieving perfection, you’ll help children develop confidence in their artistic abilities and foster a deeper appreciation for the natural world around them.
Step 4: Add Finishing Touches and Decorations
The final stage of creating nature ornaments transforms your handcrafted pieces from simple craft projects into personalised, meaningful gifts that capture imagination and celebrate creativity. This step is where children can truly express their individual artistic vision and add magical details that make each ornament extraordinary.
Personalisation Techniques
Consider adding subtle embellishments that complement the natural materials without overwhelming their inherent beauty. Metallic paint edges can provide a delicate shimmer, while small watercolour accents can highlight intricate textures of leaves or pinecones. Encourage children to be subtle and intentional with their decorative choices. Soft brush strokes or gentle glitter applications can elevate the ornament’s visual appeal without compromising its organic aesthetic.
Some decoration ideas include using fine-tipped metallic markers to add delicate patterns, applying tiny sequins or small glass beads strategically, or creating subtle colour gradients with watercolour paints. Explore creative gift decoration techniques to inspire additional embellishment approaches that spark children’s imagination.
Final Preservation and Presentation
After decorative elements are added and dried completely, apply a final protective clear coat to seal all components. This not only preserves the ornament but also enhances colours and provides a professional, polished finish. Choose a clear, non-yellowing sealant that maintains the natural materials’ authentic appearance.
Carefully attach a decorative ribbon or twine for hanging, selecting colours that complement the ornament’s natural tones. Consider creating a small gift tag with the child’s name, date, and a brief message, transforming the ornament into a cherished keepsake. By focusing on thoughtful, minimal embellishments, you’ll help children create unique gifts that celebrate both their creativity and nature’s inherent beauty. Each ornament becomes a testament to imagination, connection, and the simple joy of crafting something truly special.
Step 5: Allow Ornaments to Dry and Set
The drying and setting phase is a critical moment in ornament creation that requires patience, careful handling, and strategic placement. This step transforms your wet, freshly decorated crafts into durable, stable keepsakes that will preserve the delicate natural materials and intricate designs children have carefully assembled.
Optimal Drying Environment
Choose a dedicated drying area that is flat, stable, and away from direct sunlight or high-traffic zones. Indirect, consistent room temperature works best for ensuring even drying without risking material warping or colour fading. Use a large, clean tray or flat surface covered with parchment paper, which prevents sticking and allows easy movement if needed. Learn more about preserving natural craft materials to enhance your understanding of craft preservation techniques.
Spread ornaments with sufficient spacing between them, ensuring no materials touch or overlap during the drying process. This prevents accidental sticking and allows air to circulate freely around each piece. Children can help arrange the ornaments, turning this practical step into an opportunity for spatial reasoning and careful handling practice.
Monitoring and Final Checks
Drying times will vary depending on the adhesives, sealants, and natural materials used. Expect the process to take between 12 to 24 hours for complete setting. Avoid touching or moving ornaments during this period to prevent disrupting their delicate compositions. Encourage children to observe the gradual transformation, noting how colours become more vibrant and materials settle into their final positions.
Once completely dry, perform a gentle inspection with children. Check for any loose elements, ensuring all components are securely attached. Test the ornament’s stability by carefully holding it and rotating slowly. The final product should feel solid, with no wobbling or shifting parts. This careful examination not only ensures quality but also gives children a sense of accomplishment and pride in their meticulously crafted nature ornaments, ready to become cherished gifts that capture the beauty of their creative journey.
Step 6: Present Your Beautiful Nature Ornaments as Gifts
The final stage of your nature ornament journey transforms handcrafted creations into meaningful, personalised gifts that tell a story of creativity, connection, and environmental appreciation. This moment is about celebrating the children’s artistic process and sharing their unique expressions with loved ones.
Packaging and Presentation
Choose sustainable packaging that complements the natural aesthetic of the ornaments. Consider using recycled kraft paper, small cloth bags, or simple wooden boxes that highlight the organic beauty of the gifts. Encourage children to participate in decorating gift packaging, perhaps by drawing nature-inspired patterns or adding pressed leaves as embellishments. Explore creative gift presentation techniques to inspire unique wrapping approaches that extend the craft experience.
Create a small accompanying card that explains the ornament’s creation process. Children can write a personal message describing where materials were collected, the inspiration behind their design, and what makes the ornament special. This narrative adds emotional value and helps recipients appreciate the thoughtfulness behind the gift.
Meaningful Gift-Giving
Guide children in selecting recipients who will genuinely appreciate the handmade nature of their gifts. Grandparents, special teachers, or close family friends often treasure such personalised creations. Help children understand that the value of their gift lies not in perfection, but in the love, creativity, and personal connection embedded in each ornament.
Consider creating a small gift-giving ritual that allows children to share the story behind their ornaments. Encourage them to explain the materials they used, where they were collected, and what inspired their design. This storytelling moment transforms the gift from a simple object into a cherished memory, connecting the giver and receiver through a shared appreciation of nature’s beauty. By focusing on the joy of giving and the creative process, children learn that the most meaningful gifts come from the heart and hands.
Inspire Deeper Connections with Nature and Creative Play
Has your child’s curiosity about the outdoors flourished while making their own DIY nature ornaments? Crafting with natural items sparks imagination but often leaves parents wondering how to encourage ongoing excitement for nature and learning. Many families find it difficult to sustain this connection, especially indoors, where traditional toys do not always foster the same wonder or environmental awareness. At The Zoofamily, we believe in nurturing young explorers and creators through both hands-on crafts and innovative tools that strengthen their bond with the planet.

Transform your creative moments into lasting adventures. Try our specially designed kids’ cameras, binoculars and walkie-talkies that motivate children to capture and share their discoveries, both in the garden and beyond. For every camera you purchase, we plant one tree, building a future where nature’s beauty flourishes for all children. Ready to deepen your child’s love for the earth and inspire their imagination today? Visit The Zoofamily now to explore our unique range and make every family memory count.
Frequently Asked Questions
How do I gather natural materials for DIY nature ornaments?
Start by exploring your garden or outdoor space with children. Look for interesting fallen leaves, twigs, pinecones, acorns, and dried seed pods. Ensure that the materials are relatively dry and free from decay, and teach children to select only items that have naturally fallen to the ground.
What supplies do I need to create nature ornaments?
You will need non-toxic white craft glue, child-safe scissors, soft paintbrushes, ribbons or twine for hanging, and clear sealant or mod podge. Additionally, have disposable wet wipes and paper towels available for easy cleanup.
How can I personalise nature ornaments?
Encourage children to add subtle embellishments like metallic paint edges, fine-tipped markers for patterns, or small sequins to enhance their designs without overpowering the natural materials. This allows each ornament to express individual creativity.
What is the best way to present and gift nature ornaments?
Use sustainable packaging like recycled kraft paper or small cloth bags. Include a card explaining the ornament’s creation process and a personal message. Sharing the story behind the ornament adds emotional value and connection for the recipient.