

This collection gives you twelve outdoor experiments grouped by theme, from water and bubbles to rockets and weather, so parents and educators can pick an outdoor experiment and run it within the hour. Every activity lists materials, an age range, a safety note and one clear learning outcome. Materials come from the kitchen cupboard or garden shed, not a science shop.
TL;DR:
- Most experiments are quick to set up and require only household items, making them suitable for spontaneous outdoor activities.
- Safety precautions like adult supervision for hot or sharp materials are essential to prevent accidents or injuries.
- Experiments related to UV light and prism use work best on sunny days with clear, stable weather conditions for accurate results.
- Repeating activities over several weeks deepens understanding by revealing seasonal changes and animal behaviors.
- Optional observation tools like cameras and binoculars can enhance documentation but are not necessary for core learning.
Table of Contents
- Twelve outdoor experiments grouped by theme
- Getting ready: a preparation and safety checklist
- What each experiment actually teaches
- Where these experiments come from and who they’re for
- What actually makes an outdoor session work
- Extending the experiment with simple observation tools
- Sources
- FAQ
Twelve outdoor experiments grouped by theme
Each entry below gives you what you need, how long it takes and what a child actually learns from it. Ages are guides, not rules. Group size works best at four to six children per adult for anything involving hot water or sharp objects.
Water and bubbles
1. Water volcano Ages 4 to 8, 15 minutes. Mix bicarbonate of soda and vinegar inside a small bottle buried in a sand or soil mound.
- Bottle, bicarbonate of soda, vinegar, food colouring, sand or soil
- Bury the bottle upright, leaving the neck exposed.
- Spoon in bicarbonate of soda.
- Add a few drops of food colouring to vinegar.
- Pour the vinegar in and step back. Safety: keep the mixture away from eyes; wash hands after. Learning outcome: a chemical reaction between an acid and a base produces gas, which is why it foams.
2. Giant bubble wand Ages 3 to 10, 20 minutes. Dip a homemade wire-and-string wand into a washing-up-liquid solution to create bubbles metres wide.
- Two sticks, string, washing-up liquid, water, glycerine (optional)
- Mix water with washing-up liquid and a splash of glycerine.
- Tie string between two sticks to form a loop.
- Dip the loop fully, then walk backwards slowly to draw out a bubble. Safety: solution stings eyes, rinse promptly if splashed. Learning outcome: surface tension holds the soap film together until air pressure or wind breaks it.
3. Waterproofing test Ages 5 to 11, 15 minutes. Compare how wax, oil and plain paper each resist a dropper of water.
- Paper squares, cooking oil, candle wax, dropper, water
- Coat one square with oil, one with rubbed wax, leave one plain.
- Drip water onto each.
- Observe which beads up and which soaks through. Safety: supervise candle wax melting if used. Learning outcome: hydrophobic coatings repel water; this is the same principle behind rain jackets.
Rockets and launch
4. Bottle rocket Ages 6 to 11, 20 minutes, best with two adults. Launch a plastic bottle using a bicycle pump and a cork stopper fitted with a valve.
- Plastic bottle, cork with pump valve, bicycle pump, water
- Fill the bottle roughly a third full of water.
- Fit the valved cork and attach the pump.
- Stand the rocket on a launch stand, pump steadily, then clear the area before it fires. Safety: never point the nozzle at people; adults control the pump. Learning outcome: compressed air forces water out, and the equal-and-opposite reaction pushes the bottle upward.
5. LEGO waterwheel Ages 5 to 9, 25 minutes. Build a simple paddle wheel from LEGO bricks and turn it under a running hose or tap.
- LEGO bricks, a skewer or rod, running water source
- Build a wheel with evenly spaced paddles around a central axle.
- Mount it on a stand so the axle spins freely.
- Direct water onto the paddles and watch it turn. Safety: none beyond normal water play supervision. Learning outcome: moving water carries kinetic energy that can be converted into mechanical motion, the same principle behind hydroelectric turbines.
Weather and UV
6. Rain-in-a-jar Ages 4 to 9, 10 minutes, adult-led. Hot water and ice demonstrate condensation and precipitation in a glass jar.
- Jar, hot water, a small plate, ice cubes
- Pour hot water into the jar to a shallow depth.
- Place a plate on top and add ice cubes to it.
- Watch condensation form and “rain” fall back into the jar. This demo works best as a small-group demonstration led by an adult, given the hot water involved. Learning outcome: warm moist air cools against the cold plate, condenses into droplets, and falls, mirroring how clouds form rain.
7. UV-detecting bead bracelet Ages 5 to 11, 15 minutes. UV beads change colour in sunlight, showing where UV rays are present.
- UV-sensitive beads, pipe cleaner or string, sunscreen (optional control)
- Thread beads onto string to make a bracelet.
- Coat a control bead in sunscreen at least 20 to 30 minutes before exposure.
- Step outside and compare how quickly coated versus uncoated beads change colour. Coating a control bead early is a detail teachers often miss, and it is what makes the sunscreen comparison meaningful rather than just a colour trick. Learning outcome: the beads reveal the presence of UV light, not its intensity, and sunscreen blocks enough of it to slow the colour change.
8. Herschel prism experiment Ages 8 to 11, about a half hour, done on a clear sunny day. Split sunlight with a prism and place thermometers beyond the red band to detect infrared heat.
- Prism, two or three thermometers, white card, a small stand
- Mount the prism to cast a full spectrum onto white card.
- Place one thermometer just beyond the red edge and one outside the spectrum as a control.
- Leave for several minutes and compare temperature rises. Cloud cover ruins the readings, so this outdoor version of Herschel’s original 1800 experiment only works reliably on stable, sunny days. Learning outcome: temperature rises beyond the visible red light proves invisible infrared radiation exists.
9. Handprint sun art Ages 3 to 8, 3 to 4 hours passive time. Sunscreen blocks UV, so a hand coated in it leaves a pale print on UV-sensitive paper left in the sun.
- UV-sensitive paper, sunscreen
- Coat one hand in sunscreen, leave the other bare.
- Press both onto the paper, or simply lay objects on it.
- Leave in direct sun for three to four hours and compare fading. Safety: reapply sunscreen to skin afterwards; don’t let children stare at bright paper glare. Learning outcome: UV exposure fades the paper’s pigment, but sunscreen visibly blocks that fading, showing sun protection in action.
Nature, sand and mess
10. Minibeast hotel Ages 3 to 9, 30 minutes to build, ongoing observation. Stack sticks, bark, leaves and pipes to create shelter for insects and check it over following weeks.
- Logs, bark, dry leaves, hollow pipes or bamboo
- Stack materials loosely in a sheltered corner.
- Leave for a week undisturbed.
- Check gently for residents and record findings. Safety: wash hands after handling; avoid disturbing any nesting wildlife. Learning outcome: habitats provide shelter and food, and different minibeasts prefer different microhabitats.
11. Sandcastle strength test Ages 3 to 8, 20 minutes. Compare dry, damp and wet sand to see which holds a shape best.
- Sand, water, buckets or moulds
- Build identical shapes with dry, damp and soaked sand.
- Leave for five minutes.
- Compare which stands and which collapses. Safety: none beyond normal sand play. Learning outcome: water creates surface tension between sand grains, giving damp sand far more structural strength than dry or fully saturated sand.
12. Splatter art physics Ages 4 to 10, 20 minutes. Flick paint-loaded brushes or water balloons at paper pinned to a fence to see how force affects the splatter pattern.
- Washable paint, brushes, large paper, pegs or tape
- Pin paper to a fence or board.
- Flick or throw paint from varying distances and angles.
- Compare splatter shapes and discuss what caused each pattern. Safety: wear old clothes; keep paint away from eyes. Learning outcome: the angle and force of impact directly shape the splatter pattern, a hands-on introduction to projectile motion.
Pro Tip: Keep a spare set of materials for every messy or breakable experiment. A cracked jar or a burst bottle rocket mid-session will stall the whole group otherwise.
Getting ready: a preparation and safety checklist
Run through this before anyone steps outside.
- Check the weather forecast, especially for UV and prism experiments that need direct sun.
- Pack spare materials (extra jars, beads, string) so one mishap doesn’t end the session.
- Set an adult-to-child ratio of roughly one adult to four to six children for hot-water or sharp-object steps.
- Plan a waste and recycling route before you start, not after.
Hazardous steps, particularly the rain-in-a-jar demo, work best as small-group demonstrations led by an adult rather than every child handling hot water directly. For sun safety, apply sunscreen, wear hats, use shade breaks, and never let children look directly at the Sun, even during prism or UV work. Treat wildlife gently; leave logs and minibeast hotels undisturbed once built, and take rubbish home rather than leaving it on site.
Pro Tip: Run UV and prism experiments in the same short window, between late morning and early afternoon, when sunlight is most stable for both.

What each experiment actually teaches
Most of these activities map onto a handful of core science ideas: states of matter (rain-in-a-jar, waterproofing), forces and motion (bottle rockets, splatter art), light and the electromagnetic spectrum (Herschel prism, UV beads, handprint art), and ecosystems (minibeast hotels).
For toddlers, strip any activity back to observation and vocabulary: “wet”, “dry”, “bubble”, “float”. For primary-age children, add prediction before each step. For upper-primary groups, introduce measurement, such as timing how long a bubble lasts or recording thermometer readings.
- Keep a simple photo log or one-page data sheet for each session.
- Build a vocabulary wall from words children use spontaneously during the activity.
- Ask one assessment question per experiment: “What would happen if we changed one thing?”
Children’s spontaneous observations often reveal learning you hadn’t planned for, so it’s worth jotting these down rather than sticking rigidly to the worksheet.
Where these experiments come from and who they’re for
These activities are adapted from established outdoor learning resources, including IPAC’s Herschel experiment guide, NASA’s UV observation materials and sunscreen activity, and Michigan State University’s rain demonstration guide. Teacher notes across these sources agree on the same three habits: prepare materials in advance, pre-teach the safety point before the fun part, and run risky steps as small-group demonstrations rather than free-for-alls.

Thezoofamily designs animal-themed cameras, binoculars and walkie-talkies for children aged three and up, built to spark curiosity about nature rather than replace it. For every camera sold, one tree is planted, tying the purchase to a small environmental outcome. None of these tools are required to run the experiments above; they simply give children an easy way to record what they see.
What actually makes an outdoor session work
What made the biggest difference in my own outdoor sessions wasn’t the experiment itself, it was timing: running the messiest activity last and setting expectations about mess and noise before we started outside. Two things helped every time. First, always pack spares, because something will break or spill. Second, photograph results as you go rather than relying on memory afterwards, since children forget details fast once they’ve moved on to the next thing.
Revisiting the same patch of garden or park across several weeks also pays off. A minibeast hotel checked once tells you almost nothing; checked weekly across a season, it becomes a proper longitudinal study your children can genuinely track.
— ALAIN
Extending the experiment with simple observation tools
Documentation is what turns a fun afternoon into something children remember and learn from, and this is where a few optional tools can help. Thezoofamily’s animal-themed cameras and binoculars give children an easy way to photograph a splatter art pattern, zoom in on a minibeast hotel resident, or record a UV bead changing colour, without you handing over an adult phone.
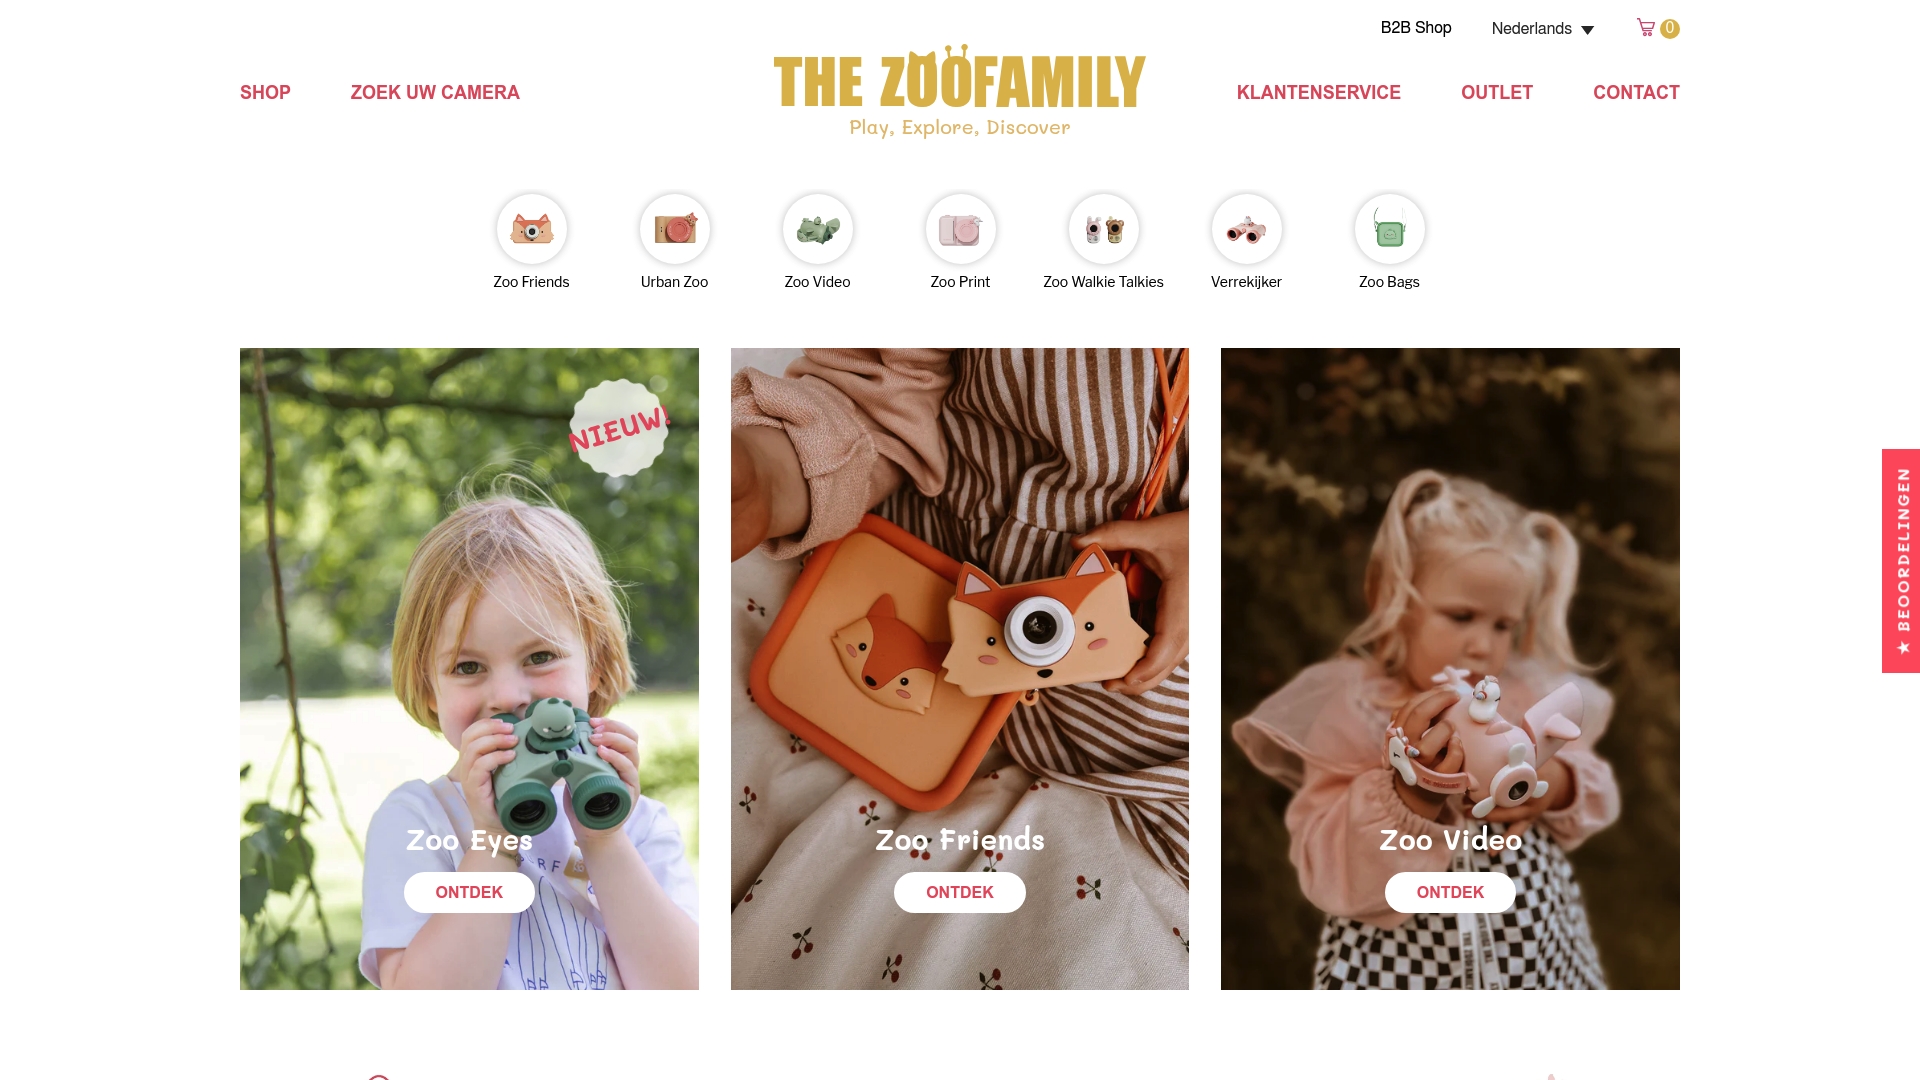
These aren’t required kit; every experiment above works fine with nothing but the materials listed. But if you’re already looking for a way to keep children engaged in the follow-up observation, a Zoo Friends camera or Urban Zoo binoculars give them ownership of the documenting, not just the doing. Some companies plant a tree for every camera sold, linking purchases to environmental curiosity and impact. Browse the current range at Thezoofamily to see which product suits your child’s age and the activities you’re planning next.
Sources
- Herschel experiment — IPAC
- Exploring ultraviolet (UV) light from the Sun — NASA / GSFC
- Make handprint art using ultraviolet light — NASA Space Place
- Make It Rain — MSU Inquiring Minds resources
FAQ
What are some fun experiments to do outside?
A water volcano, a giant bubble wand and a bottle rocket are three of the easiest wins, since each needs under 20 minutes and household materials. The water volcano and bubble wand above both work from age three upward with light supervision.
What are ten examples of outdoor activities suitable for children?
The twelve experiments above cover water play, rocket launches, weather demonstrations, UV detection, and nature observation such as minibeast hotels and sandcastle testing. Mixing at least one activity from each theme keeps a session varied without overloading the day.
What are some simple science experiments I can do at home or in the garden?
Rain-in-a-jar, the waterproofing test and the sandcastle strength comparison all use items already in most kitchens or gardens. Each takes 10 to 20 minutes and needs no specialist equipment.
How do I adapt these outdoor experiments for different ages?
Strip an activity back to observation and simple vocabulary for toddlers, add prediction questions for primary-age children, and introduce measurement or timing for upper-primary groups. The minibeast hotel and waterproofing test both scale this way with almost no changes to materials.
Do I need any special equipment, like a kids’ camera, for these experiments?
No, every experiment listed works with ordinary household materials and no camera or observation tool is required. Products such as a Zoo Friends camera are entirely optional and simply make it easier for children to document what they find afterwards.