

You can make delightful art and useful items from things you would otherwise throw away, using nothing more than what is already sitting in your recycling bin. This article gives you ten easy, low-cost projects made from bottles, cartons, cardboard, jars and corks. Each one comes with the materials to collect, quick steps, safety notes and the reasons this kind of crafting is genuinely worth the mess.
TL;DR:
- Upcycling projects primarily use household waste materials like bottles, jars, corks, and cardboard, which need proper cleaning and preparation before crafting.
- Simple projects such as jar tealight holders, cork coasters, and magnet decorations are accessible for children and require minimal adult supervision.
- Proper safety measures include smoothing sharp edges on metal and glass and supervising heat-related steps like melting crayons or oven use.
- Priming non-porous surfaces and sealing paper crafts with varnish enhance durability and color retention in finished projects.
- Keeping a labeled, dry bin for clean recyclables simplifies the process and encourages consistent, low-cost eco-friendly crafting.
Table of Contents
- What materials to collect for art and craft ideas from waste material
- Ten practical upcycling projects using household waste
- How to keep waste material crafts safe and long-lasting
- Why upcycling with waste material actually matters
- The Zoofamily’s take on crafting with waste material
- Why simplicity beats ambition with recycled crafts
- Sources
- FAQ
What materials to collect for art and craft ideas from waste material
Start by saving items you already have rather than buying anything new. The best starter stash for art and craft ideas from waste material includes:
- Plastic bottles (any size, lids on or off)
- Egg cartons, cardboard boxes and toilet rolls
- Empty glass jars, wine corks and bottle caps
- Fabric scraps, old magazines and broken crayons
Preparation matters more than most people expect. Wash and dry everything before it goes into your craft box, peel off sticky labels with warm soapy water, and run sandpaper over any rough plastic or metal edges. Cutting glass jars or punching holes in tin cans is an adults-only job; keep a craft knife or a bradawl away from small hands entirely.
For tools, you need surprisingly little: PVA glue for paper and cardboard, a hot glue gun for anything heavier (adults handle the trigger), child-safe scissors, acrylic paint and a sheet of fine sandpaper. That’s the whole kit for most of the projects below.
Pro Tip: Keep a labelled box just for clean, dry recyclables. Grabbing a jar or a toilet roll mid-project is far easier than digging through the actual bin.
Ten practical upcycling projects using household waste
These ten ideas cover kids’ crafts, home décor and small functional upgrades, all built from materials most households throw out weekly. Several ideas here echo the kind of accessible projects covered in broader craft roundups using household waste, which repeatedly confirm that bottles, cans and jars are the most reliable starting points.
-
Plastic bottle planter or vase. Wash and dry a bottle, then have an adult cut it to the height you want. Paint the outside with acrylic, poke drainage holes if it’s a planter, and fill with soil or water. Children can decorate; adults handle the cutting.
-
Egg-carton flowers. Cut the cups from an egg carton into petal shapes, paint them in bright colours, and glue each one onto a garden skewer or pipe cleaner stem. A batch of ten takes under half an hour.
-
Toilet-roll binoculars. Glue two cardboard rolls side by side, decorate with paint or scrap paper, then punch two holes and thread string through for a neck strap. A genuinely good excuse to send children outside looking for birds.
-
Tin-can wind chime. Clean the cans thoroughly and smooth any sharp rim with sandpaper or tape. Prime with gesso, paint, then have an adult punch holes for stringing beads and hanging the cans in a row, a method craft tutorials on tin-can projects recommend specifically for adhesion and safety.
-
Bottle-cap magnets. Decorate the inside of clean caps with tiny paintings or paper cut-outs, seal with a dab of PVA, then glue a small magnet to the back. Ten minutes, and you have fridge gifts sorted.
-
Crayon remelt marbles. Sort broken crayon stubs by colour, place them in silicone moulds, and melt in a low oven, an adult-only step given the heat. The result is a set of brand-new multicoloured crayons from scraps that would otherwise be binned.
-
Cardboard puppet theatre. Cut a stage window into a large box, then decorate the frame with paint, fabric scraps and leftover paper. This one scales well for group settings. Assigning different children to painting, cutting and prop-making turns one theatre into a shared class project.
-
Jar tealight holders. Decoupage or paint the outside of a clean jar, then drop in a battery-operated tealight rather than an open flame. Safer for younger children and just as pretty on a windowsill.
-
Cork coasters. Slice wine corks into even rounds, arrange and glue them into a circle or square, then seal with a coat of varnish for durability and heat resistance.
-
Magazine-weave gift bag. Cut old magazine pages into even strips, fold them lengthways for strength, then weave them over and under into a small basket-style bag. A slow project, but a satisfying one for a rainy afternoon.
How to keep waste material crafts safe and long-lasting
Metal and glass need the most care. Wash cans and jars thoroughly, then smooth any sharp edge with sandpaper or cover it with strong tape before a child touches it. Cutting, drilling or punching holes stays an adult task every time, whether that’s a bottle, a can or a jar lid.
Paint doesn’t stick well to slick surfaces like tin or plastic without help. Priming metal and plastic with gesso first gives acrylic paint something to grip, a step craft guides on eco-friendly projects flag repeatedly for exactly this reason. For anything made of paper or cardboard, a coat of PVA varnish once it’s dry adds real durability and stops colours fading as quickly.
- Sand or tape every metal and glass edge before handing a project to a child
- Prime non-porous surfaces (gesso works well) before painting
- Seal paper-based crafts with PVA varnish once finished
- Supervise every heat step, from melting crayons to oven use
Storage matters too. Keep a labelled, dry bin for clean recyclables only, so nothing greasy or food-stained contaminates your good materials before you’ve even started a project.
Pro Tip: If a project sits half-finished for more than a day, store it somewhere dust won’t settle into wet glue or paint. Cardboard boxes attract dust fast.
Why upcycling with waste material actually matters
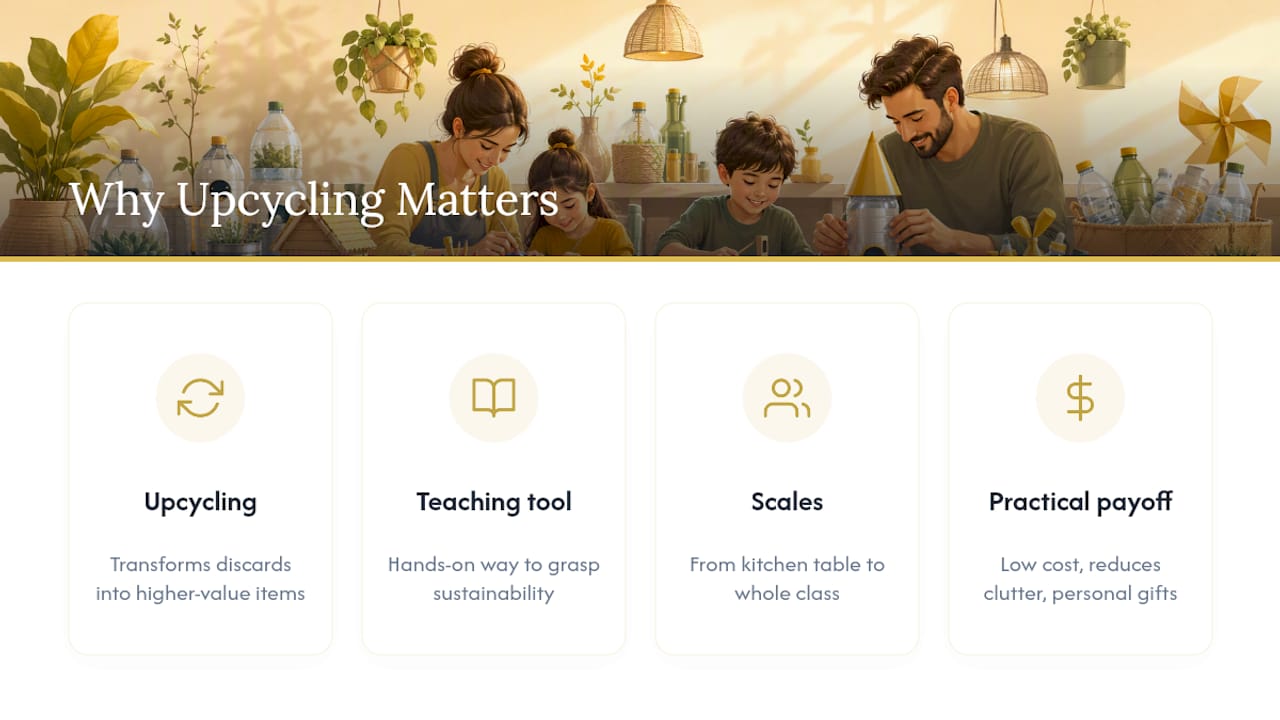
Upcycling means transforming a discarded item into something of higher value, rather than breaking it down into raw material the way recycling does. A wine cork becomes a coaster; a tin can becomes a wind chime. Nothing gets melted, pulped or shipped off to a processing plant first.
Educators increasingly treat this kind of project as a genuine teaching tool. Recycled crafts give children a hands-on way to grasp sustainability, turning an abstract idea like “waste reduction” into something they can hold, paint and understand. Classroom-style activities, from woven place mats to bottle bird feeders, show this scales from a single kitchen table to a whole group of children working together.
There’s a practical payoff too: these projects cost next to nothing, keep clutter out of the bin, and produce gifts that feel far more personal than anything bought.
The Zoofamily’s take on crafting with waste material
Watching a child turn a toilet roll into binoculars and then genuinely go hunting for birds outside says something about why this kind of crafting matters. It builds curiosity about the natural world, not just craft skill. This connection between hands-on making and nature sits at the centre of many creative initiatives, including commitments to environmental impact like planting a tree for every camera sold. If you want more child-focused inspiration along these lines, our 8 creative recycled art projects for kids are a natural next stop.
Why simplicity beats ambition with recycled crafts
Most advice on crafting from waste material overreaches. It pushes elaborate builds that demand a hot glue gun, three types of paint and an hour a parent doesn’t have on a Tuesday evening. The projects that actually get finished, and actually get displayed on a shelf afterwards, are the simple ones: a jar, a cork, a few tin cans.
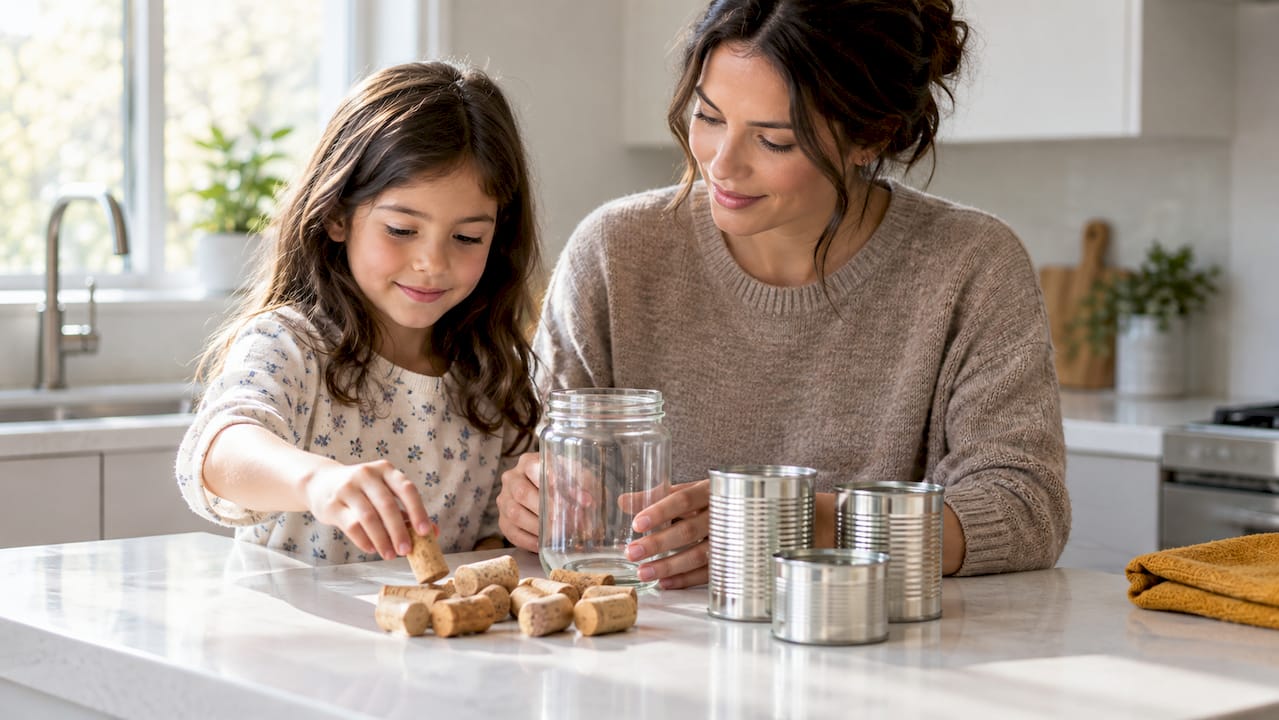
What gets underrated is preparation. A clean, dry, labelled stash of materials matters more than any individual project idea, because half the friction in craft time comes from hunting for a jar lid that’s covered in old jam. Sort your materials once, and every project afterwards takes minutes rather than a search through the recycling.
If you’re starting out, prioritise the projects that need no adult-only step, egg-carton flowers, bottle-cap magnets, jar tealight holders, and save the tin-can and bottle-cutting projects for when there’s proper time and supervision. Waste material crafting rewards patience with materials, not ambition with technique.
— ALAIN
Sources
- Upcycling — Wikipedia
- Five fun recycled crafts to teach kids sustainability — Tom’s of Maine
- 17 eco‑friendly craft projects using stuff you’d otherwise toss — Martha Stewart
- 10 fun Earth Day crafts and activities using upcycled materials — WeAreTeachers
FAQ
What are some creative crafts I can make with waste materials?
Bottle planters, egg-carton flowers, tin-can wind chimes and cork coasters are among the most accessible, needing only basic tools like scissors, PVA glue and acrylic paint. Each one turns a single household item into something you’d genuinely want to keep or give away.
What are some creative craft ideas using recycled materials?
Combining materials often produces the best results, such as a cardboard puppet theatre decorated with fabric scraps and painted bottle caps as props. Mixing textures and colours from different waste streams tends to make a finished piece feel more considered than a single-material project.
How do you create art from recycled materials?
Start by cleaning and prepping your materials, smoothing sharp edges and priming non-porous surfaces like plastic or metal with gesso so paint adheres properly, a step craft guides consistently recommend. From there, most projects follow a simple pattern: cut or shape, decorate, then seal or assemble.
What is it called when you create art from waste material?
This is generally called upcycling, which means transforming a discarded item into something of higher value rather than breaking it down as recycling does. It’s distinct from simply putting an item in the recycling bin, since the original object stays largely intact.
Is crafting with waste material safe for young children?
Most steps are safe with supervision, but cutting glass or plastic, punching holes in metal, and any oven or melting step should always be handled by an adult. Once an item is prepped and edges are smoothed, children can safely take over painting, gluing and decorating.